An Introvert Renovates: How To Design An Introvert’s Home (Part 2)
May 2, 2022
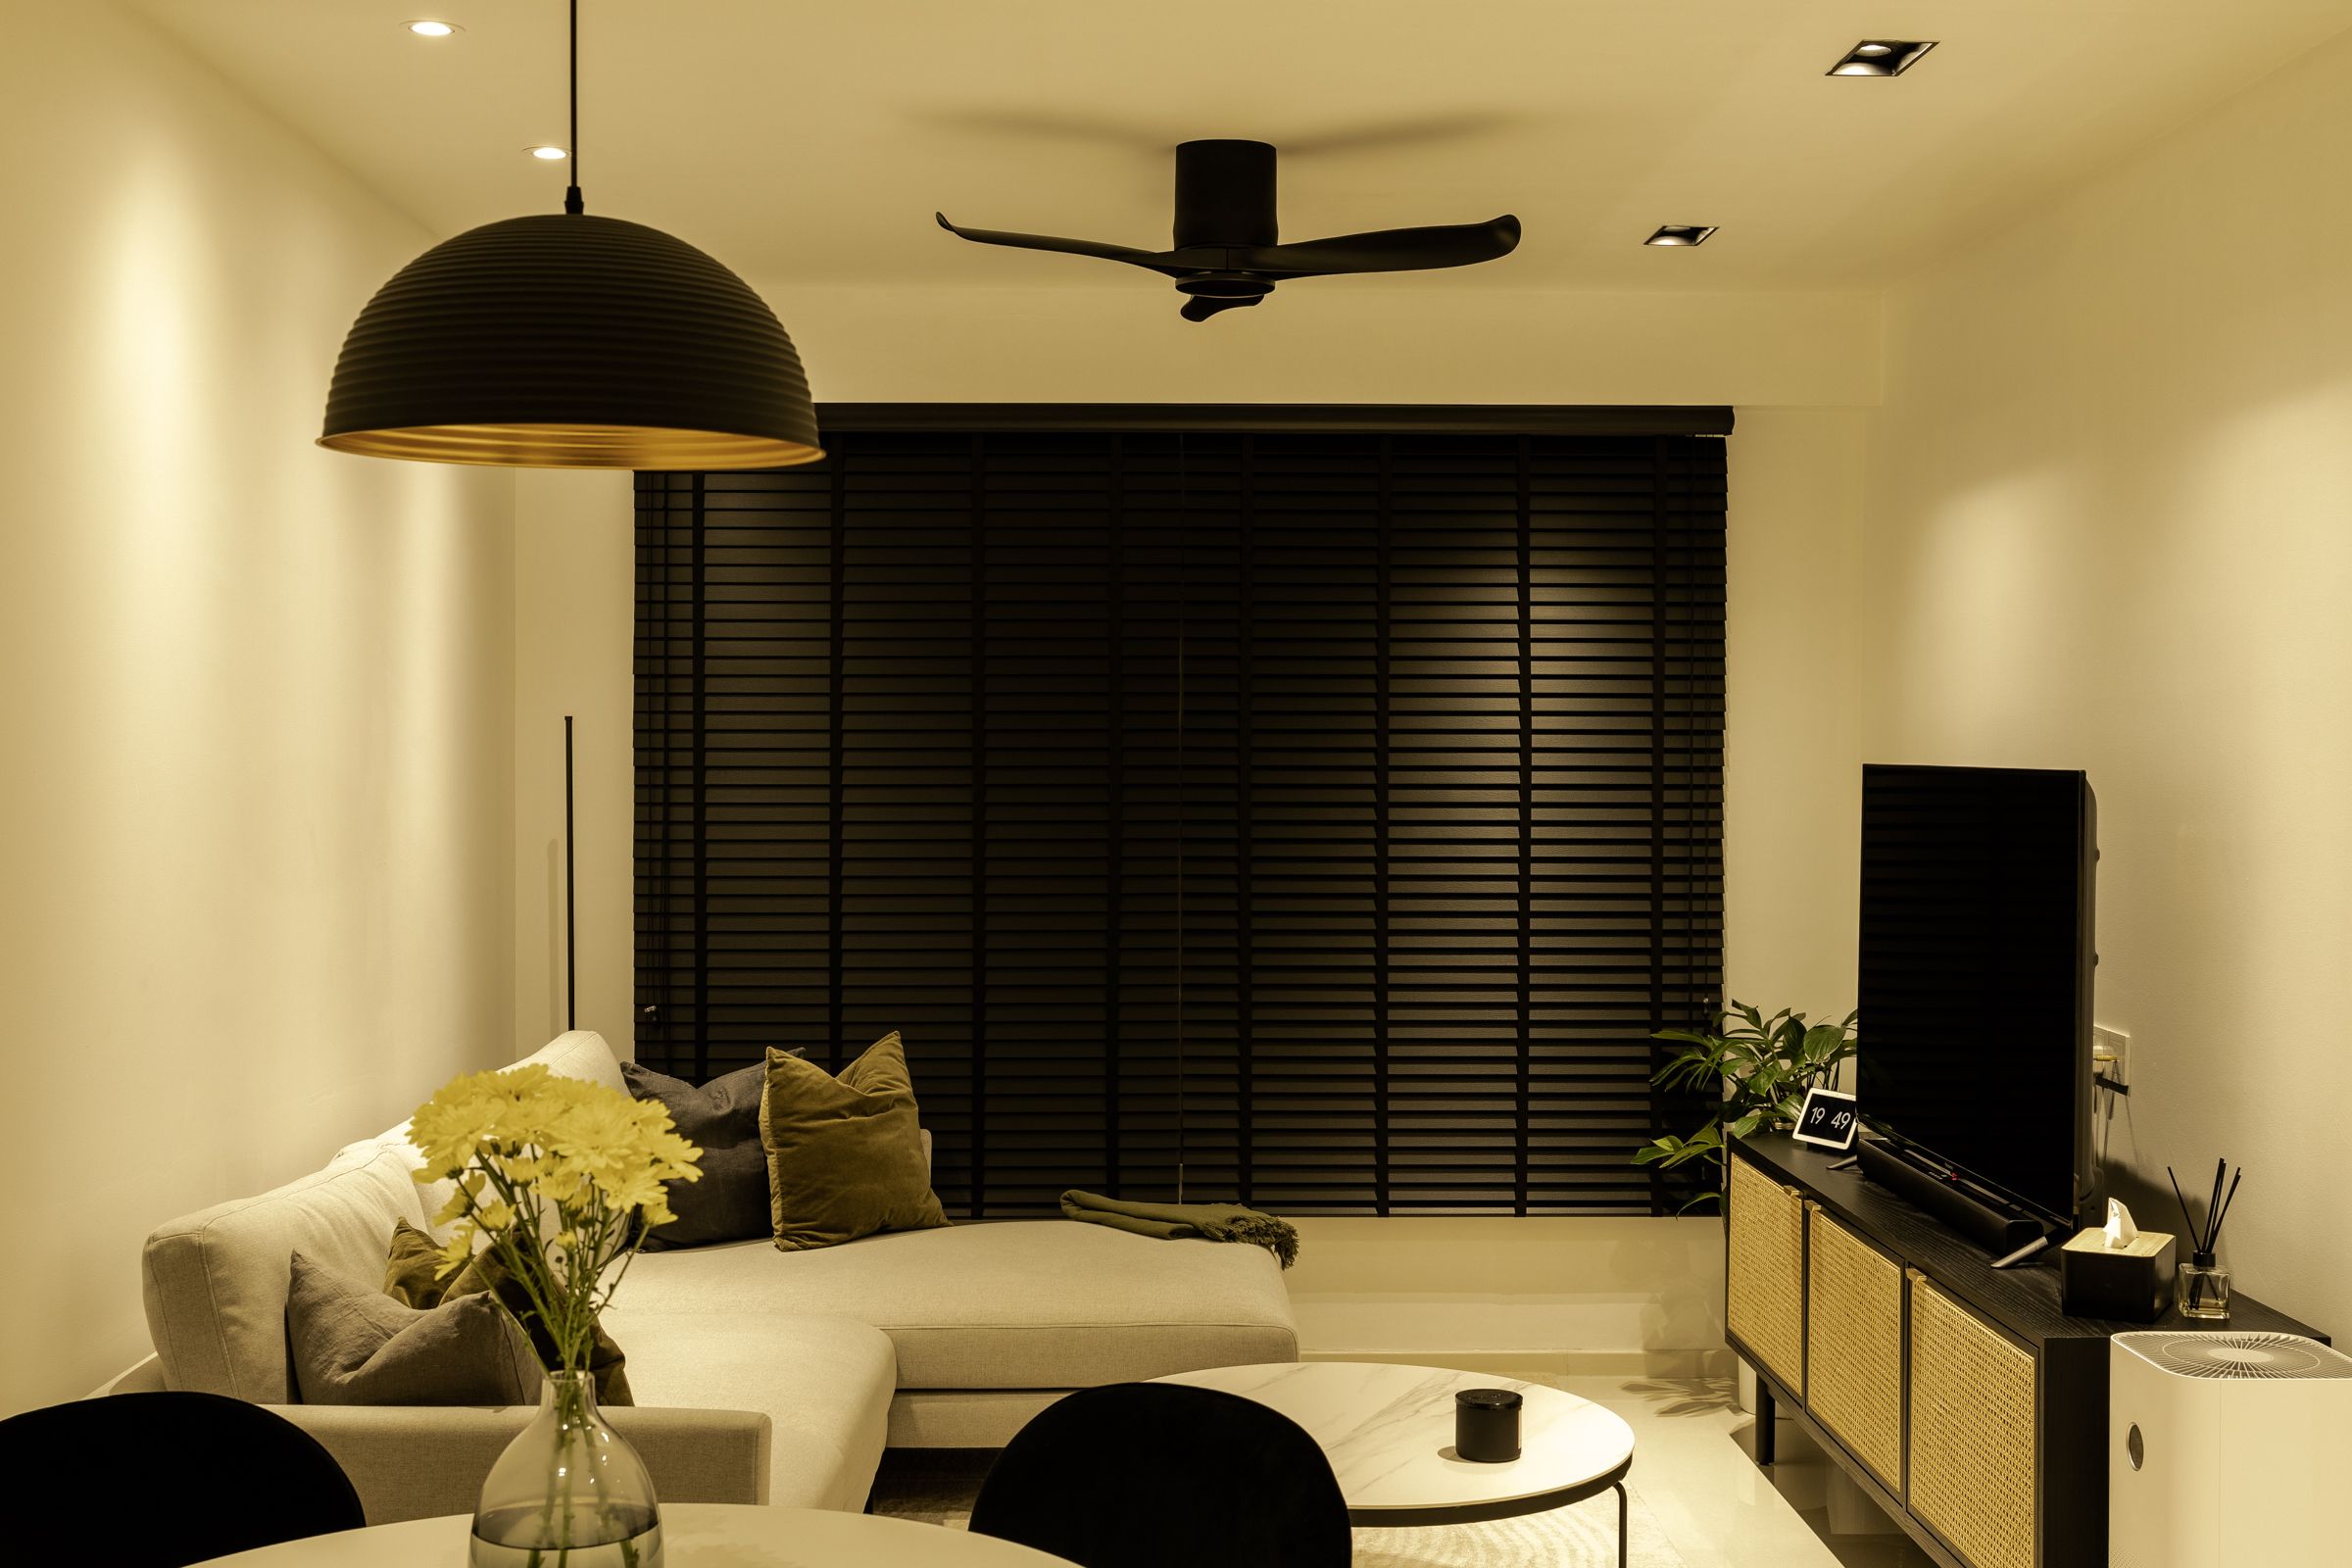
I think I’ve been preparing for this my whole life. For as long as I can remember, I’ve been interested in interior design.
As a school kid, I remember eagerly awaiting the arrival of the yearly IKEA catalogue in the mail. I played the life simulation computer game The Sims just so I could build and decorate houses for my characters to live in. My bedroom became a testbed for the latest interior design trends I could afford. Even now, my Netflix and YouTube staples are home makeovers and interior design shows.
I’ve also always been an introvert, meaning that I prefer environments that won’t overstimulate me. I like keeping my surroundings clean, tidy and organised, just so I’m immediately at ease.
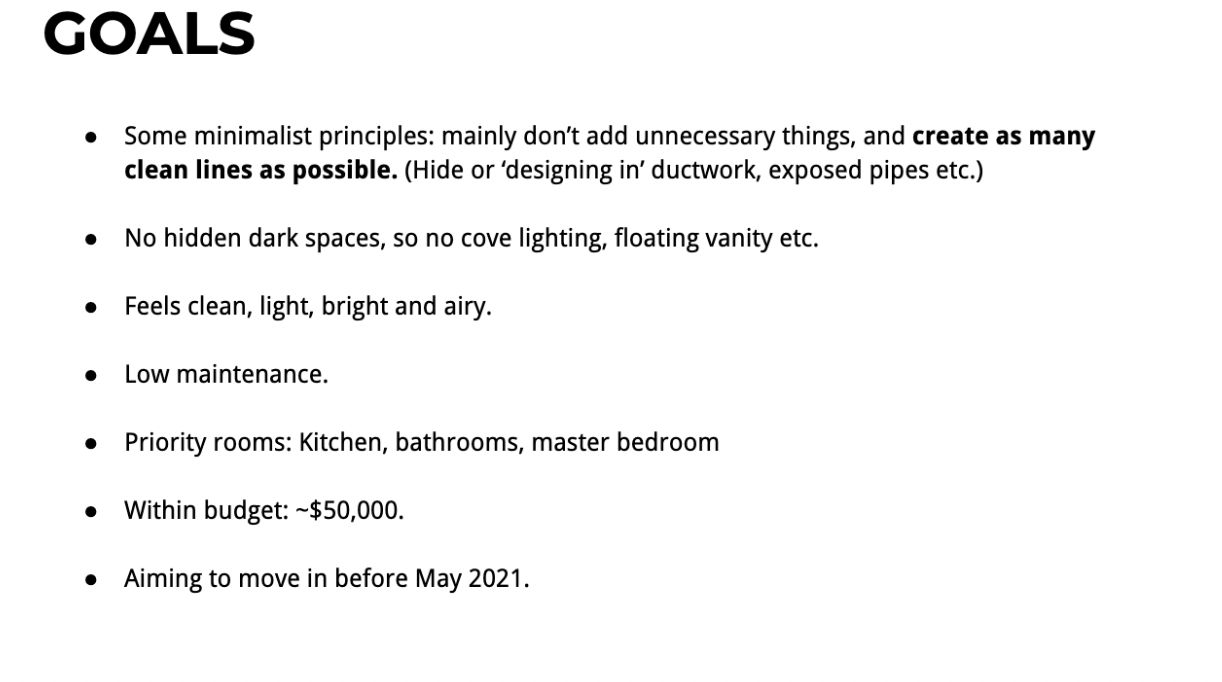
When it finally came to designing the interiors of my own home, I was pretty certain of what I wanted. You can check out my 30-page interior design brief, but I won’t be instructing you on how to recreate my specific interior design style, or any for that matter.
Rather, in Parts 2 and 3 of my renovation journey, I’ll be sharing with you the broad strategies I used to create a soothing sanctuary for my introverted self. I believe these strategies can be applied to any home as long as your renovation goal is to create a space that calms and restores.
In Part 2, these three strategies are intended to guide your decisions on the ‘bones’ of the home, the fundamentals about structure, colour and lighting that will create spaces fit for an introvert.
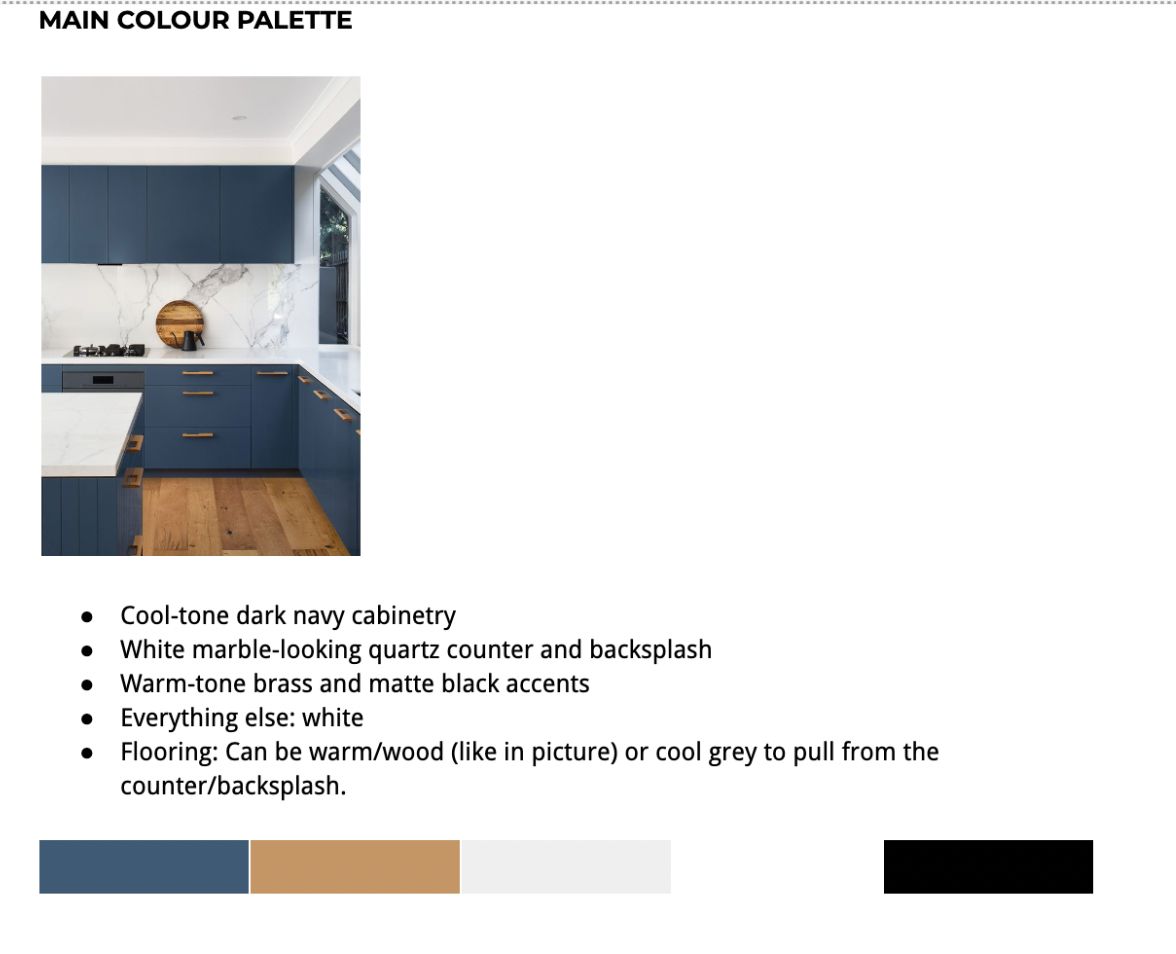
1. Adopt a small, largely neutral colour palette
Bright colours are energetic. Bright colours demand your attention. They literally excite your nervous system, starting by searing your retinas, which consequently sets your brain abuzz. And that’s a no-no for introverts.
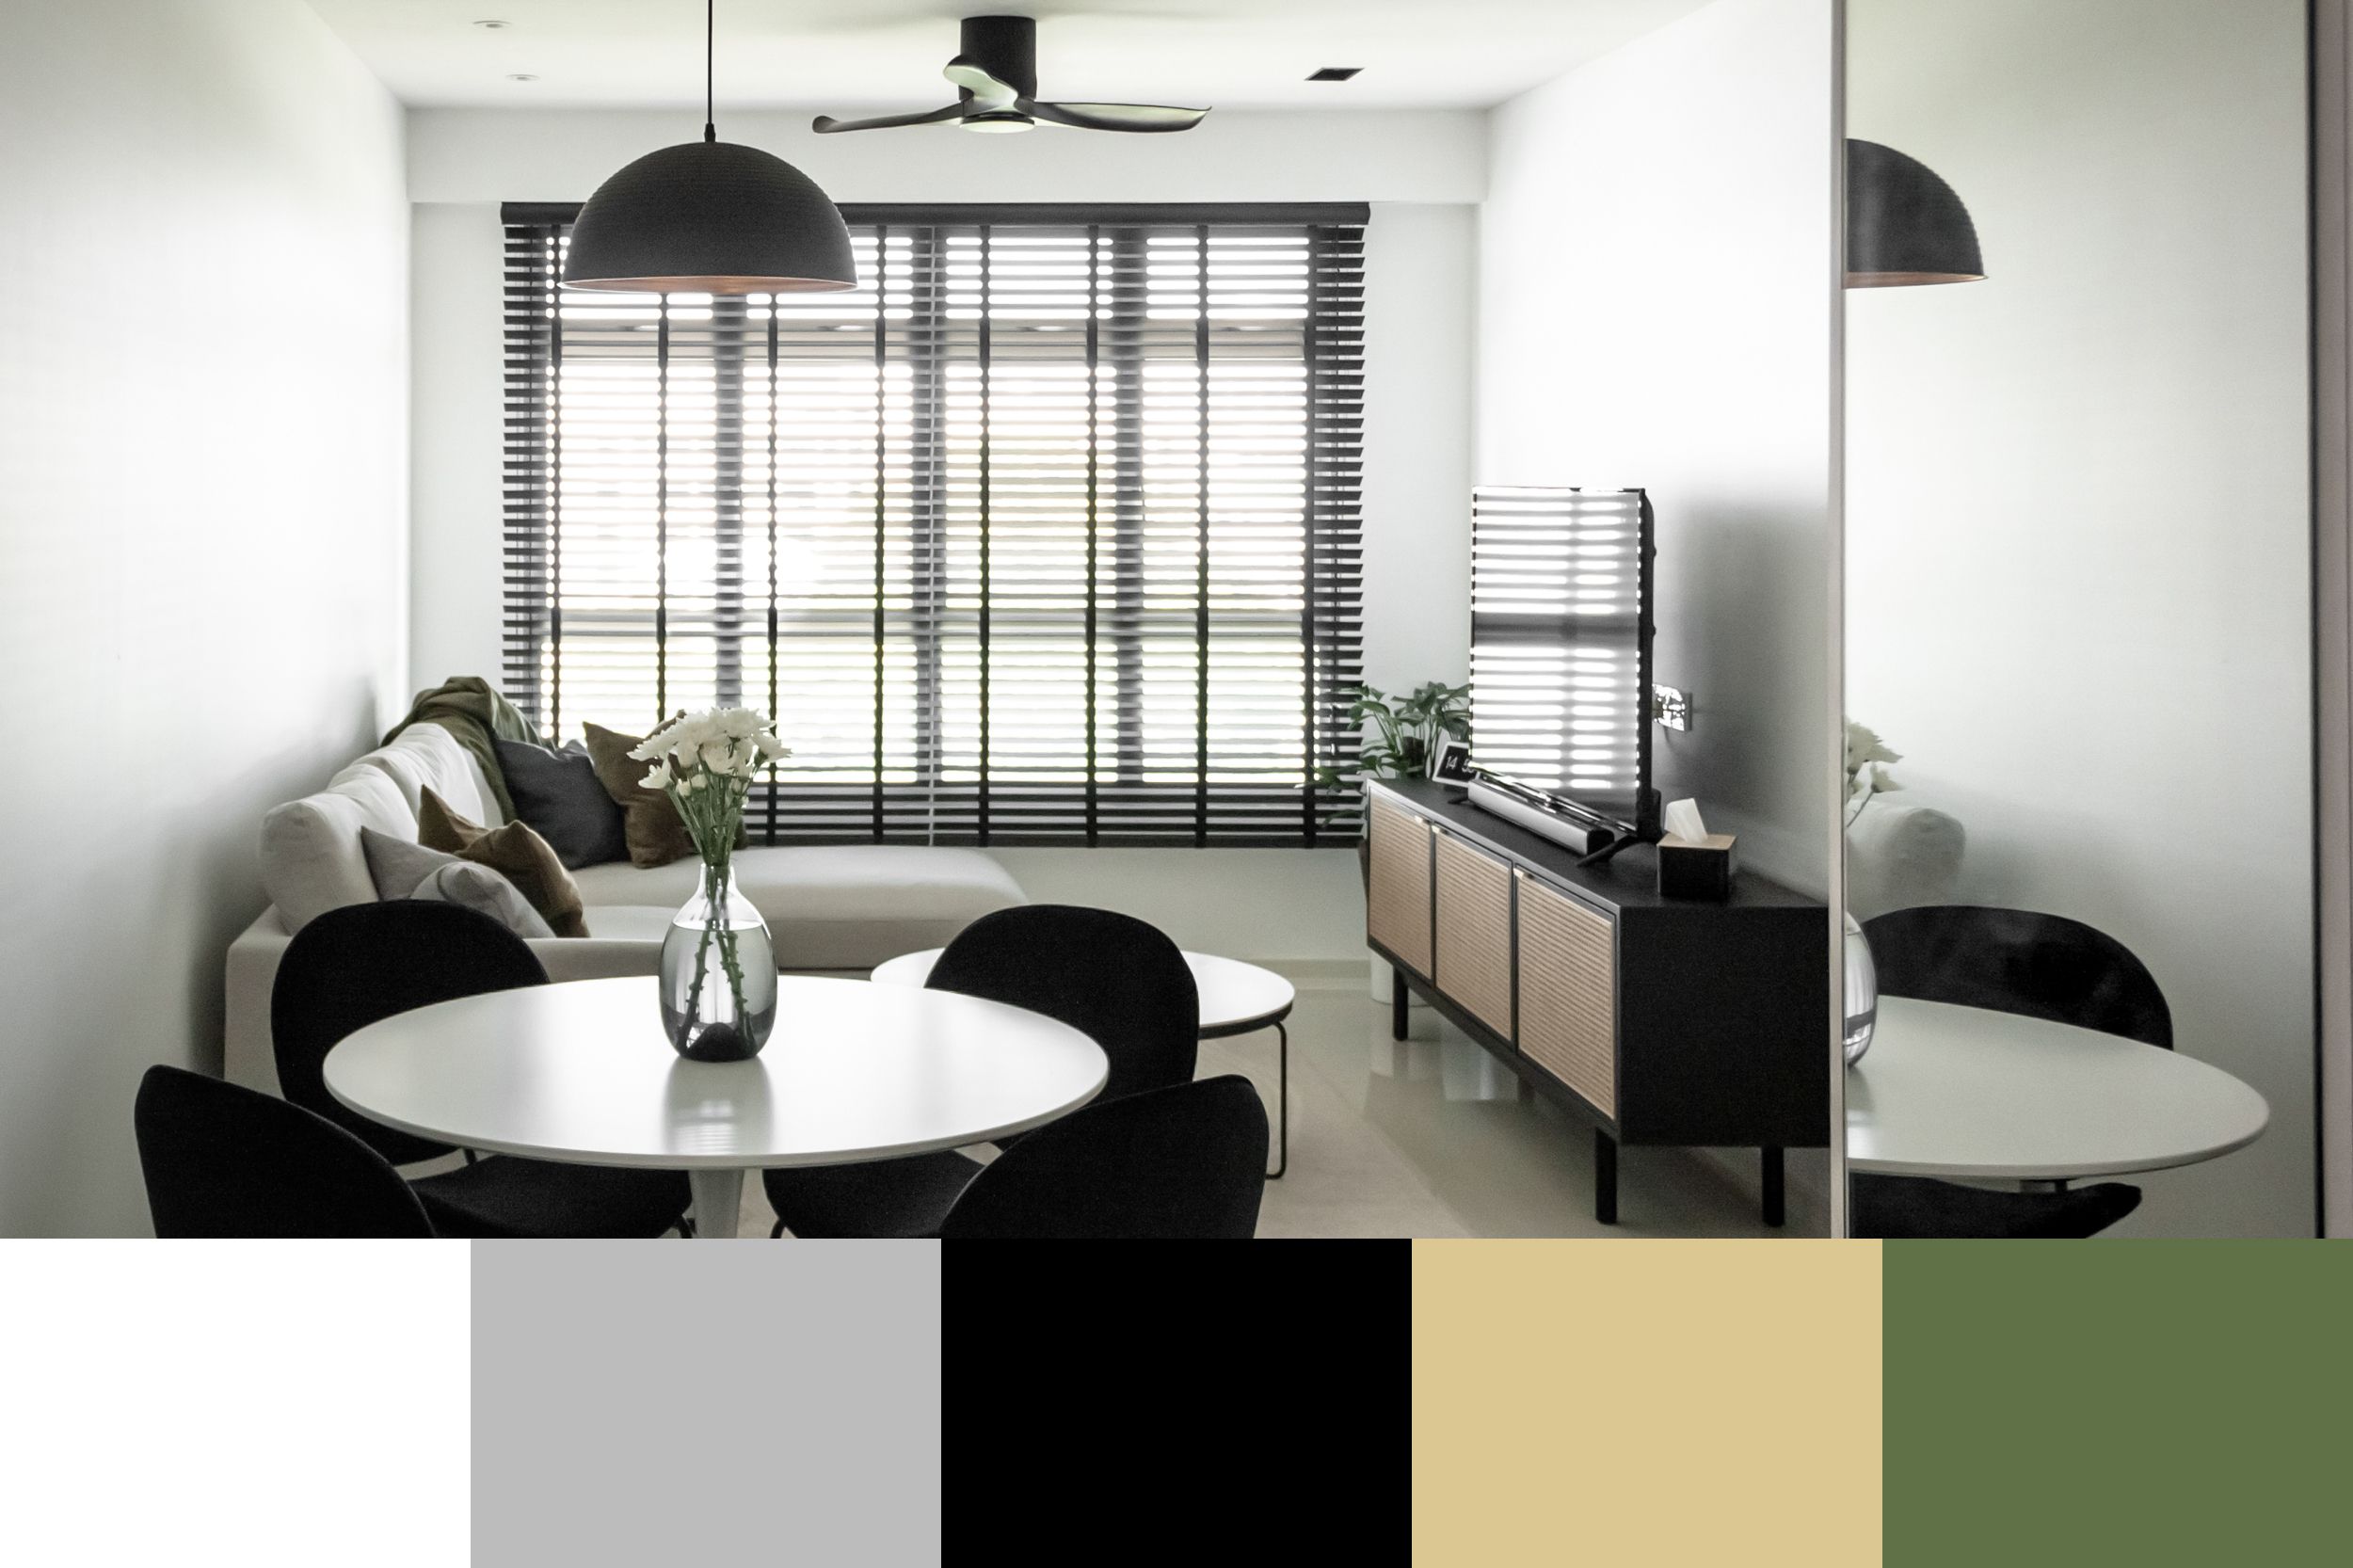
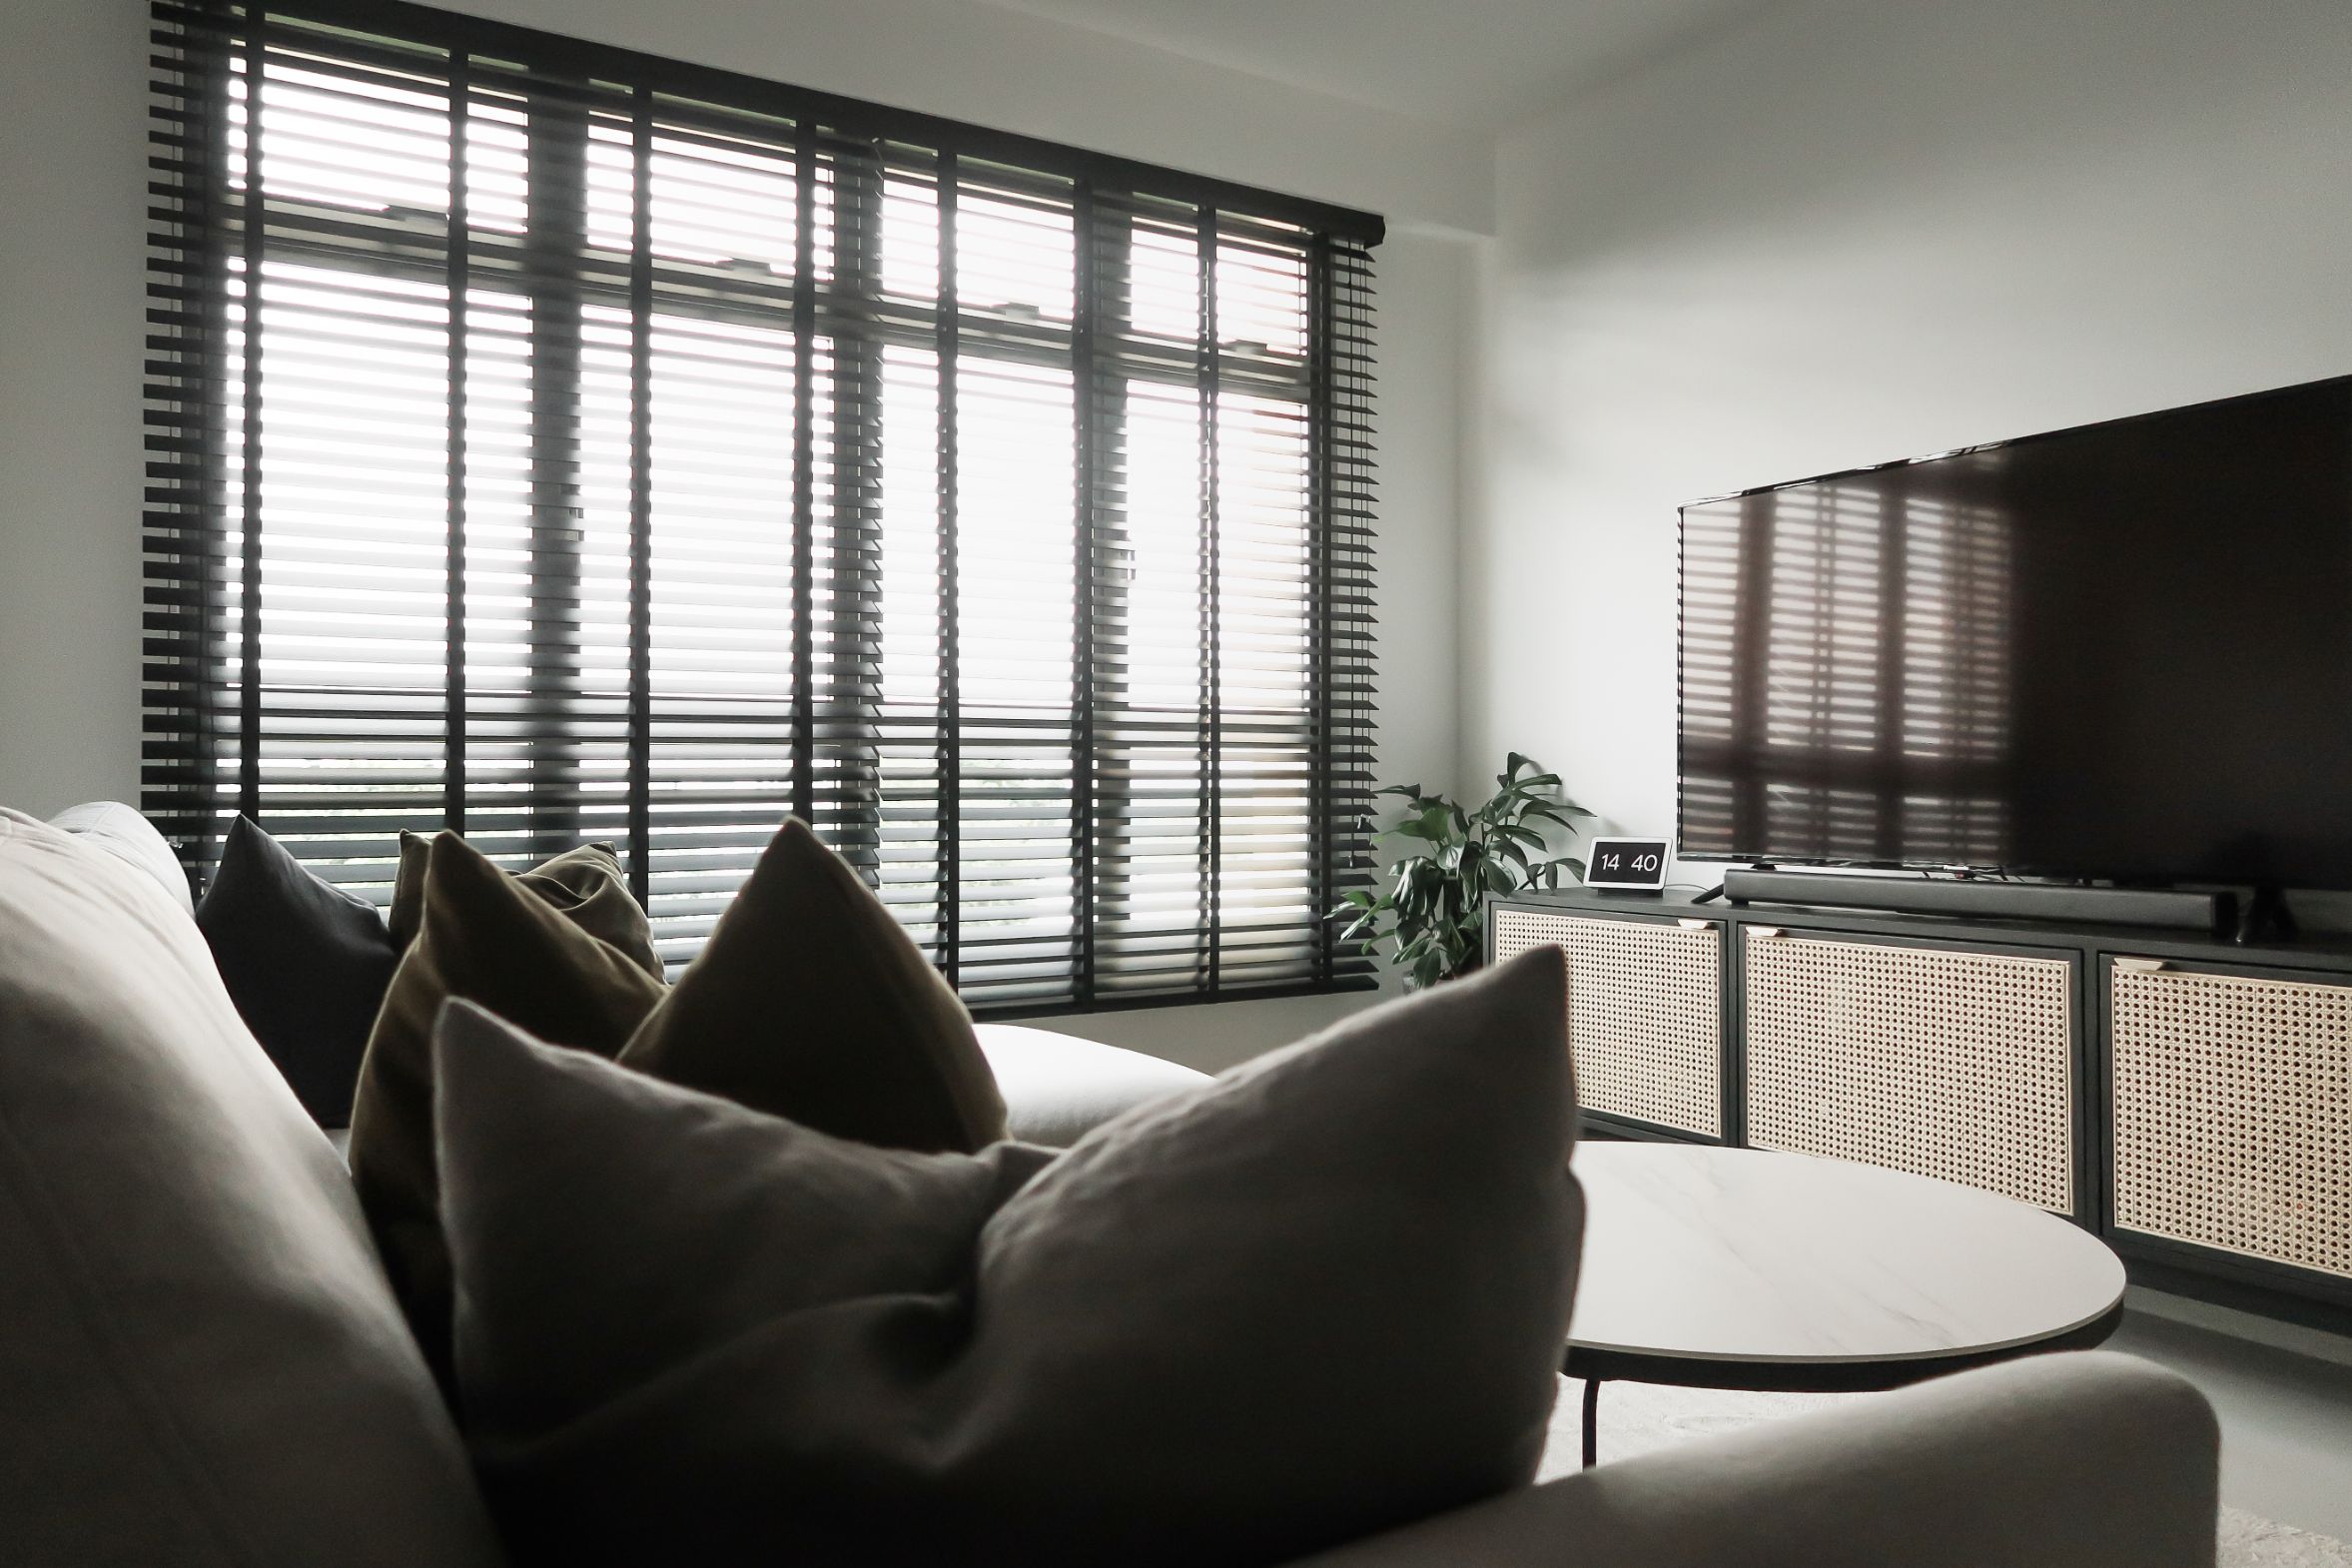
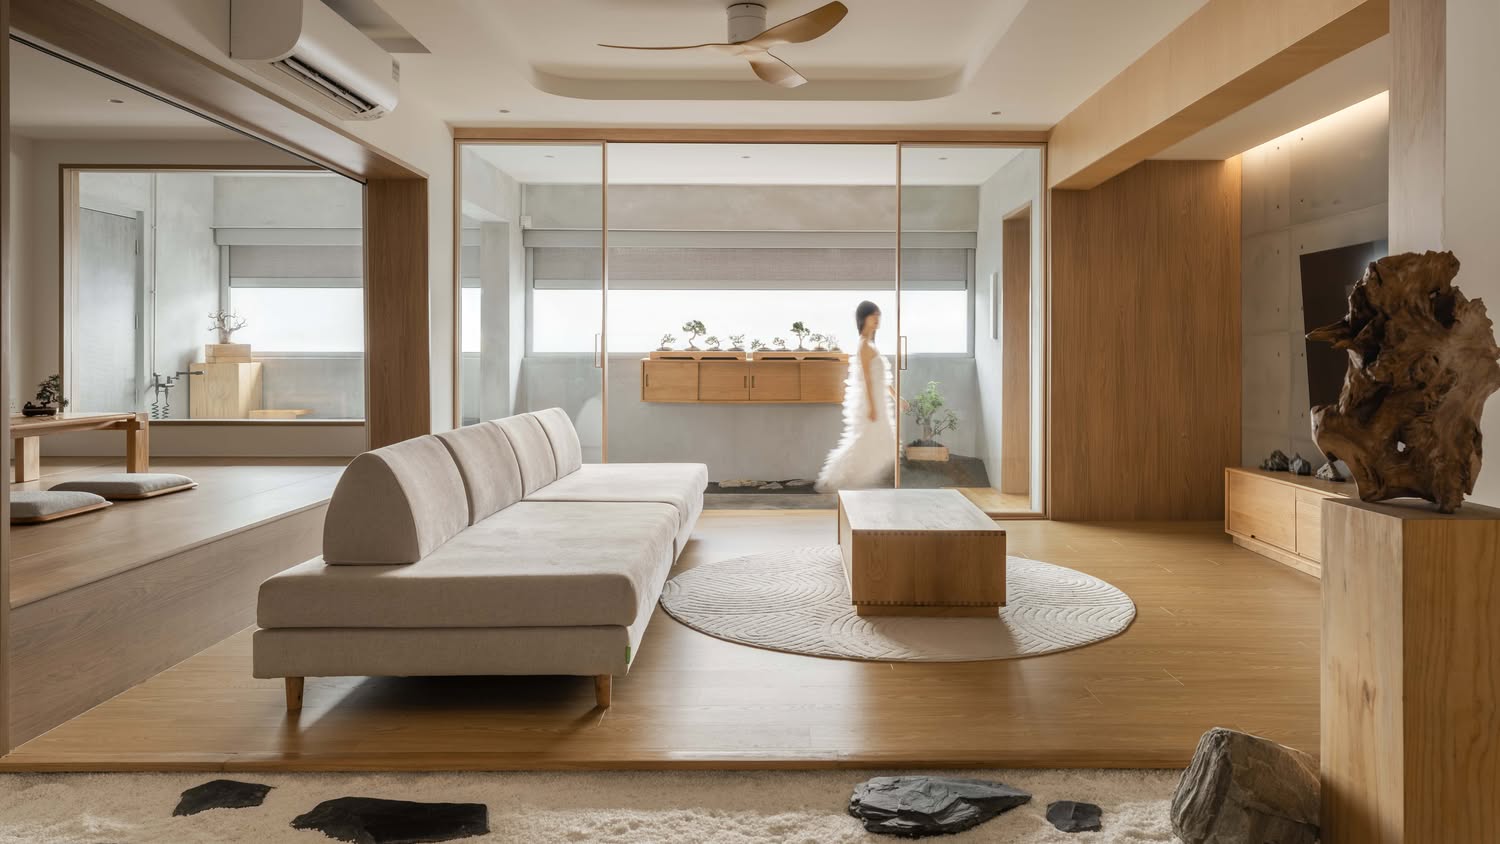
Earlier this year, I professed my love for neutral-coloured interiors on Stacked. And it’s not difficult to see why – there’s just something about a monochromatic room, or even a space awash in beiges that just makes my soul sigh in relief.
Property AdviceA Black & White Lover’s Guide To Choosing Colours For Your Home
by DanI’m not saying that you can’t have fun with colour. Have a bright colour, or even two. I myself chose green as an accent colour. Pastels are also a great way to introduce colour without alarming your senses.
The trick though, is to be very selective about what colours go into your home, and absolutely disciplined about maintaining that colour palette from ceiling to floor.
When there’s that sort of harmony and predictability in the colours of your home, your mind won’t be jumping every time you round a corner.
2. Reduce architectural lines
This is where I may lose some of you. The concept of architectural lines sounds cheem, and the fixes I propose may not seem entirely pragmatic. But this is the strategy that will take your home from mere space to sanctuary.
Have a look around at your walls and ceilings. What sort of features are there? Chances are there will be niches, pillars and beams that create extraneous corners and lines.
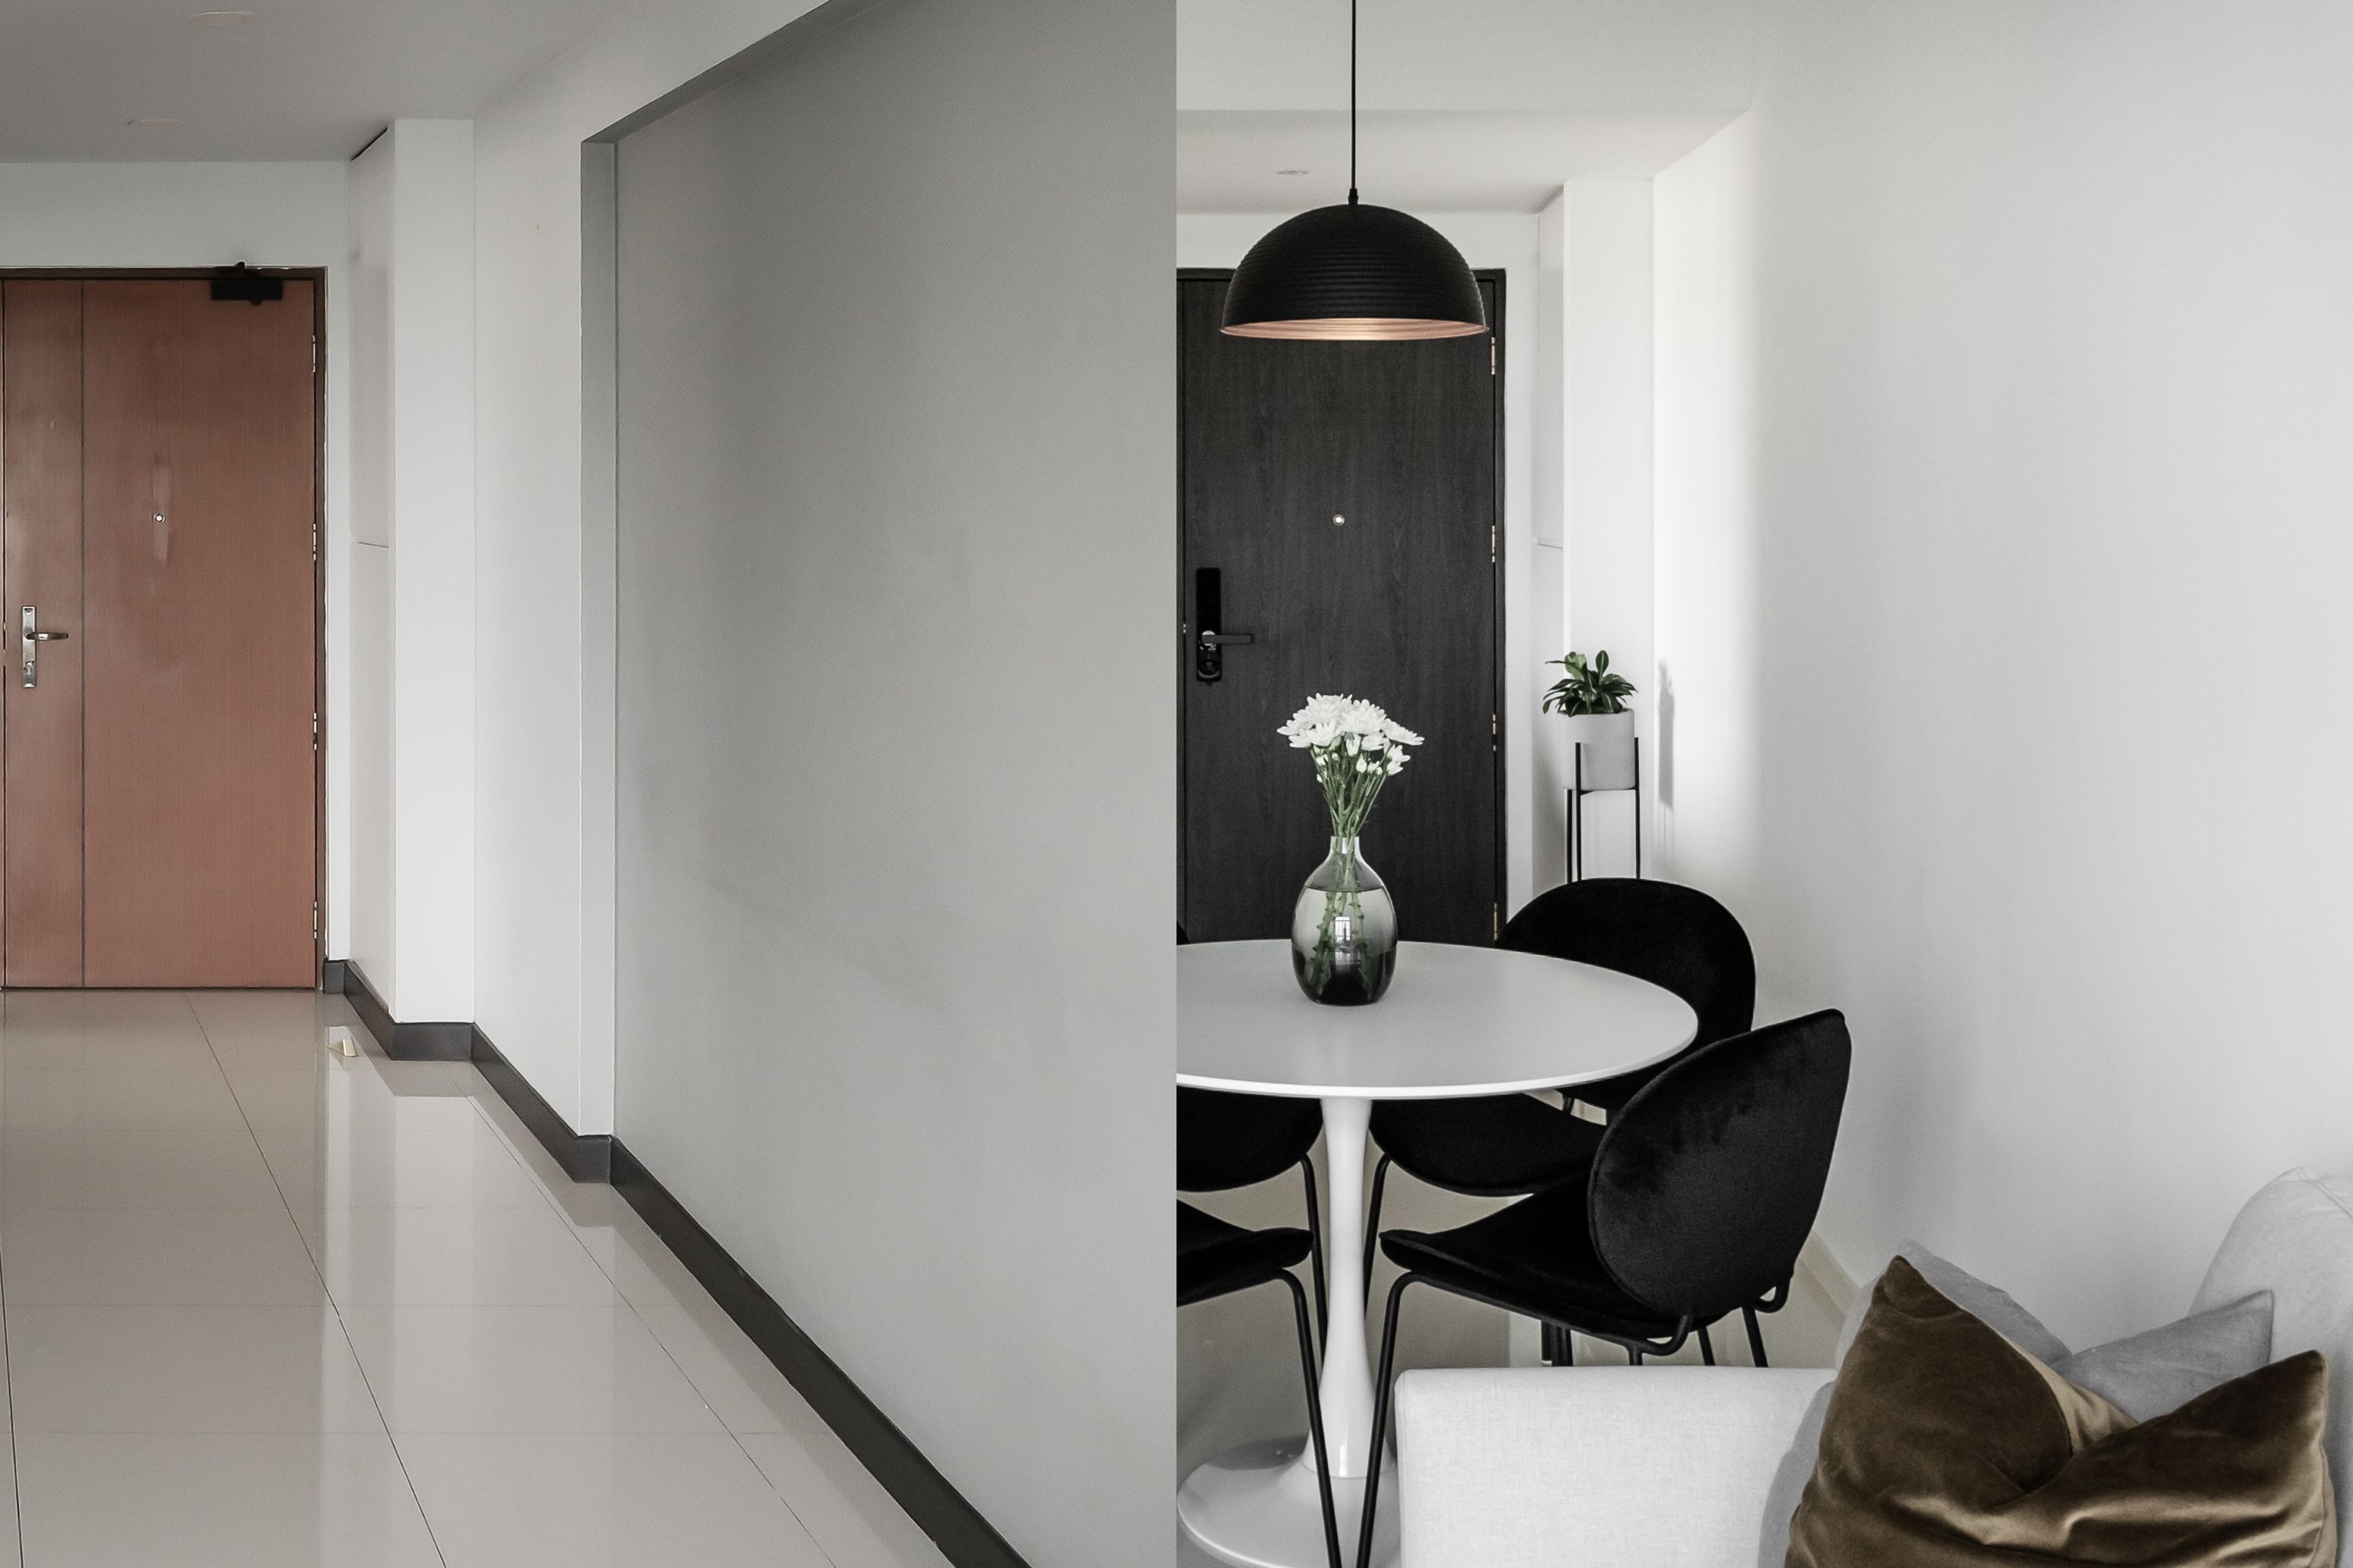
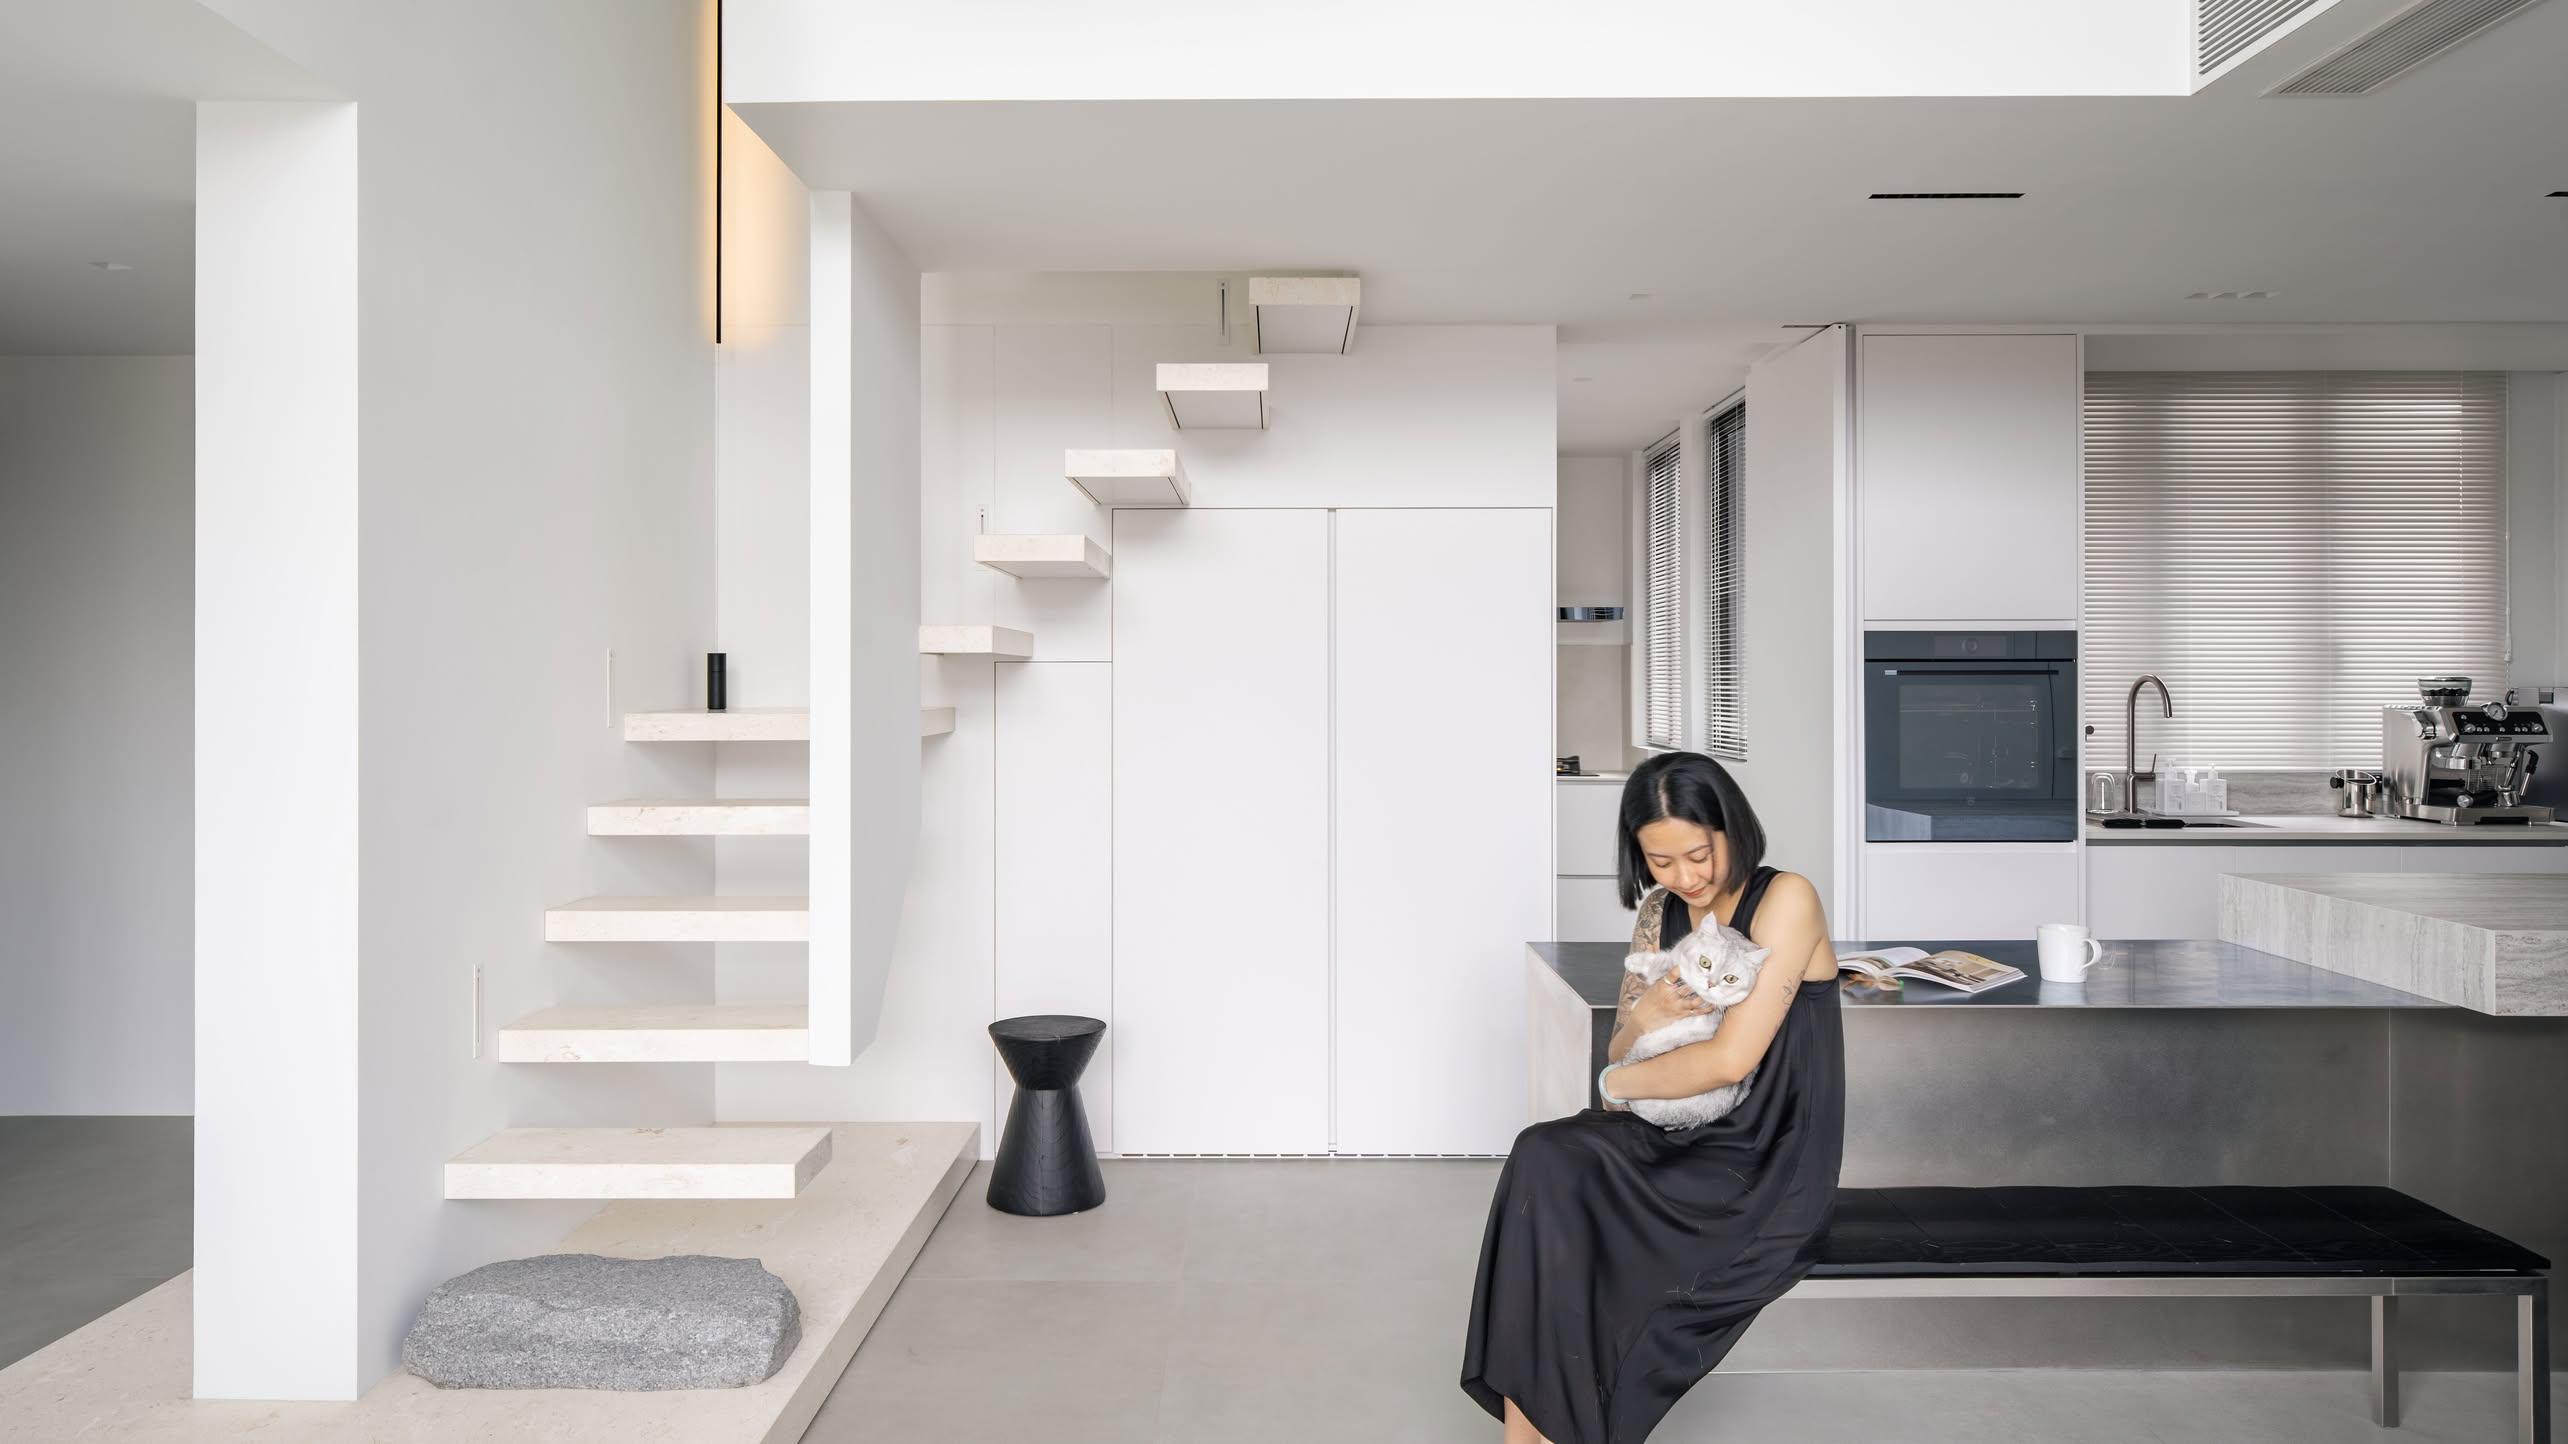
I dislike niches, the parts of walls that dip in, for no reason obvious to me. (I’ve since been told it’s to save material on walls that aren’t structural and can be hacked.) I’ve seen homes which make them a feature by painting them a different colour or installing carpentry. But as I’m in pursuit of a blank canvas, I had the niches covered up with dry wall. The point is to extend a surface from corner to corner, reducing the number of lines on it.
More from Stacked
Many readers write in because they're unsure what to do next, and don't know who to trust.
If this sounds familiar, we offer structured 1-to-1 consultations where we walk through your finances, goals, and market options objectively.
No obligation. Just clarity.
Learn more here.
Resale HDB Flat Prices Reach A Record High For Q1, But There’s Hope For Buyers Yet
Let’s start with a bit of bad news for homebuyers: resale flat prices ended Q1 2022 at a record high.…

The same principle applies everywhere else. False ceilings are great because they hide wiring for your ceiling fixtures and create a flat surface overhead. But I often see cutouts for air-conditioning units because the ceiling isn’t high enough. I decided to terminate my false ceilings wherever my air-conditioning units were, just to avoid those cut-outs.
Pipes and trunking are another culprit adding extraneous architectural lines. Conceal pipes where possible, and if you must have trunking, have them boxed up. Out of sight, out of mind.
Reducing architectural lines may be a step too far for you, but remember, we’re trying to minimise visual stimulation here. As far as I’m concerned, the fewer lines, the better.
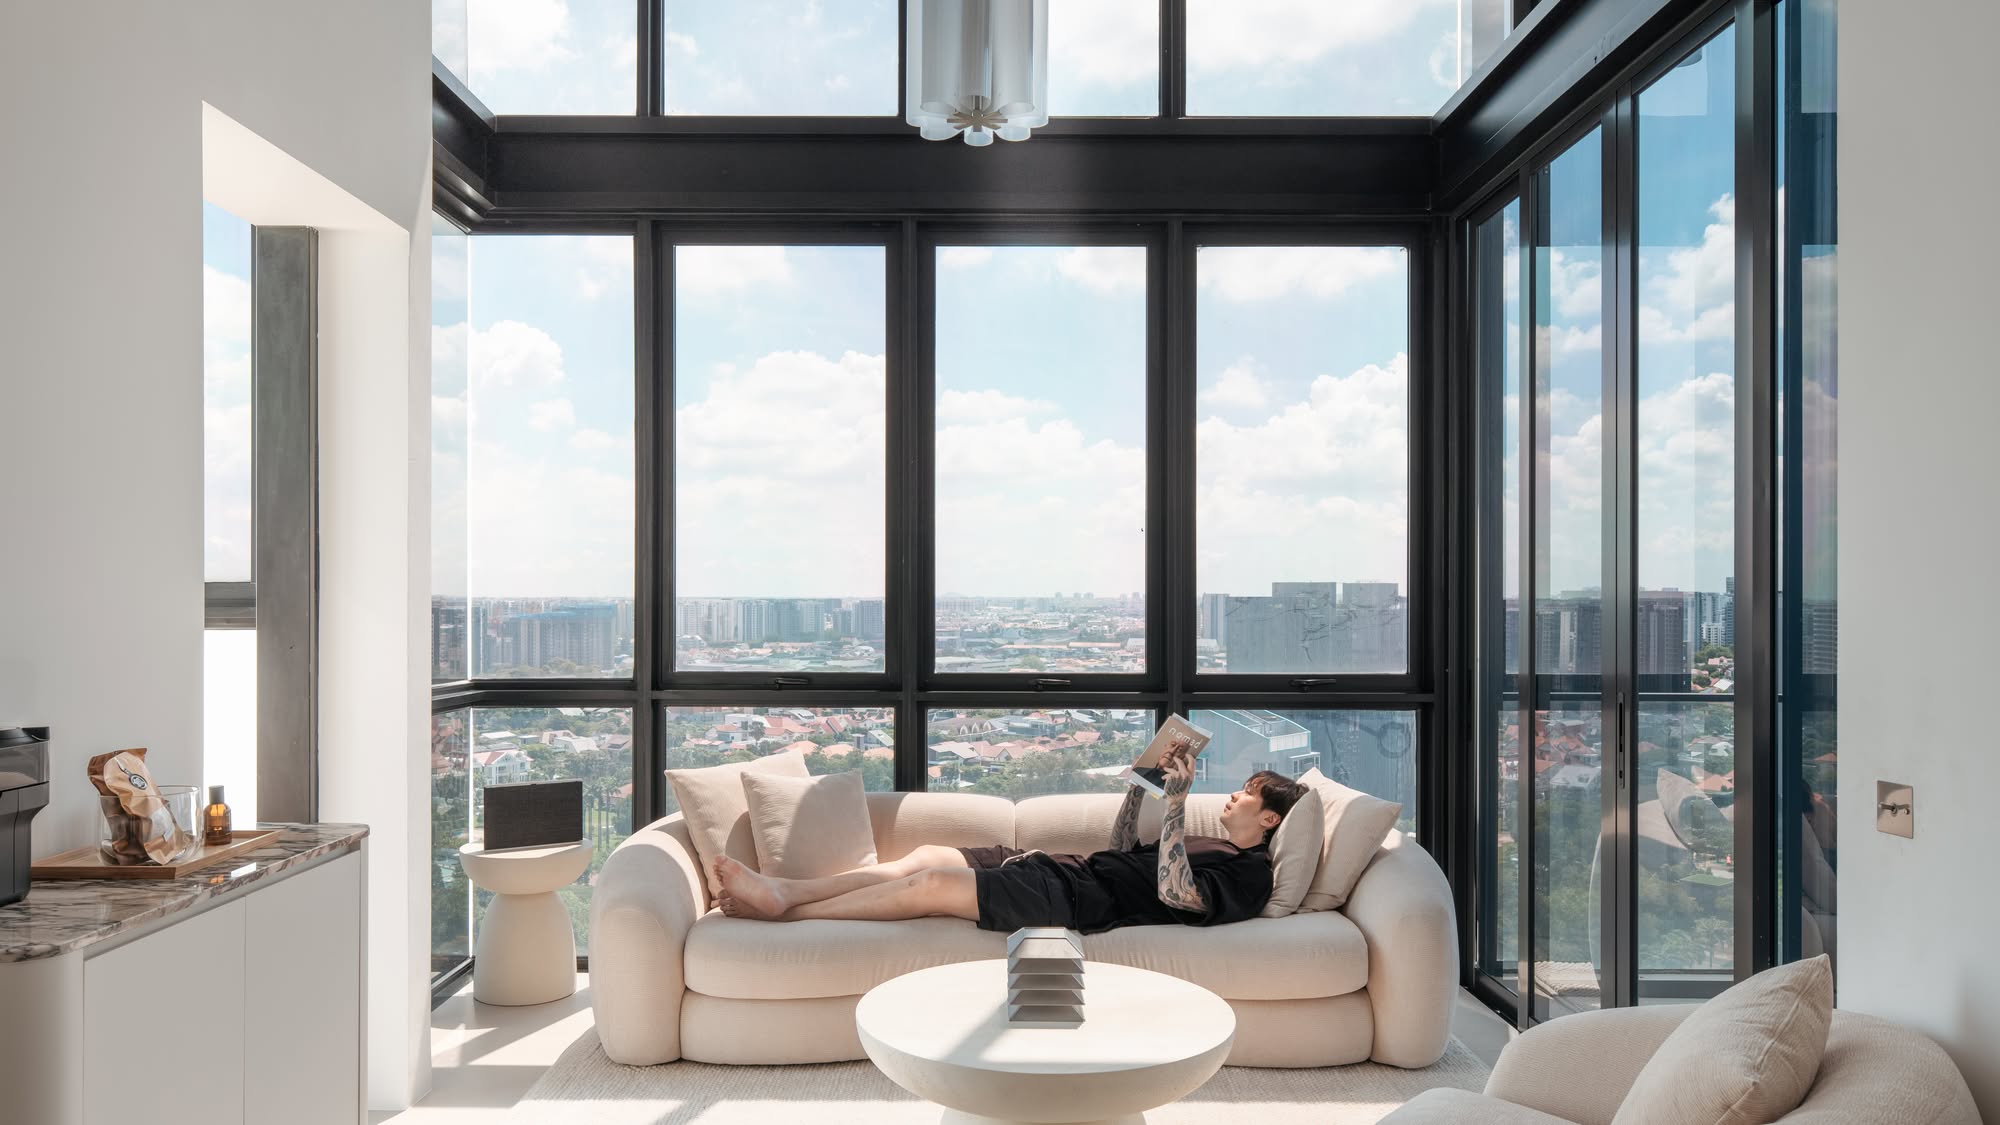
3. Keep lighting soft and warm
If you’ve followed the first two strategies, you’re already in good stead to create an introvert’s home. But if you don’t pay attention to lighting, you can really wreck all the good work you’ve done for your sanctuary-to-be.
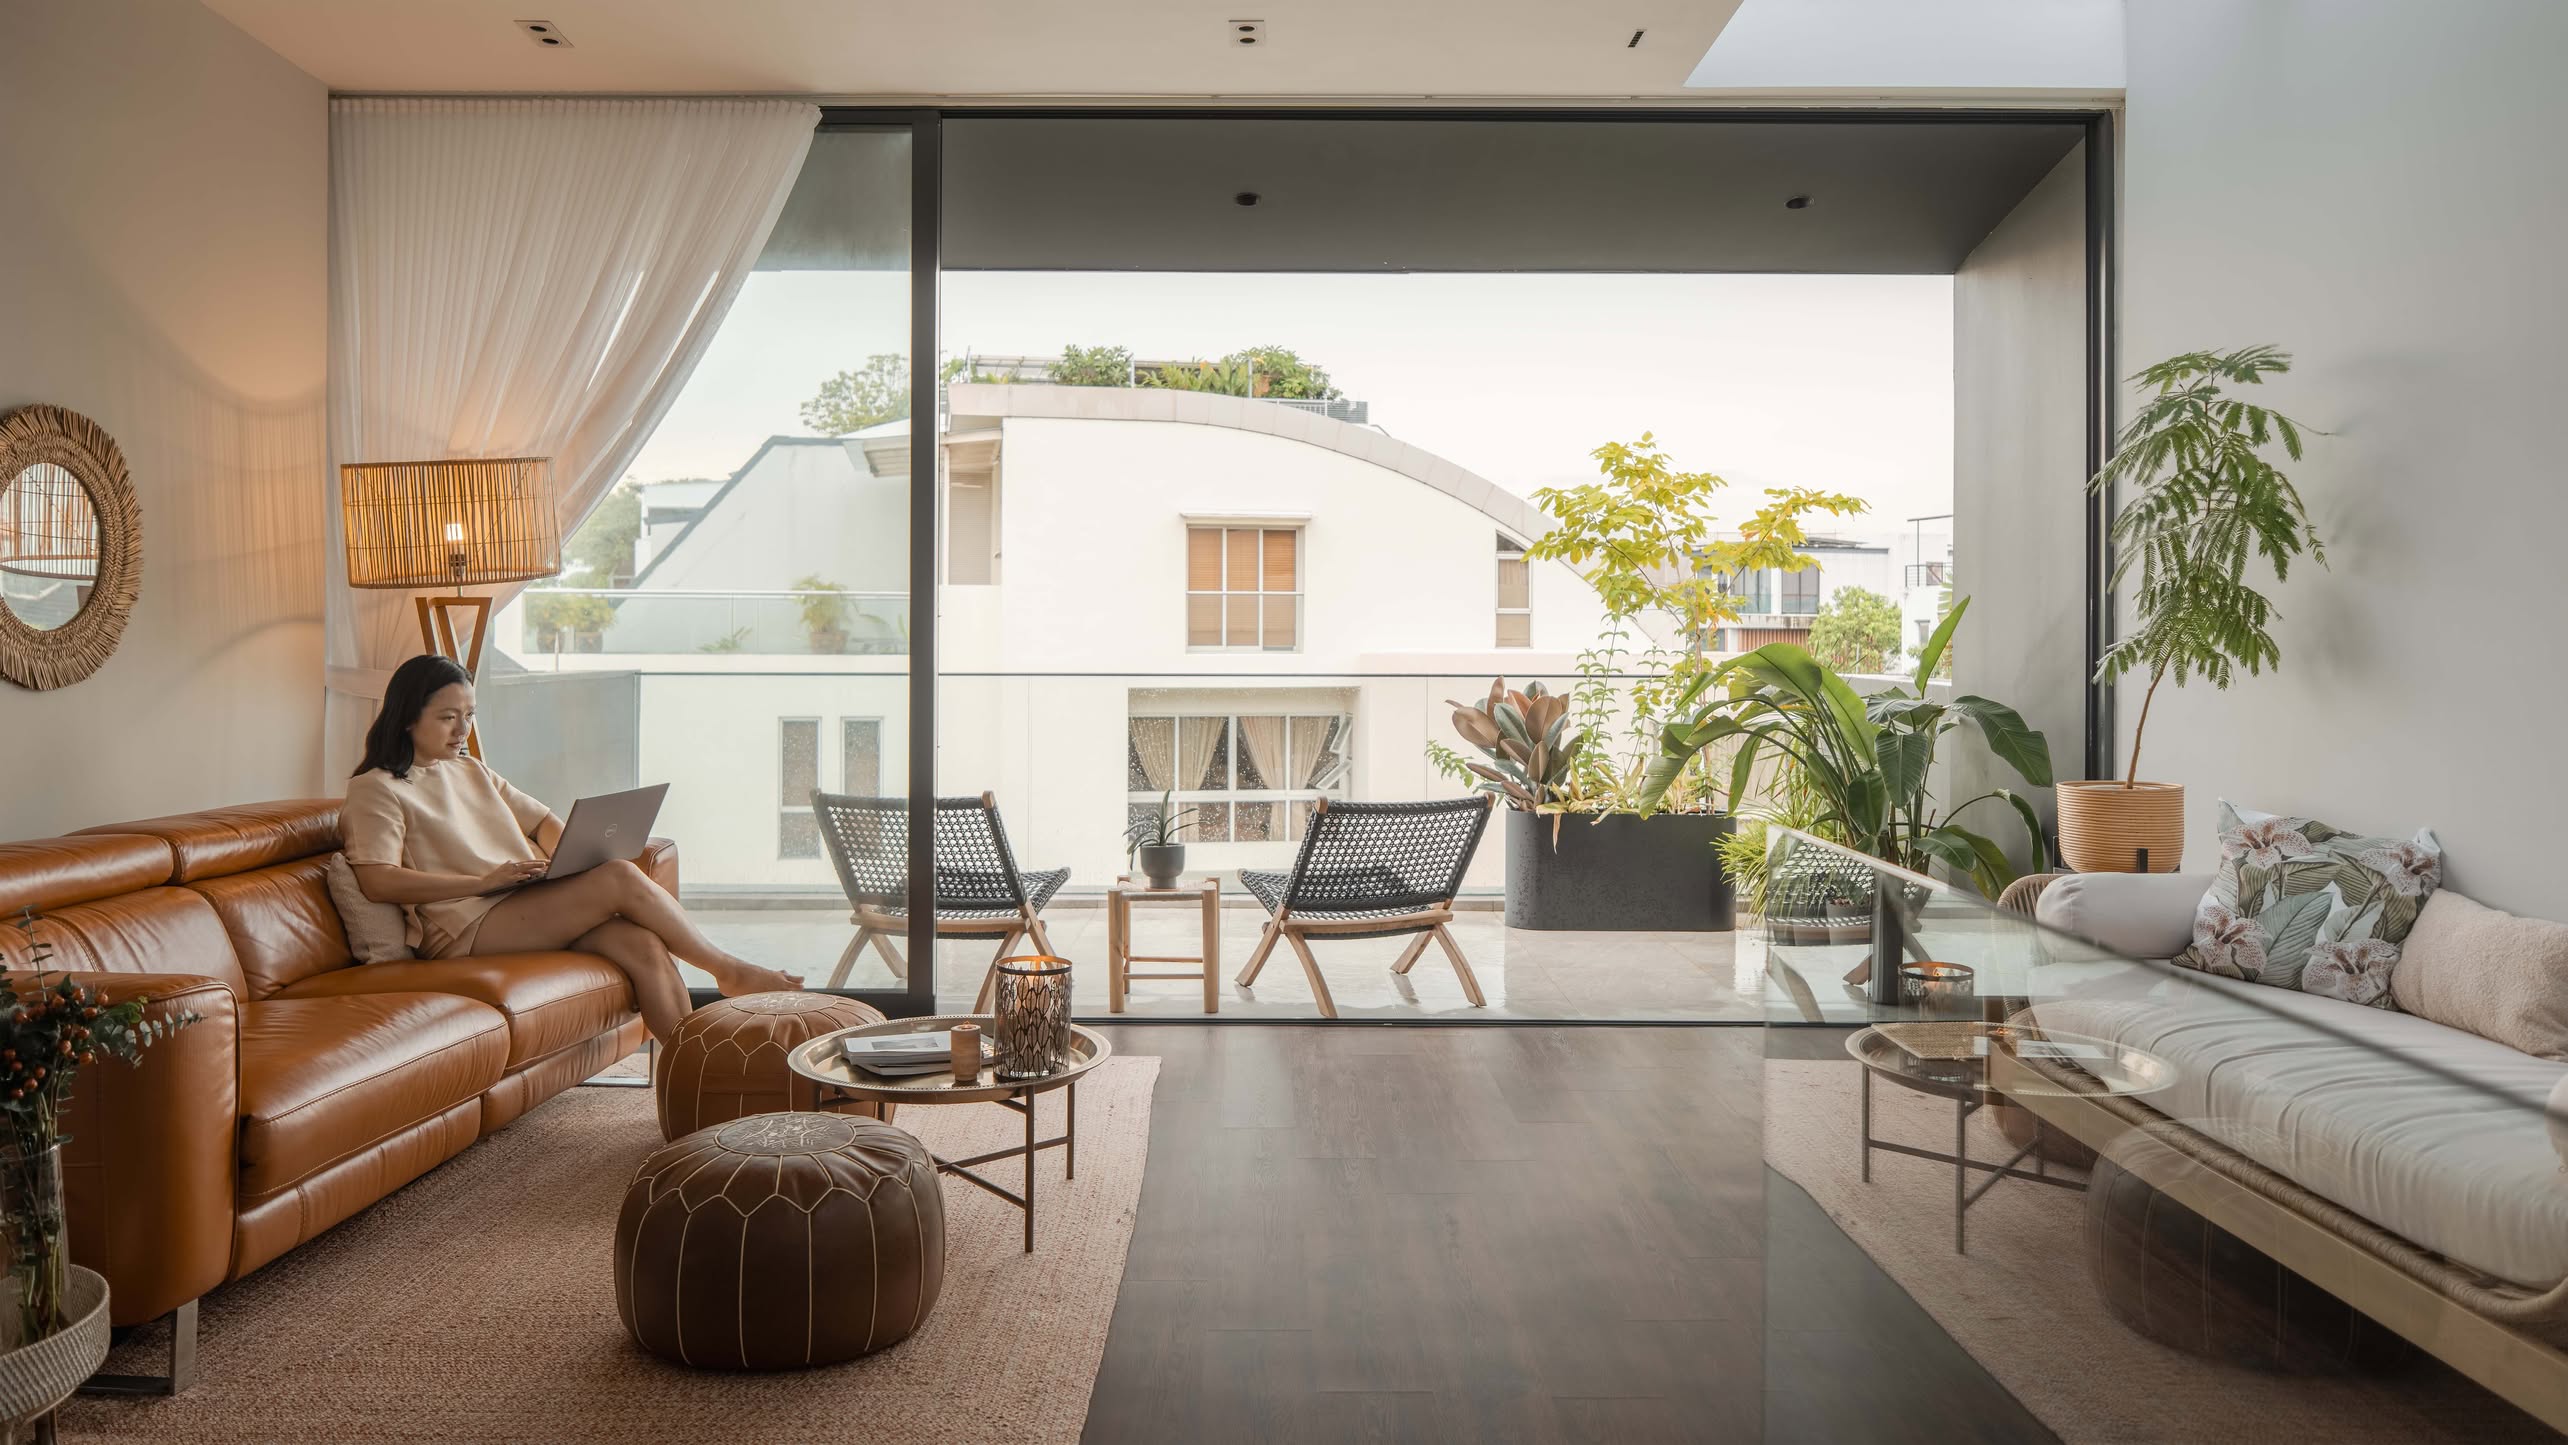
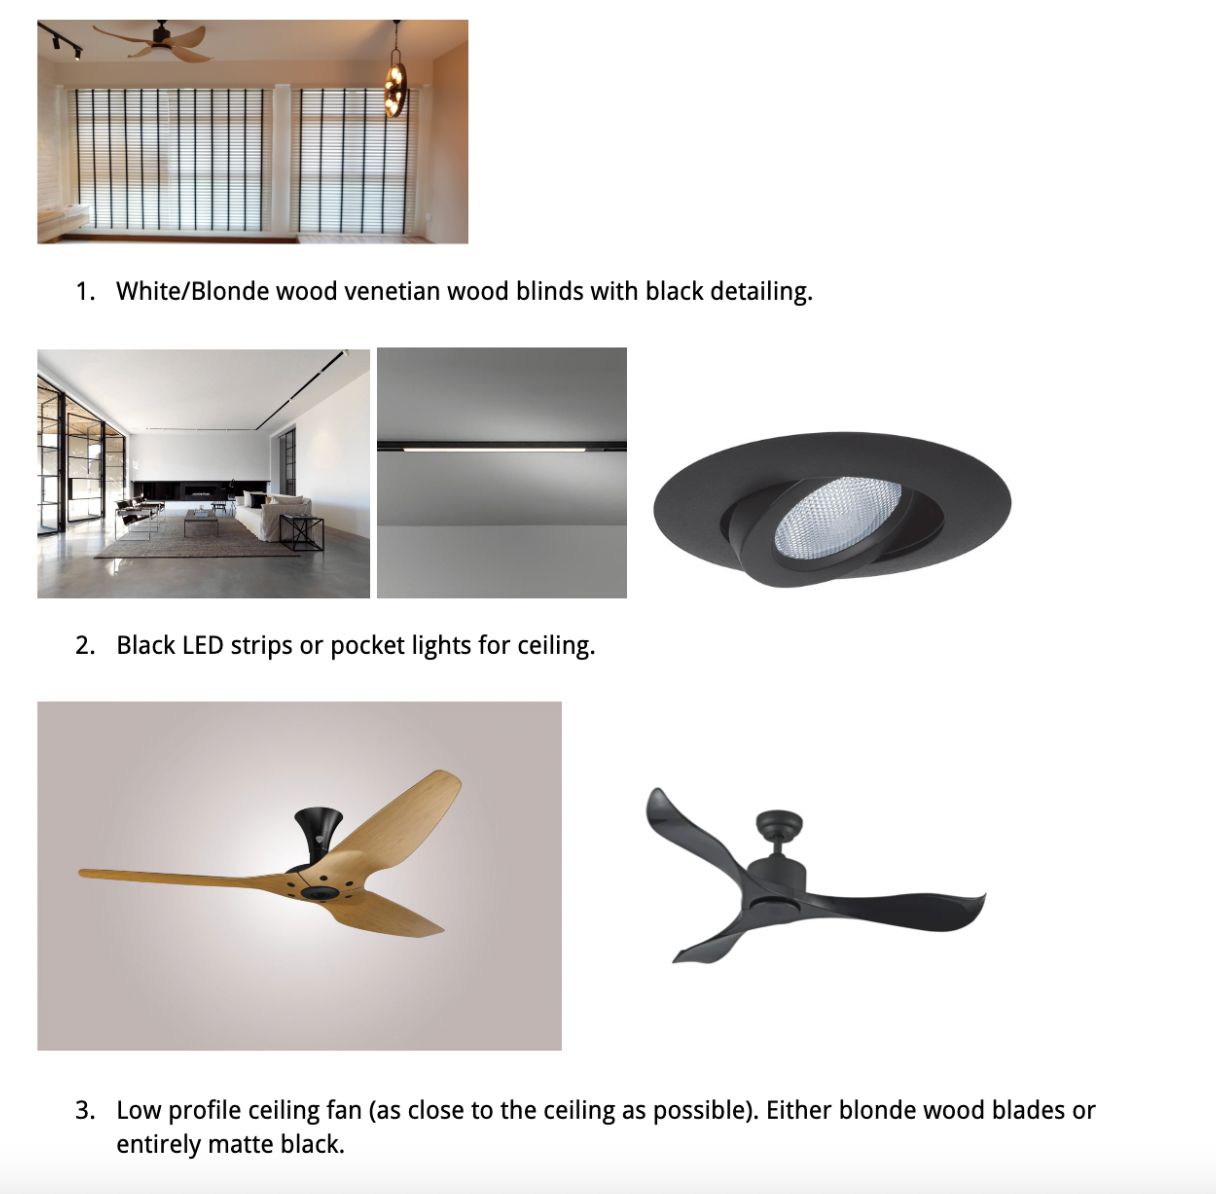
The operative word here is: diffused. As far as possible, try to avoid a single harsh central point of light in a room. I tried to have as many lighting points as possible, spread evenly across each ceiling. That way, I could use dimmer bulbs and achieve softer, even illumination in my spaces.
Cove lighting is a popular way to light a space softly, but it’s not my favourite lighting method because it creates a nook for trapping dust and attracts other unmentionables. Not very calming at all.

Where multiple lighting points weren’t possible in my home, I chose light fixtures with more than one bulb. Track lighting is another great option to spread out your light sources.
And lastly, for a home that reads cosy and mellow, I always opt for warm lighting. I dislike harsh, white light for domestic environments – I figure that when we’re at home at night, we should ideally be winding down from the day. So why extend the day with daylight bulbs?
And in the interest of keeping my colour palette consistent throughout my home, every single bulb in my flat is warm white, specifically the colour temperature 3,000K to 3,200K. Yes, even in my service yard, bathrooms and home shelter. I don’t wish to be wincing every time I turn on a light in my home.
Create a blank canvas
I truly believe interior design should resonate with your personality. I’m an introvert, and I used these three strategies to guide my renovation decisions and create my ultimate refuge from a turbulent world. But it’s just a blank canvas. In Part 3, I’ll be sharing three more strategies for furnishing your introverted space.
At Stacked, we like to look beyond the headlines and surface-level numbers, and focus on how things play out in the real world.
If you’d like to discuss how this applies to your own circumstances, you can reach out for a one-to-one consultation here.
And if you simply have a question or want to share a thought, feel free to write to us at stories@stackedhomes.com — we read every message.
Dan
Dan is a diehard introvert, freelance writer, first-time property owner, and backseat interior designer. He posts pictures of his home and writes about an odd combination of interior design, lifestyle, and self-development on his Instagram channel @stayingonthehill.Need help with a property decision?
Speak to our team →Read next from Homeowner Stories

Homeowner Stories We Could Walk Away With $460,000 In Cash From Our EC. Here’s Why We Didn’t Upgrade.

Homeowner Stories What I Only Learned After My First Year Of Homeownership In Singapore

Homeowner Stories I Gave My Parents My Condo and Moved Into Their HDB — Here’s Why It Made Sense.

Homeowner Stories “I Thought I Could Wait for a Better New Launch Condo” How One Buyer’s Fear Ended Up Costing Him $358K
Latest Posts
Singapore Property News Why Some Singaporean Parents Are Considering Selling Their Flats — For Their Children’s Sake
Pro River Modern Starts From $1.548M For A Two-Bedder — How Its Pricing Compares In River Valley
New Launch Condo Reviews River Modern Condo Review: A River-facing New Launch with Direct Access to Great World MRT Station










0 Comments