


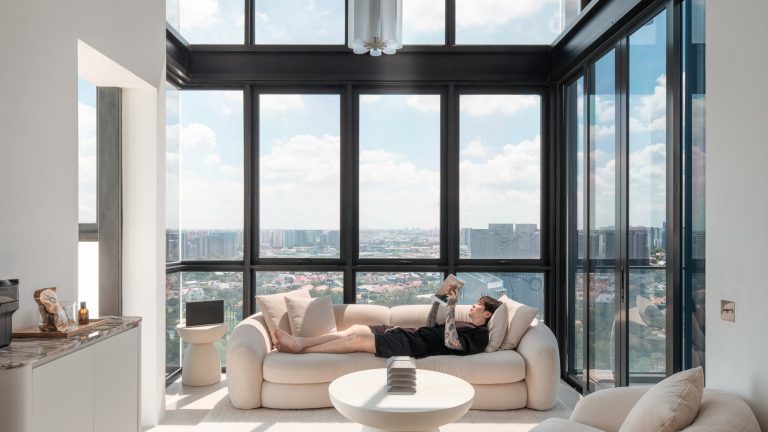


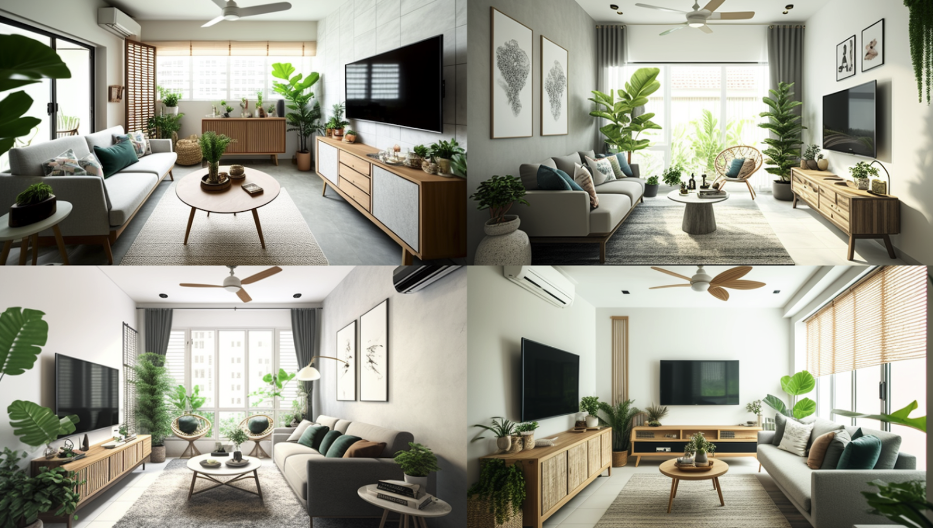
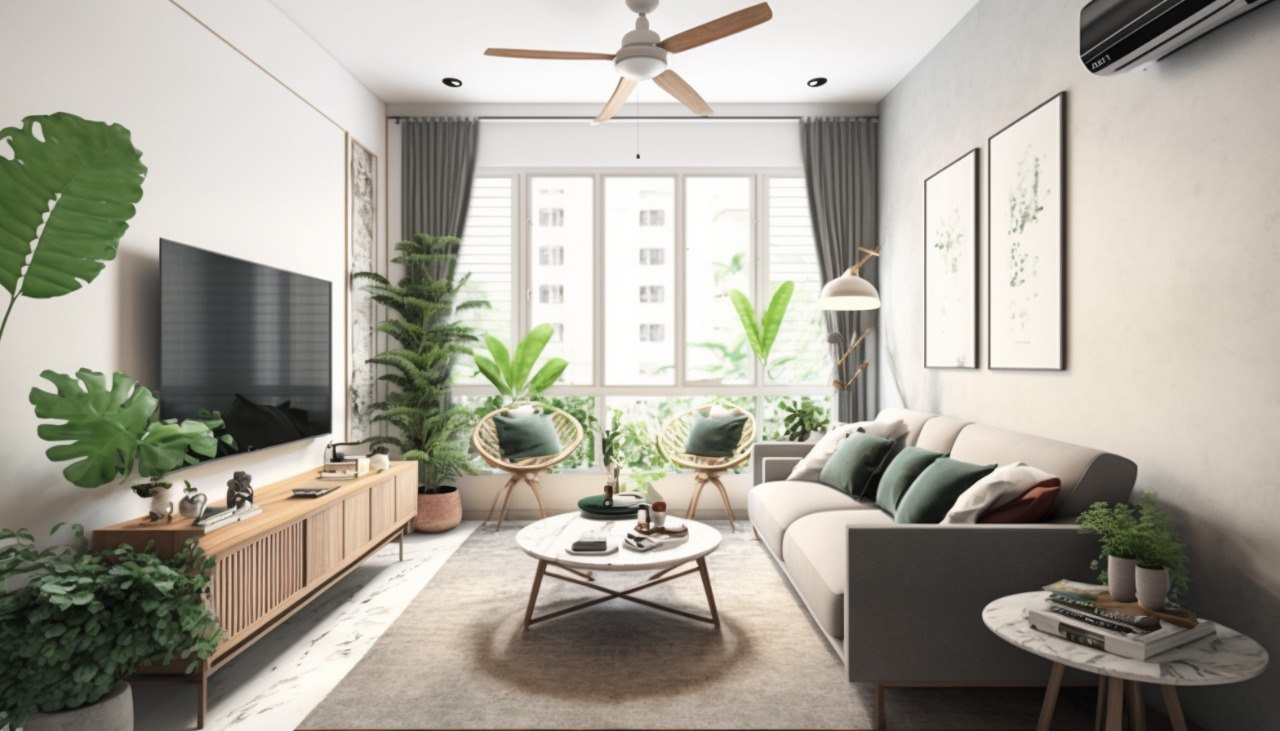
It boggles my mind that these images below were created by an AI and all I had to do was just type a few words (better known as prompts). Here’s what I used: living room, japandi, bright and airy, monstera plant, exotic ceiling fan, rattan tv counter, tv on the wall, white wash walls, square coffee table, condominium unit, 4k.
So yes, unless you’ve been living under a rock, AI is going to take over the world. And from what I’ve seen so far, this is not hyperbole.
In any case, this isn’t just all fun and games (although it is genuinely very fun to play around with) as using such a tool like Midjourney can really help when it comes to envisioning your own home.
While you can certainly delegate most, if not all, of the physical labours involved in a renovation, this particular phase is very much dependent on you. In the planning phase, you turn your ideas into something more tangible – images that would serve as a reference throughout the entire project.
So if you’re still figuring out what you want for your home, particularly how you would like it to look, here’s a guide on how to use Midjourney to help.
The challenge for many buyers today isn't access to information.
It's interpreting that information in a way that makes sense for their finances, goals, and stage of life.
Over time, that's also why we decided to work with agents who shared the same data-driven and advisory-led approach behind our editorial, consultants who could help readers think through decisions more objectively, rather than simply push transactions.
Today, the team has worked with more than 2,000 clients across over $5B in property transactions.
Generating Images Based on Your Prompts
Midjourney’s image generation feature is particularly useful if you have a general idea of what you want but is struggling to visualise the final result.
With Midjourney, you can input your prompts and preferences, and the platform will generate a 3D image of what your space could look like.
For instance, let’s say you’re planning to renovate your living room. You can input your preferred colour palette into Midjourney, and the platform will generate a 3D image of your living room with those colours applied. You can then adjust the colors as needed until you find the perfect combination.
But Midjourney isn’t just limited to color schemes.
The platform can also generate images based on your furniture preferences, room layouts, and even lighting choices. This allows you to experiment with different design choices before committing to any one option.
It also takes into account factors like lighting and space constraints, giving you a more accurate representation of what your space could look like.
You can enter prompts like mid-century modern, industrial office, or Scandinavian living room, or even go more specific such as closed cabinetry or herringbone tiles.
If you don’t know about some technical terms in interior design, you can also aim for the effect you want. Prompts such as calming, moody, bright and airy, cosy, and natural light are very much acceptable, and the AI will easily translate them into an image for you.
Getting Started with Midjourney
Now that you understand how Midjourney can help you generate images, how do you exactly get started using the tool?
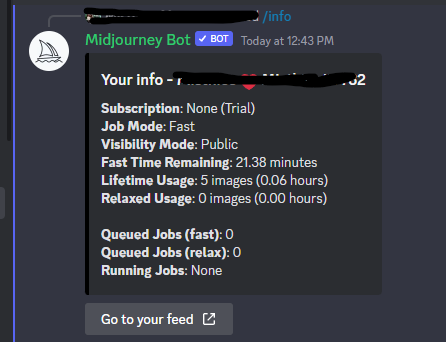
First, let’s discuss its business model. Midjourney is a subscription base, and yes, it has a free and paid version. With the free subscription, you have a limited number of images before you need to subscribe.
You’ll need to type in a command before the AI can generate your image, and this is how their payment system works. You can have around 25 free uses of the /imagine command before you hit the paywall.
Let’s say you wanted to generate an image for your planned bedroom. You can type the command: “/imagine scandinavian bedroom, cosy, king size bed, clean lines, wooden floor, IKEA TUJFORD, 4k” and will have used 1 of your 25 free usages.
At the time of writing, Midjourney can cost you from USD 8 to USD 48 every month.
The main difference between these subscription plans is that the higher the payment plan, the faster it can generate your images. As a homeowner, though, the basic plan should be quite sufficient, while the higher payment tiers are best suited for architects and IDs who are handling multiple projects.
Next up, here’s a step-by-step guide on how to use Midjourney efficiently (you can also use their own guide here).
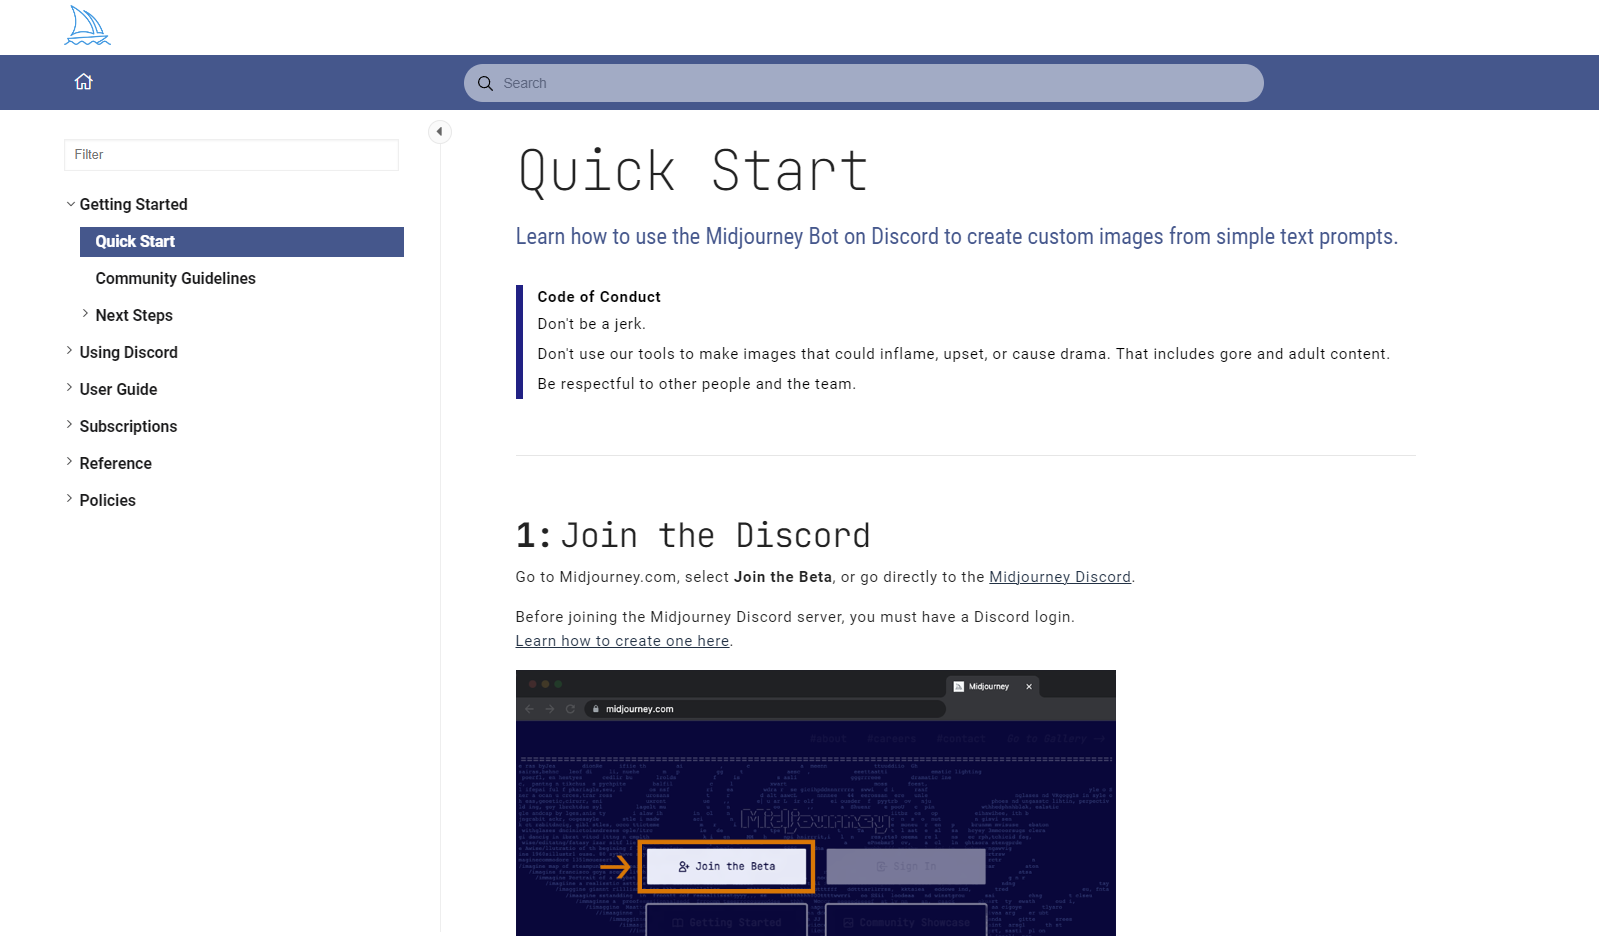
Step 1: Join the Midjourney Beta
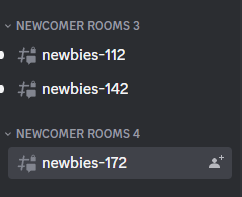
Go to their website, midjourney.com, and click the “Join The Beta” button on the lower right of the screen. You will be taken to Discord and will be sent an Invite.
After accepting the invite, you’ll have to click on one of the newbie chatrooms to start using the platform.
Step 2: Sending Prompts
As soon as you enter the chatroom, you’ll immediately see the other prompts and images generated by Midjourney. This is because Midjourney images are public, but if you’re not comfortable about others seeing your prompts and the images you want to generate, you can always go premium so you can have your own private channel.
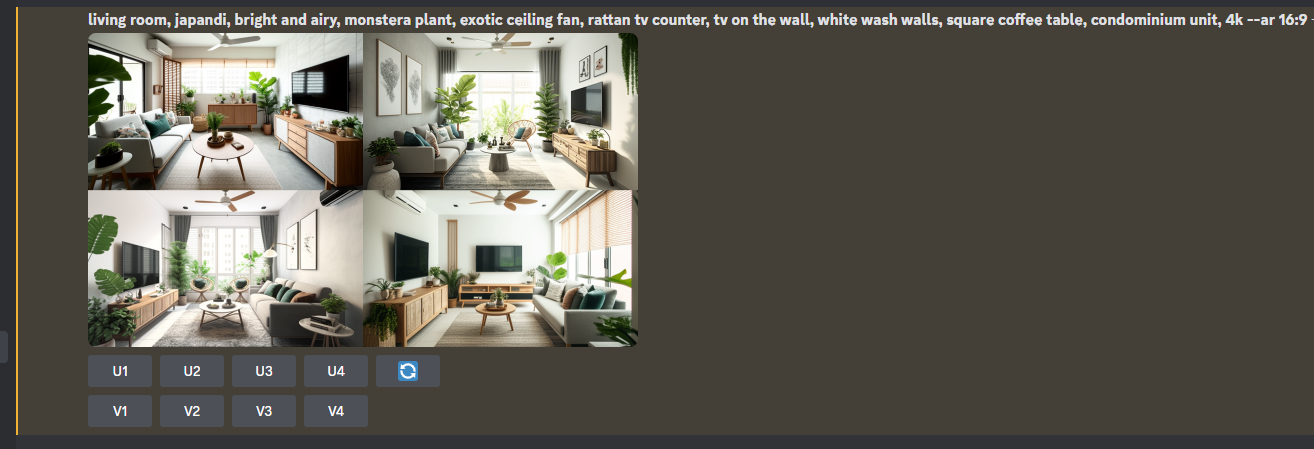
At the chatbox below, typing the command “/imagine” will immediately show you a “prompt” textbox where you’ll enter the parameters for the image you want. Here’s one of the commands used earlier:

/imagine living room, japandi, bright and airy, monstera plant, exotic ceiling fan, rattan tv counter, tv on the wall, whitewash walls, square coffee table, condominium unit, 4k –ar 16:9
Each prompt is separated by a comma and can consist of either one word, a phrase, or even a sentence. You’ll also notice that at the end of the prompts, there is a “–ar 16:9” which means you want the AI to make the images 16:9.
Step 3: Wait For The Image And Modify It As Needed
After you send your command, you’ll need to allow some time for the AI to generate your image, depending on how busy the server is. Again, this is where the premium subscription factors in, giving you more server time, which means faster image generation.
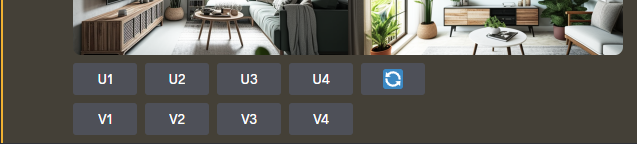
Once the AI is done creating your image, you’ll see a number of buttons below the four sample images it generated. These options give you more opportunities to improve the image, like upscaling it. Here is a quick explanation of what each button stands for:
- U1, U2, U3, and U4 each represent the images in a clockwise direction starting from the lower left. Clicking any of these buttons sends a command to the AI to upscale that particular image. For example, if you want to increase the resolution of image number 2, you can click “U2.”
- V1, V2, V3, and V4, on the other hand, are for creating variations of the specified image. If you particularly like image 3 and want to use it as a base for other alternatives, you can click the “V3” button.
But what if you feel like these images are not what you’re looking for? Well, you have two options, either enter a new set of prompts or click the redo button, which is the one with circular arrows.
Quality In Quality Out
But before you begin, the most important thing to learn is really about the prompts.
Midjourney is powered by an AI, which means it falls under the common computer law of “GIGO” or garbage in, garbage out. In other words, the quality of the image is entirely dependent on the quality of the prompts.
Below is a sample prompt that’s too generic and the corresponding image that Midjourney created:
/imagine recommended kitchen layout for a couple, good lighting, kitchen island, cabinets, storage space

While the AI still created a kitchen layout but it may not be exactly what you have in mind. You’ll also notice that the photos are quite blurry since the resolution is not high. Still, it can be a good headstart for some if they don’t know exactly what they want and then work their way from these generic shots.
For the benefit of messing around with the AI’s response to a badly constructed prompt, here’s another typical prompt that I see people use:
/imagine kitchen layout, king size bedroom, bathtub, large dining table, large running lights, sconces
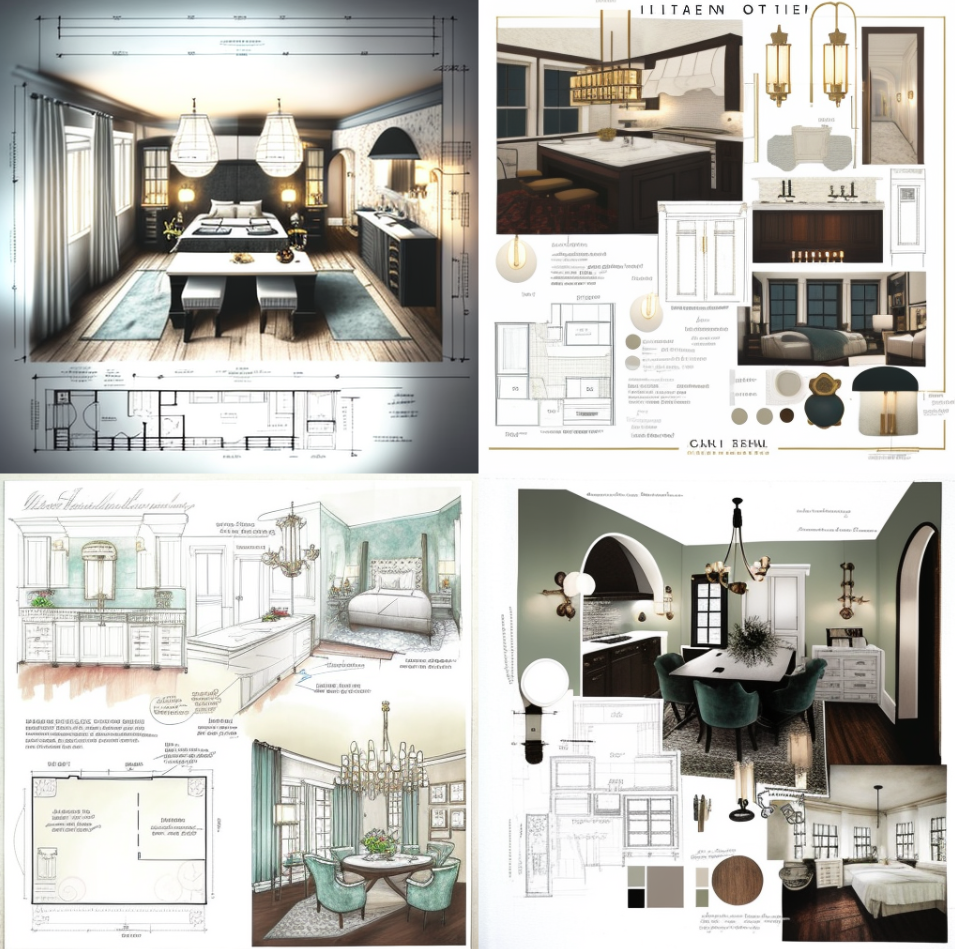
As you can see, it tried to create the image based on the prompts and it was quite a mess.
If you want to ensure you get a good image, you can add in some prompts such as the ones below:
- “magazine quality shot”
- “high-resolution photography”
- “interior design”
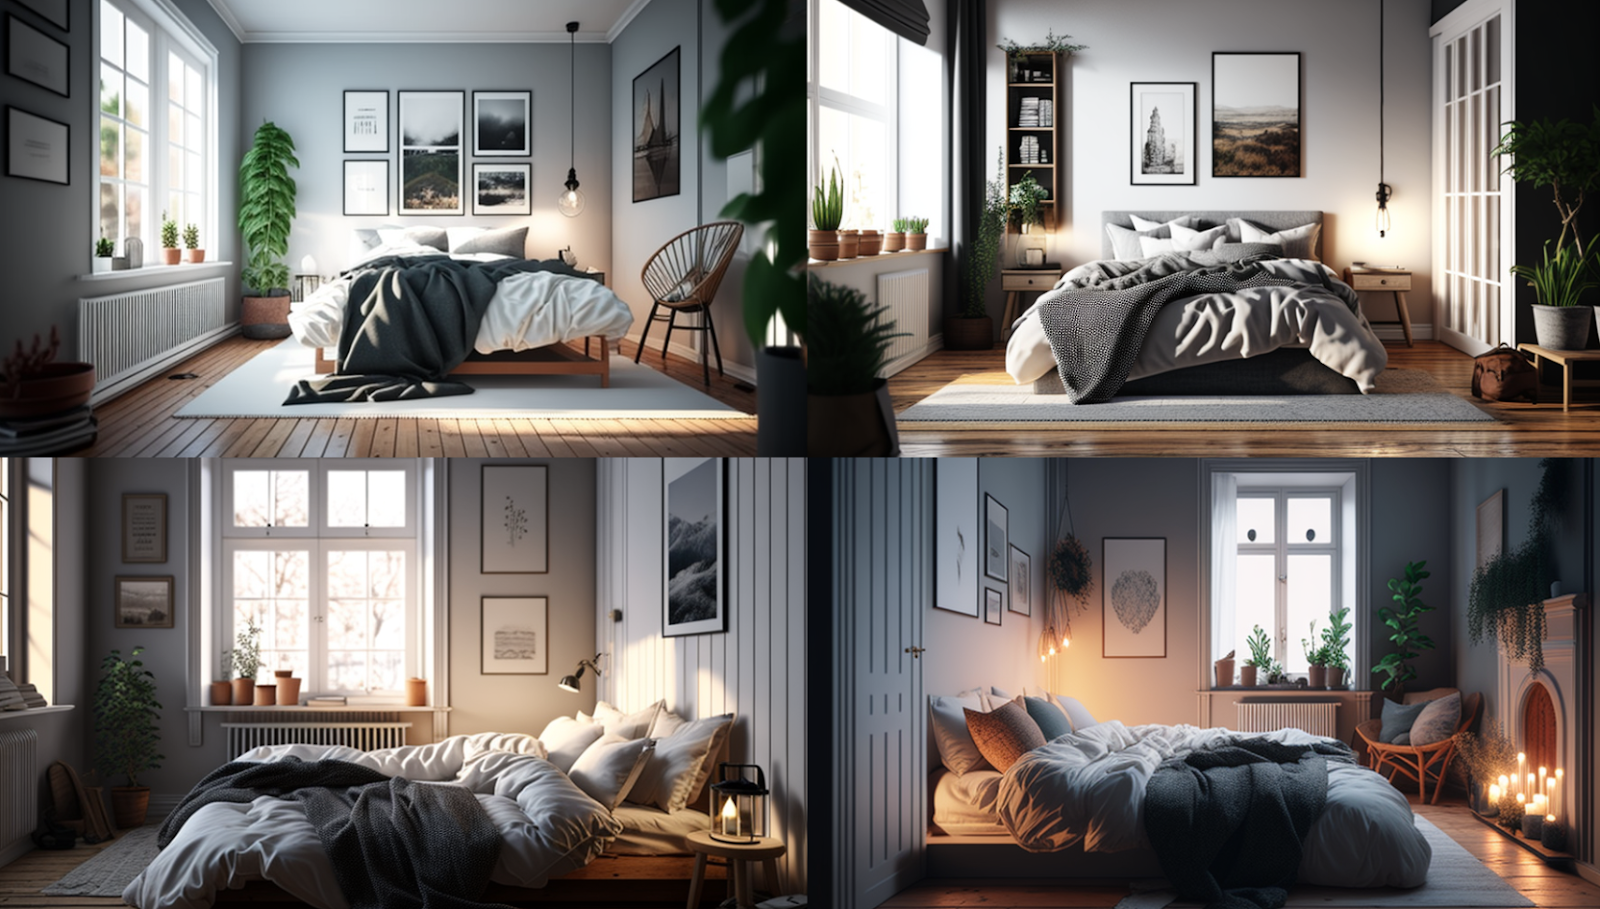
To help give you a good idea of what images Midjourney generates, here are a few examples of what I did on the Midjourney discord channel:
/imagine scandinavian bedroom, cosy, king size bed, clean lines, wooden floor, IKEA TUJFORD, 4k –ar 16:9
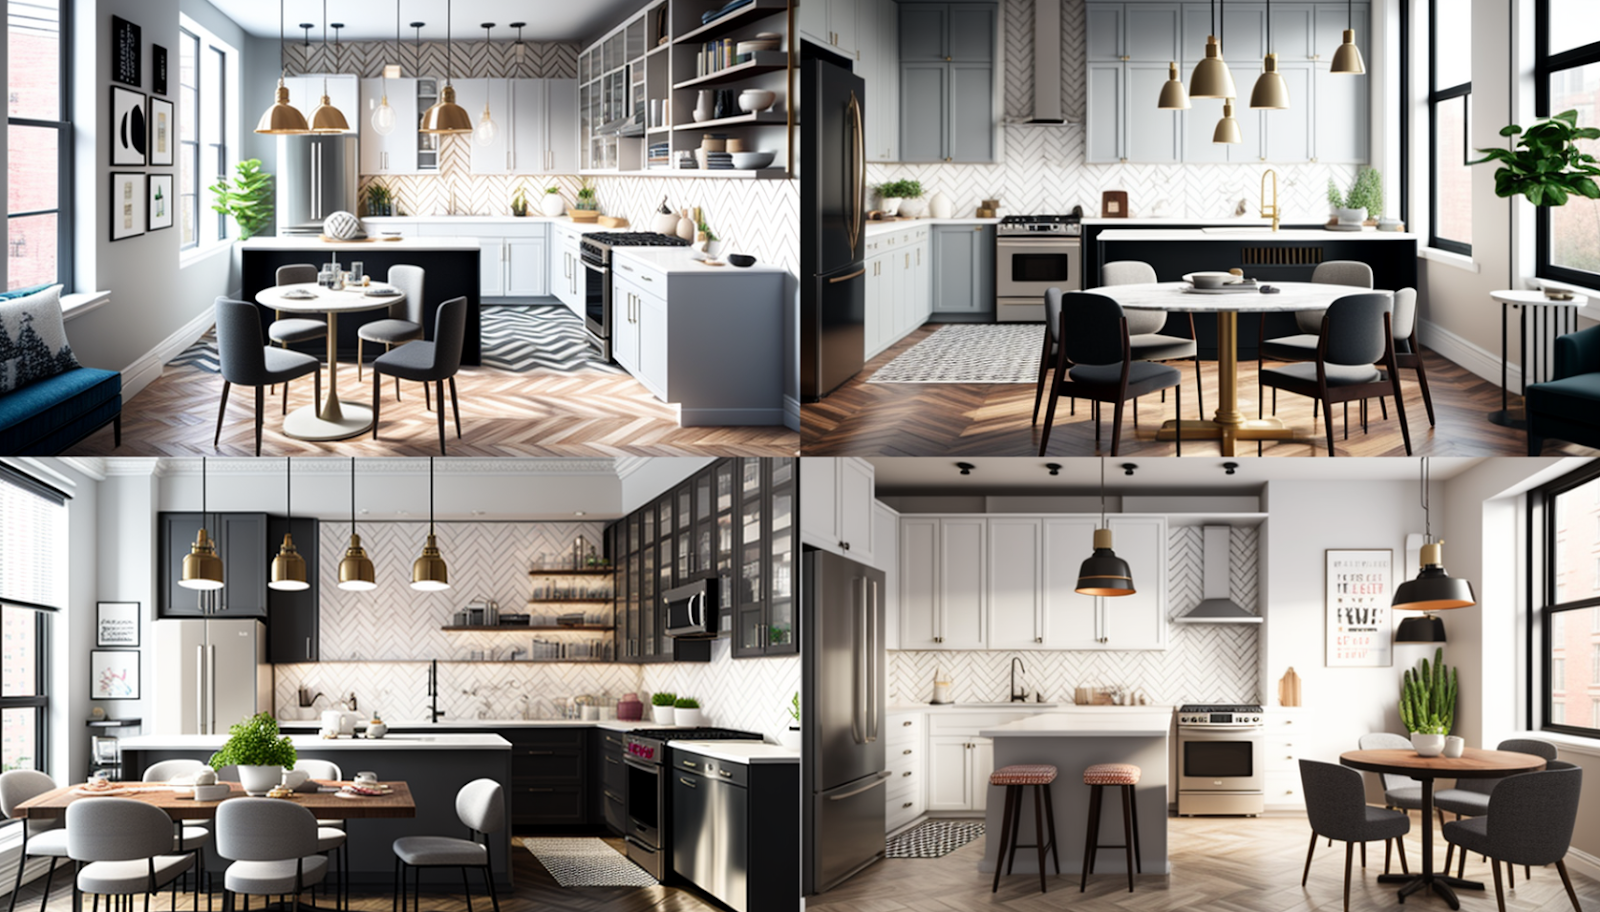
/imagine a mid-century modern kitchen, pendant lights, island table, open shelves, bright and airy, condominium, herringbone tiles, 4k –ar 16:9
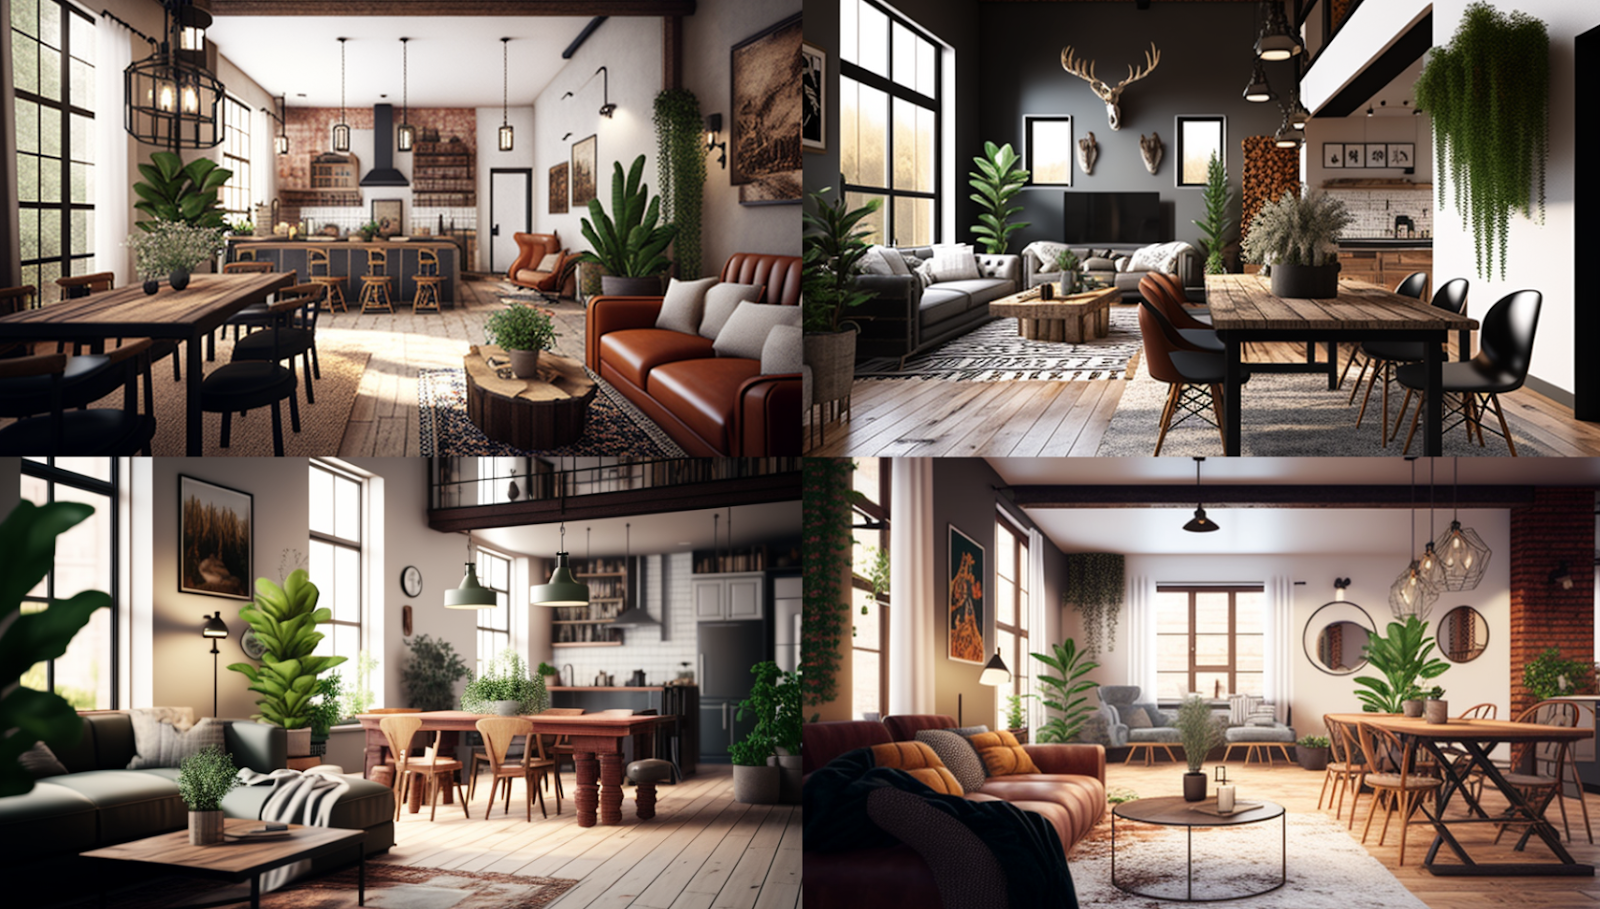
/imagine open concept living room and dining room, industrial design, warm and cozy, rugs, sconces, wooden dining table, indoor plants, 4k –ar 16:9
Also, what is especially cool is that if you already have a base image in hand, such as something you found on Instagram or Pinterest, you don’t have to go create text prompts describing these photos. Instead, you can just upload them and then just add some more text prompts to customise them further.
Plan Your Reno Journey Easier With Midjourney
Renovating your home can be a daunting task, but with Midjourney, it makes your life so much easier. By using Midjourney’s powerful image generation, you can visualise your space better and ultimately streamline the renovation process.
It’s incredibly exciting to see how far AI has come this year, and it’s only going to get better and better. For those who’ve read this and tried it out, do share your creations with me at stories@stackedhomes.com!
At Stacked, we like to look beyond the headlines and surface-level numbers, and focus on how things play out in the real world.
If you’d like to discuss how this applies to your own circumstances, you can reach out for a one-to-one consultation here.
And if you simply have a question or want to share a thought, feel free to write to us at stories@stackedhomes.com — we read every message.
0 Comments