Tour A Tampines BTO Transformation: A Colourful Eclectic Home That Doubles As A Florist Space
Designing a home is difficult enough even when you favour a certain style, so what happens when you don’t really have a specific design in mind? With no clear style to follow, renovating a home may result in an outcome that’s utterly chaotic (at its worst).
For Sarah (*not her real name for privacy reasons) and her husband, they didn’t follow a specific style for their home situated near the heart of Tampines – a new BTO project named Tampines GreenVerge. But they were able to successfully mesh everything that they liked together.
Call it eclectic or a creative mishmash full of charm, but their design is basically all things that they like having in their living space. “Our home actually has no one specific style or theme,” declared Sarah.
Presently, only the couple is staying at their house, which they designed not only as their private place of respite but also as a home-based florist business. Let’s discover how they went through their reno journey.
How The Renovation Journey Turned Out
Sarah said their initial budget for the reno was $65,000, but as many other homeowners have discovered, they had to allocate more along the way. In their case, it was the final materials selections that caused them to add more. “I wanted to have better quality materials to achieve the overall look that I was going for,” she said.
Needless to say, going for a comfy and cosy home was a priority, but they also wanted to incorporate a space for Sarah’s home-based business.
“I own a small home-based florist business, and so the brief was that I wanted to have lots of space for my crafting. At the same time, I also wanted to have enough privacy because I hold workshops in my home as well.”
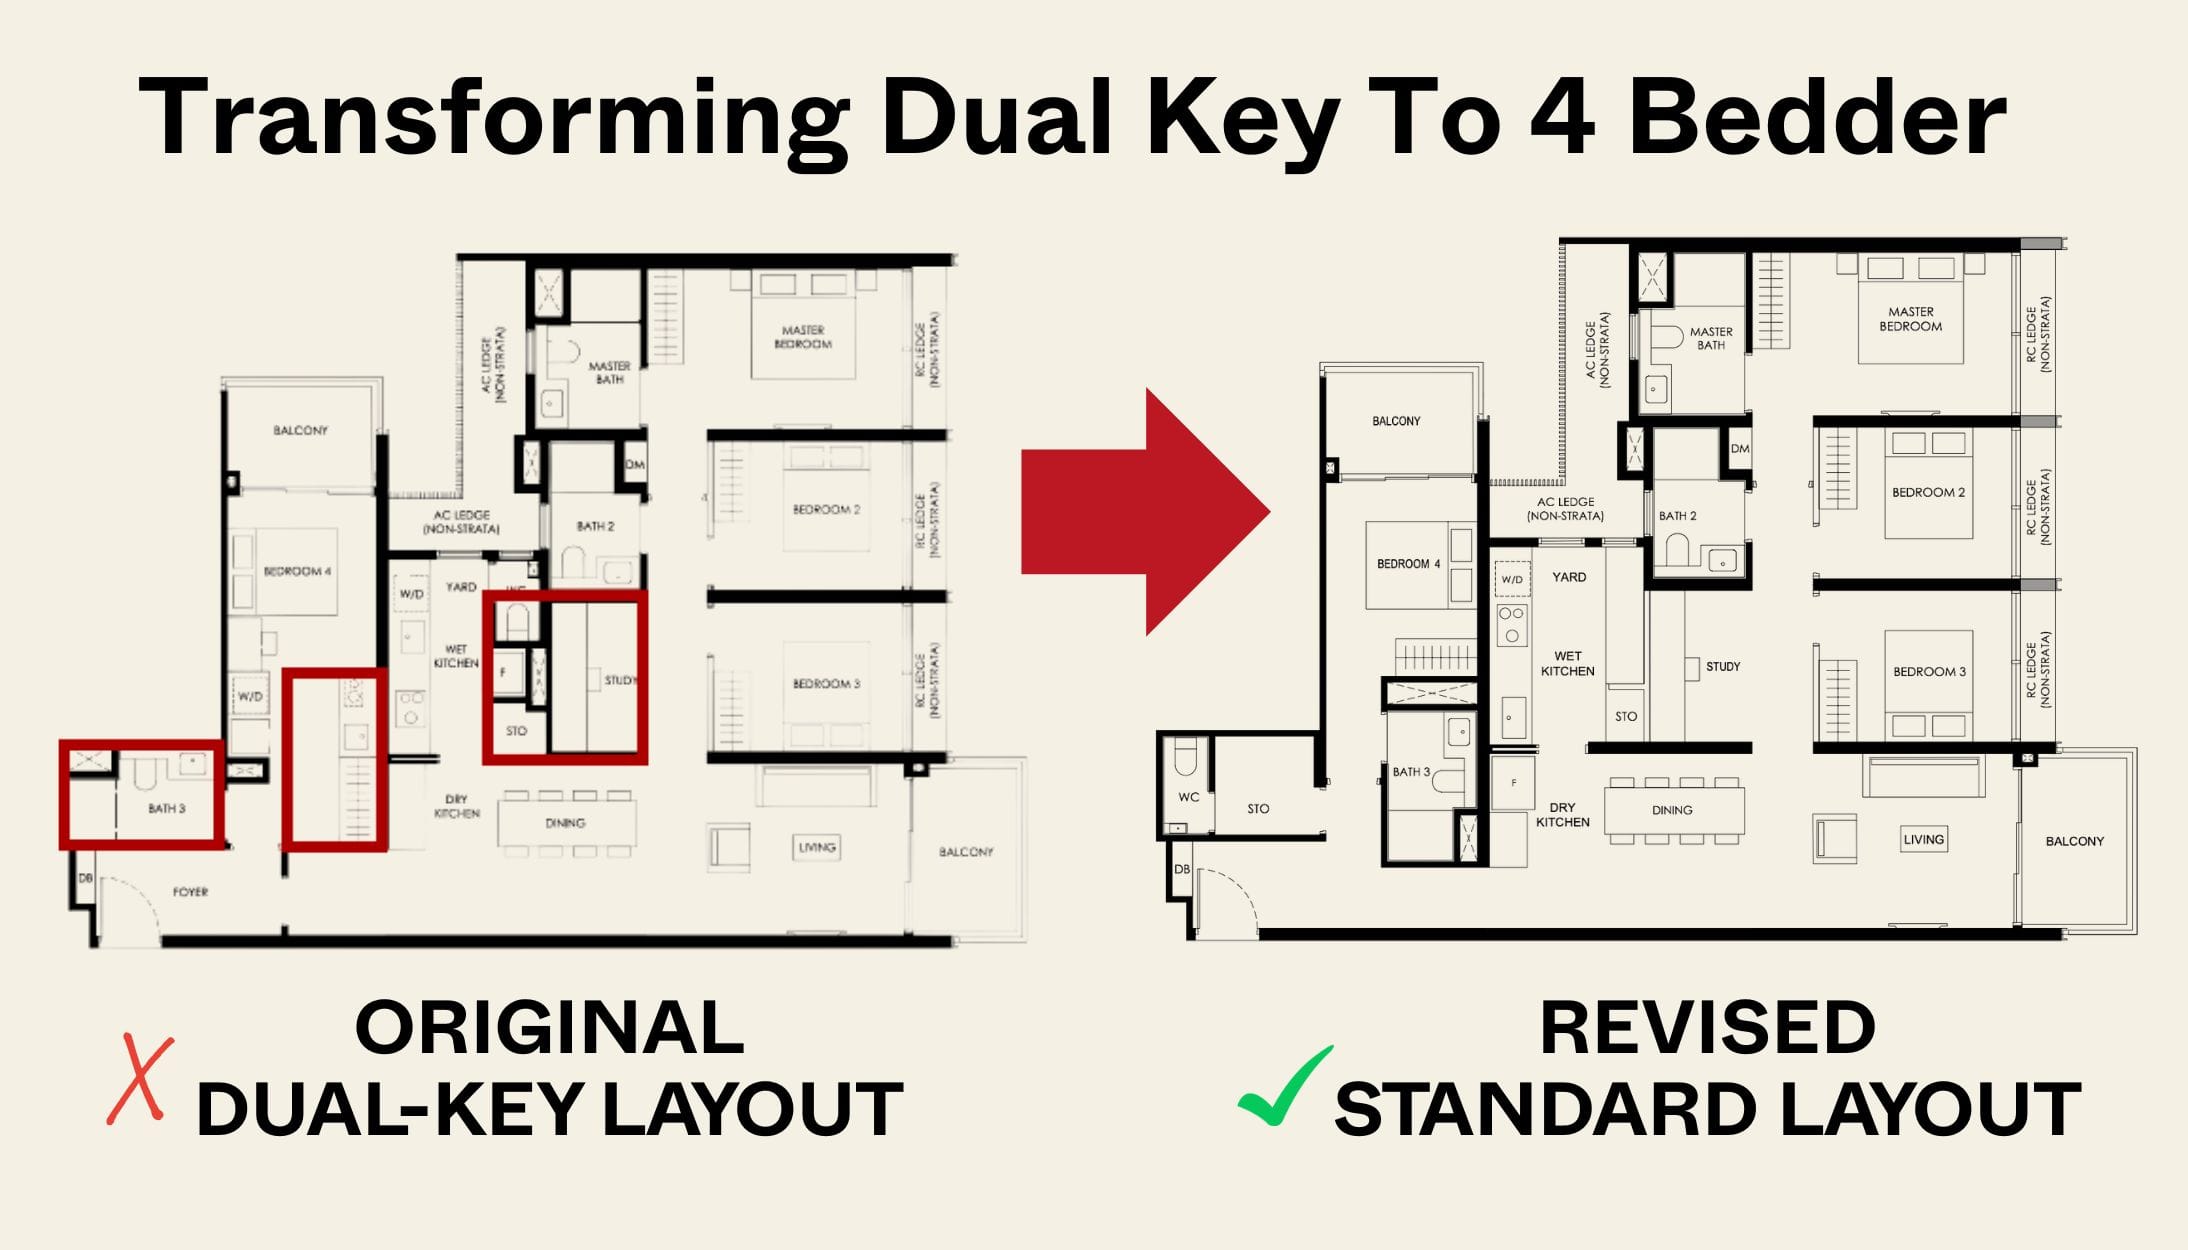
Here’s a look at the changes they made to fit into their lifestyle, as seen here in the before and after of their floor plan.
Before:

After:

Let’s take a tour of their home.
Living and Dining Area
Their first order of business was to ensure they were able to enjoy a bigger living room, so they hacked away one of the bedrooms adjacent to the living area.
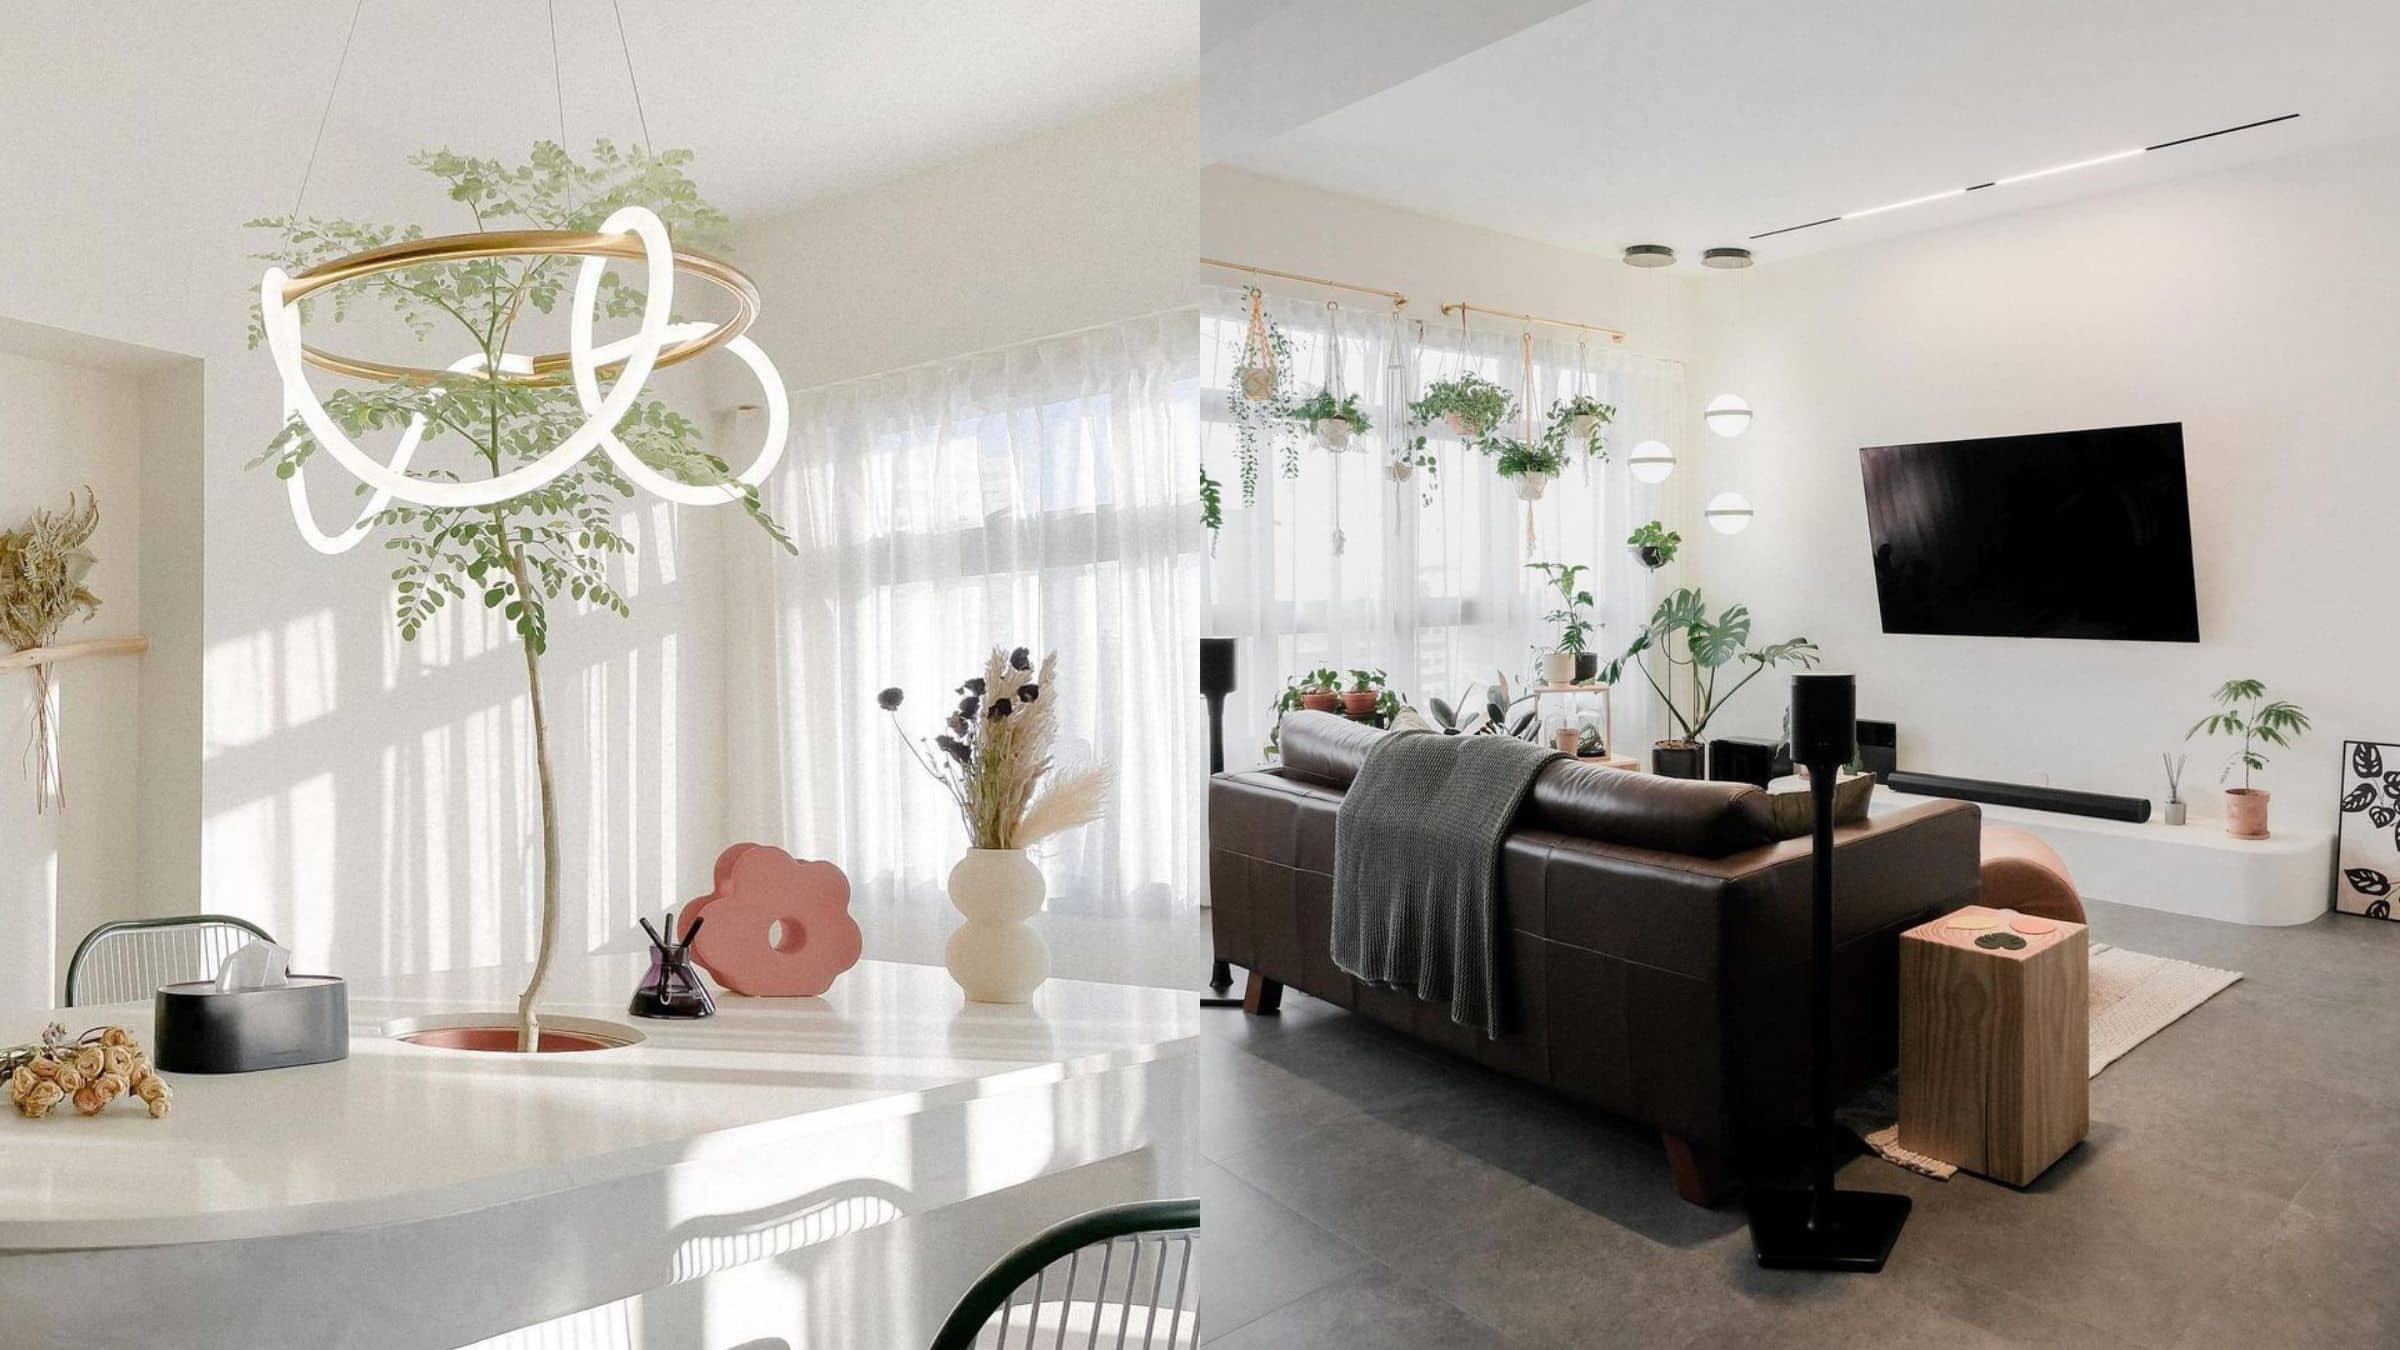
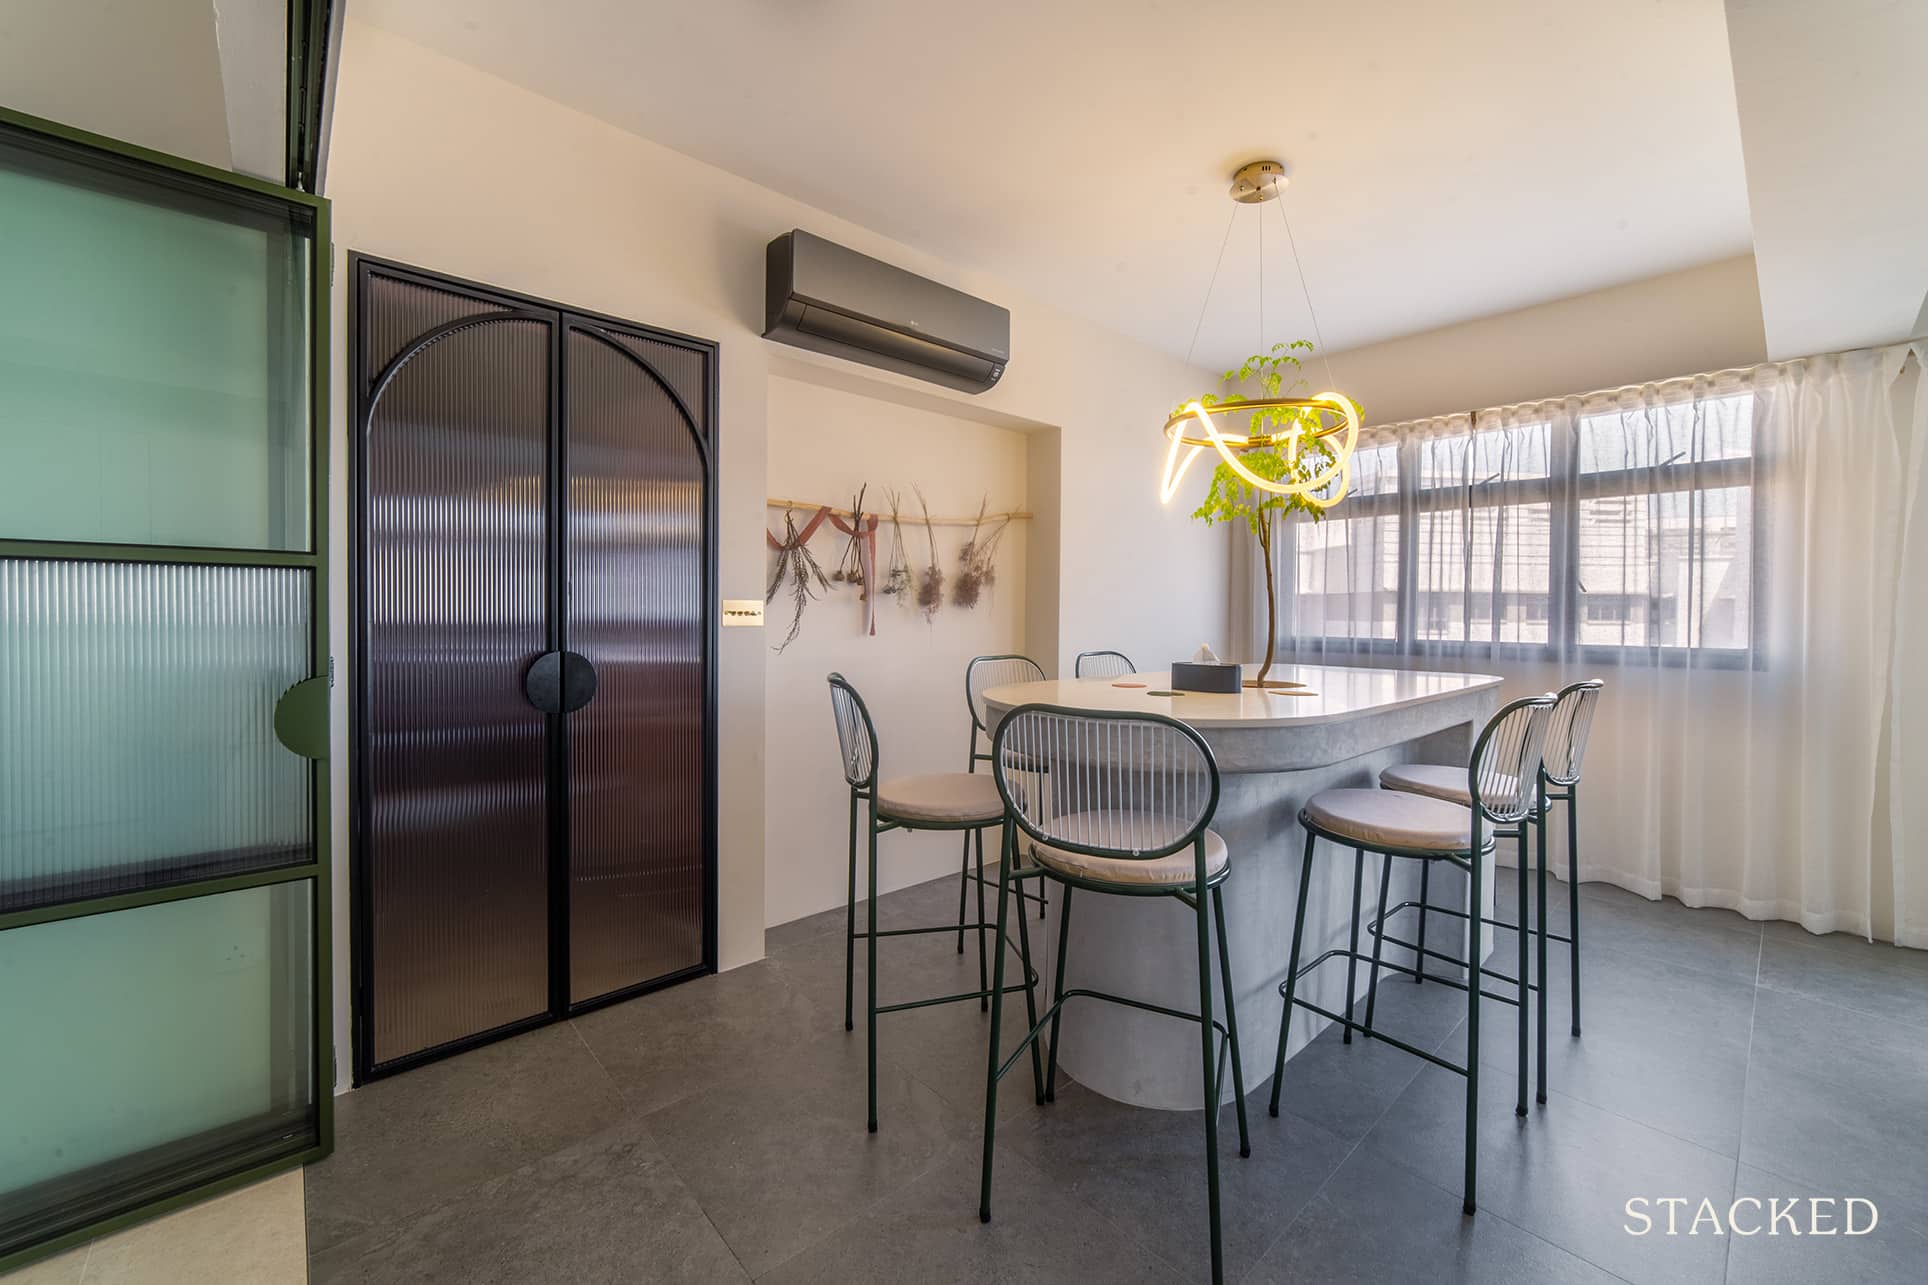
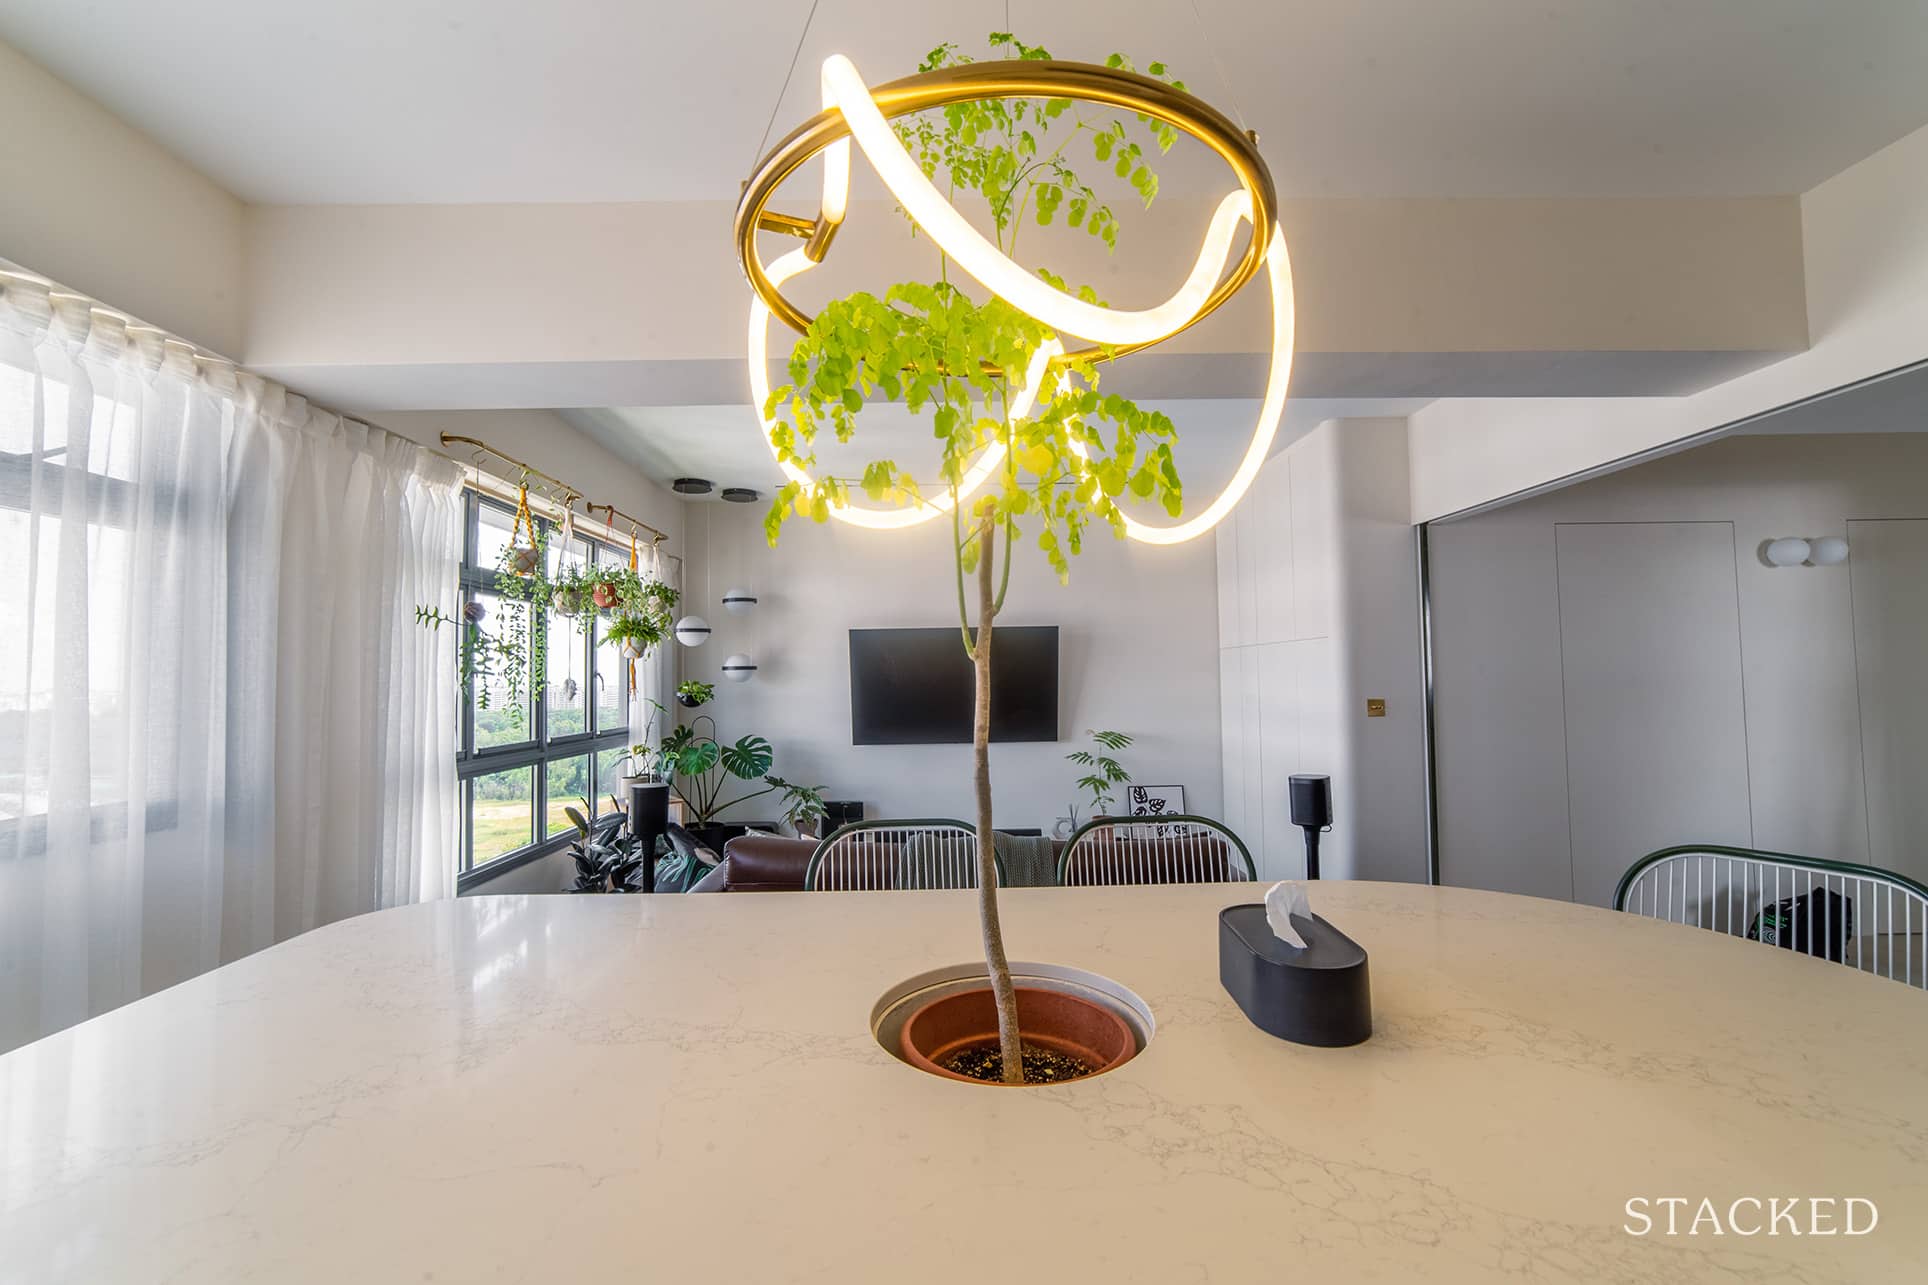
As a result, this allowed them to have a multi-purpose island that sat behind their sofa. The island becomes a really functional space where Sarah works, holds her workshop, and where their family and friends gather when they come over.
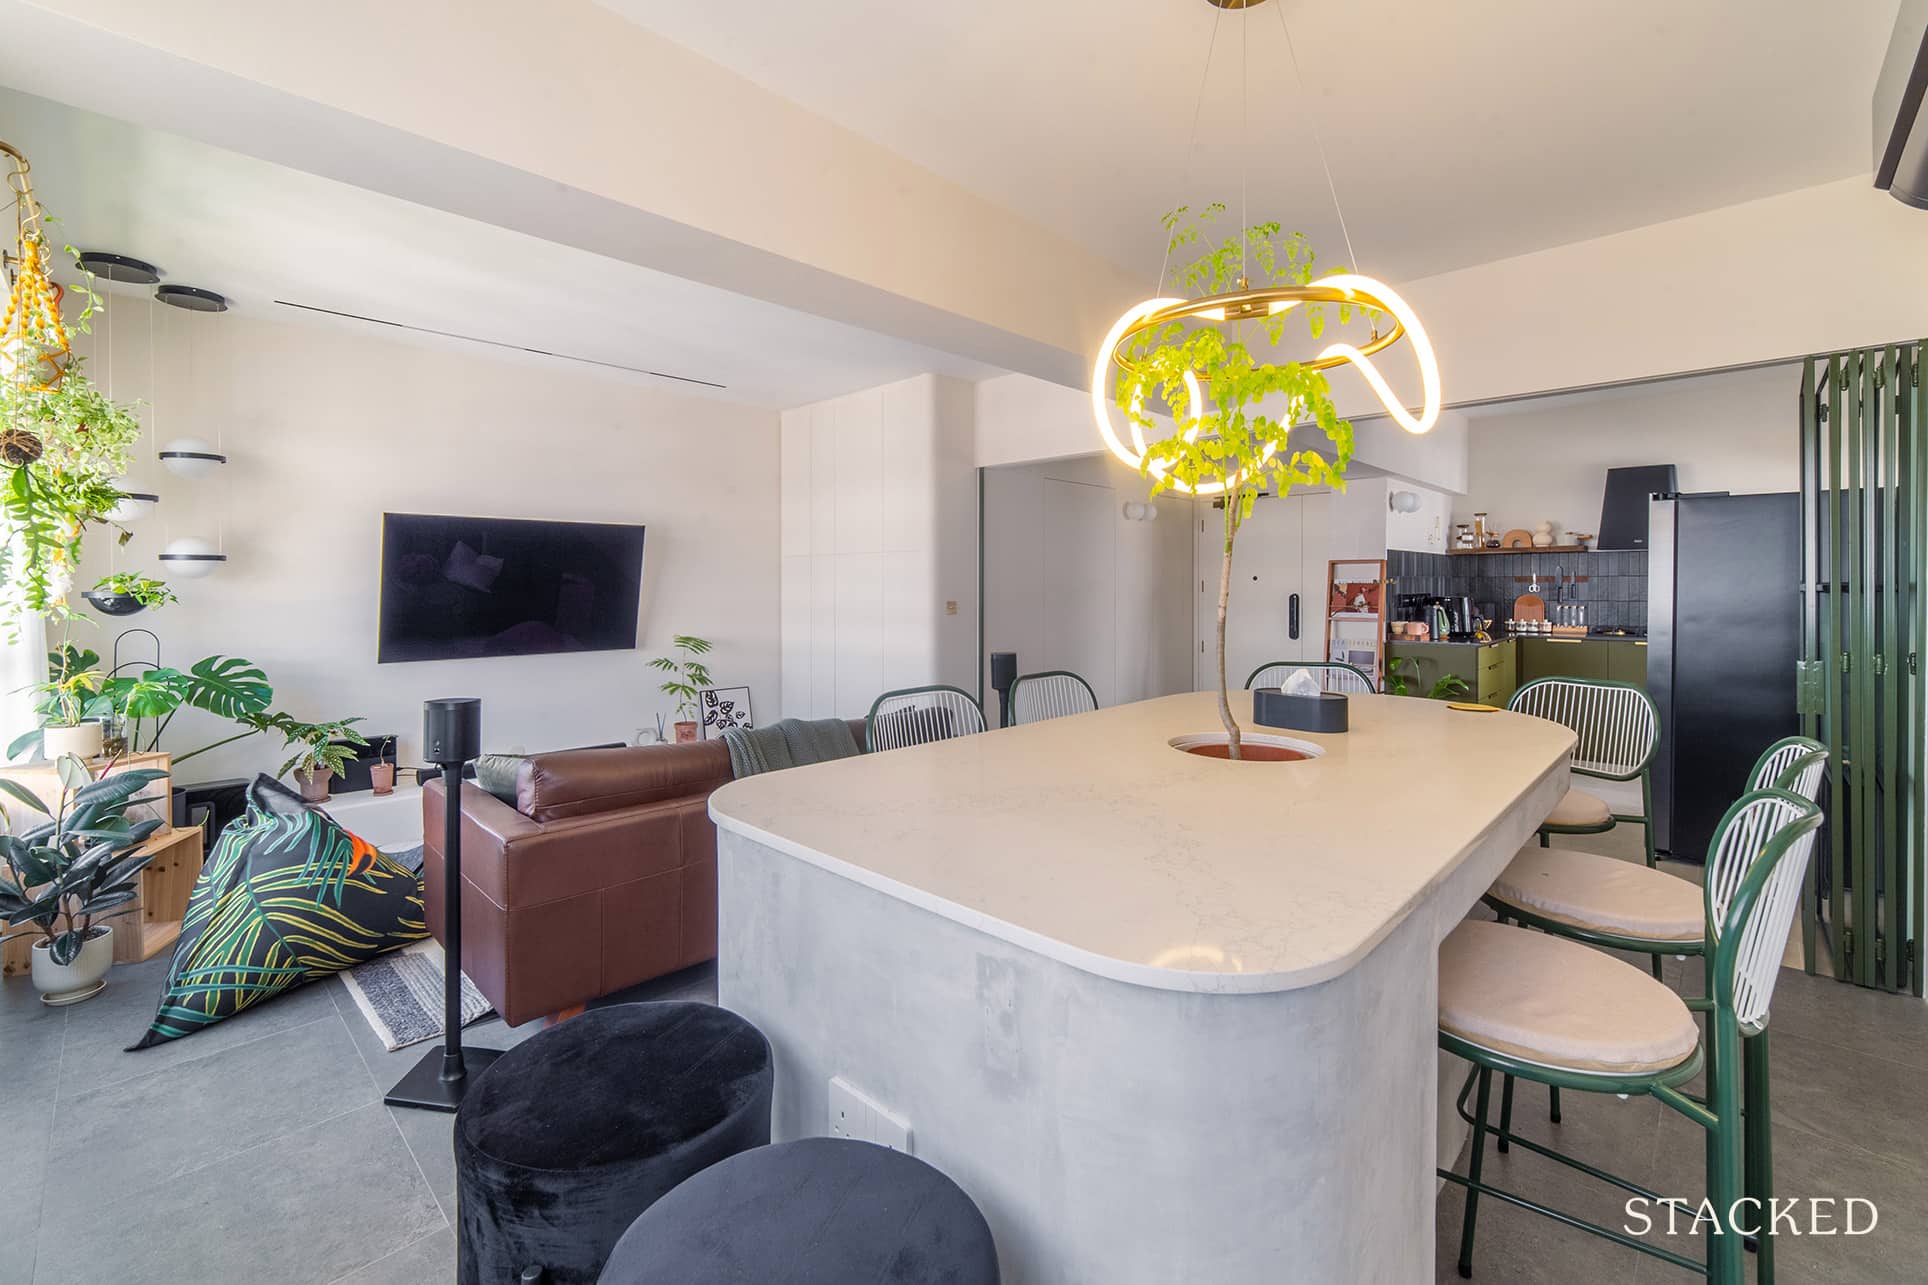
The island is made more special by the very distinct suspended lamp that they chose. It’s almost reminiscent of a halo hanging over the potted plant in the centre of the island, and your eyes will certainly be drawn to this the moment you step in.
Kitchen
While they did not have walls for their kitchen in the initial floorplan (which is what they actually wanted for an open-concept kitchen) they still decided to set up some sort of partition separating it from the living area.
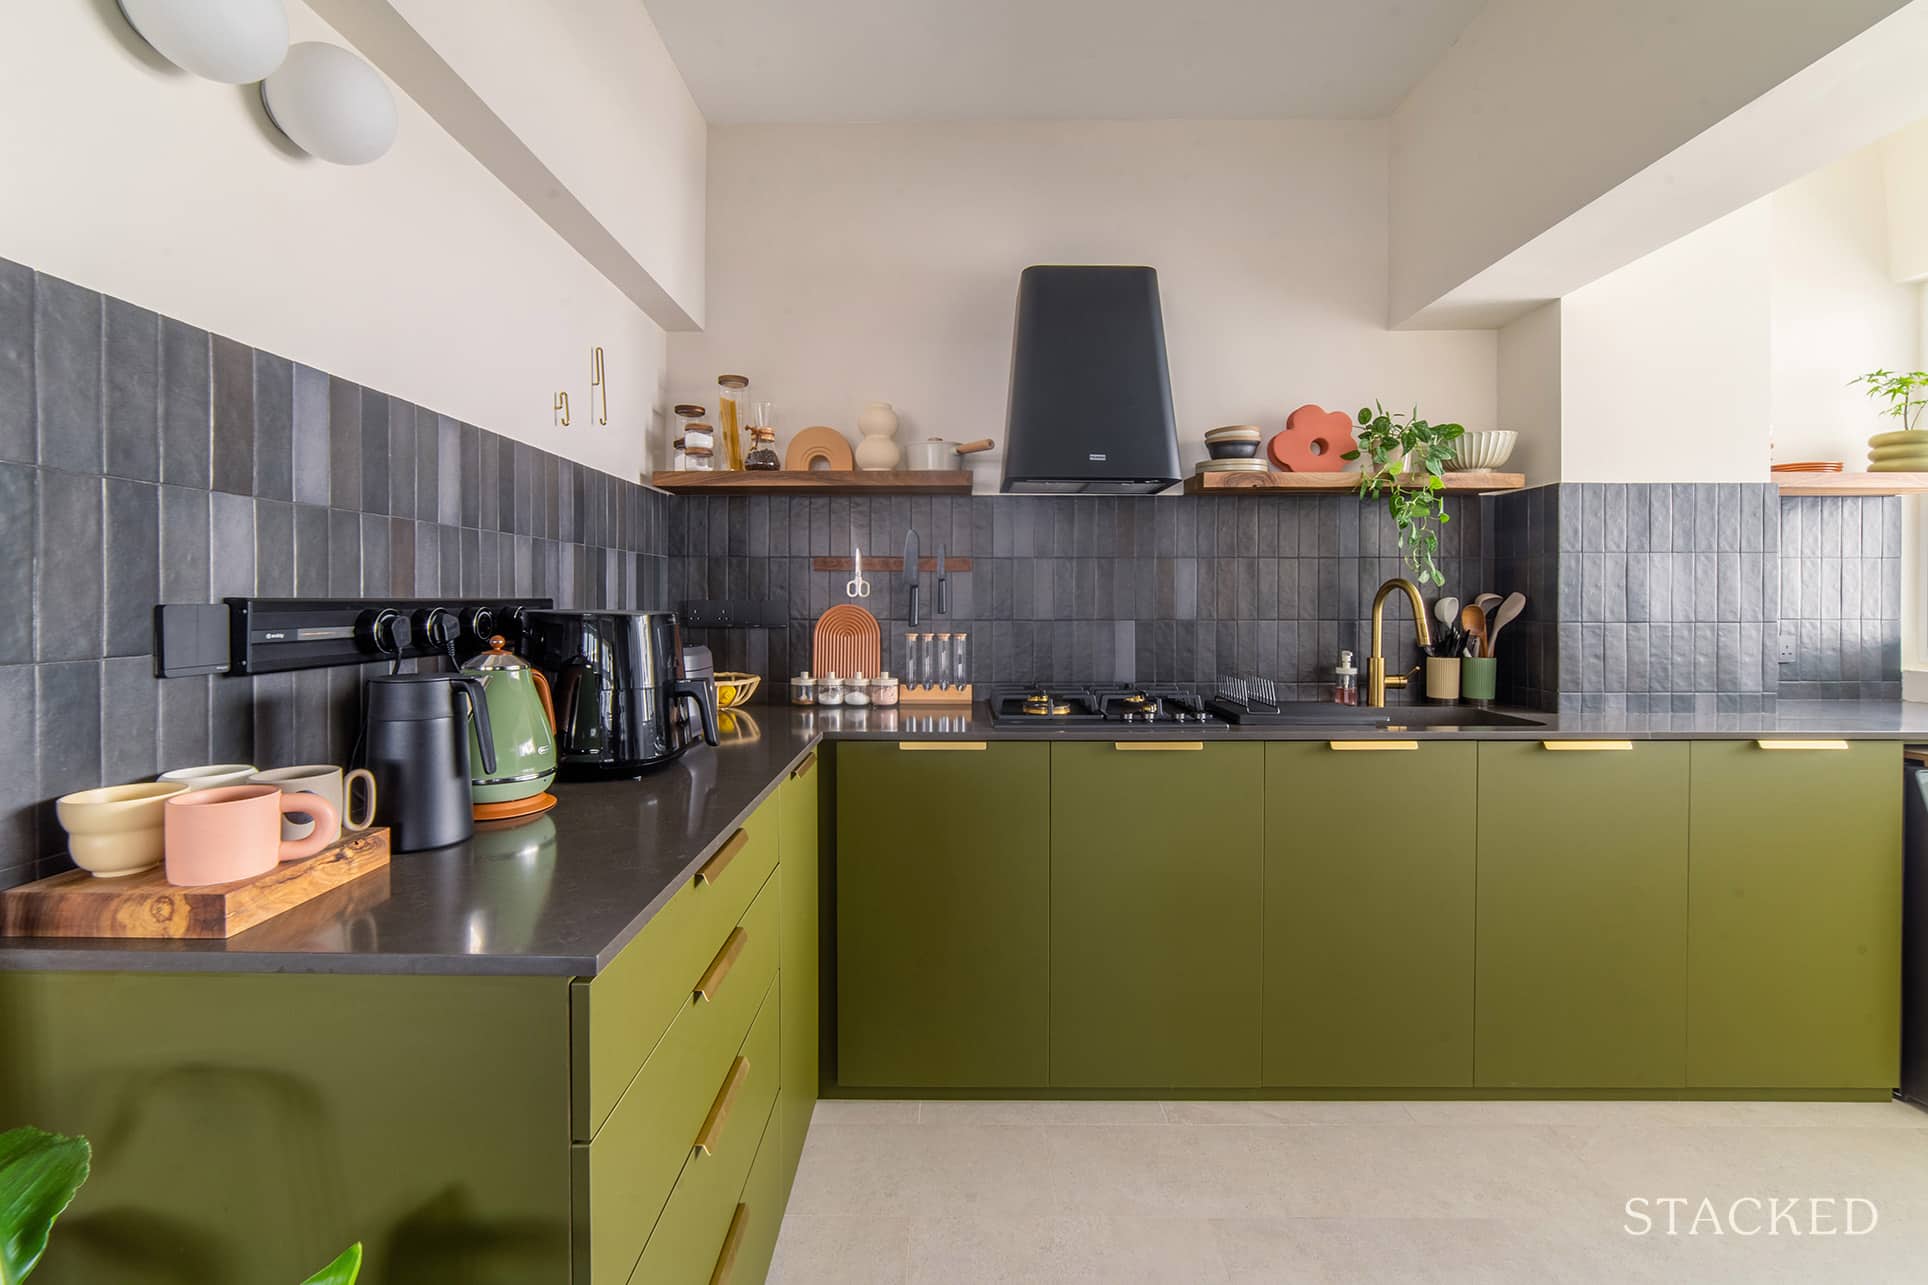
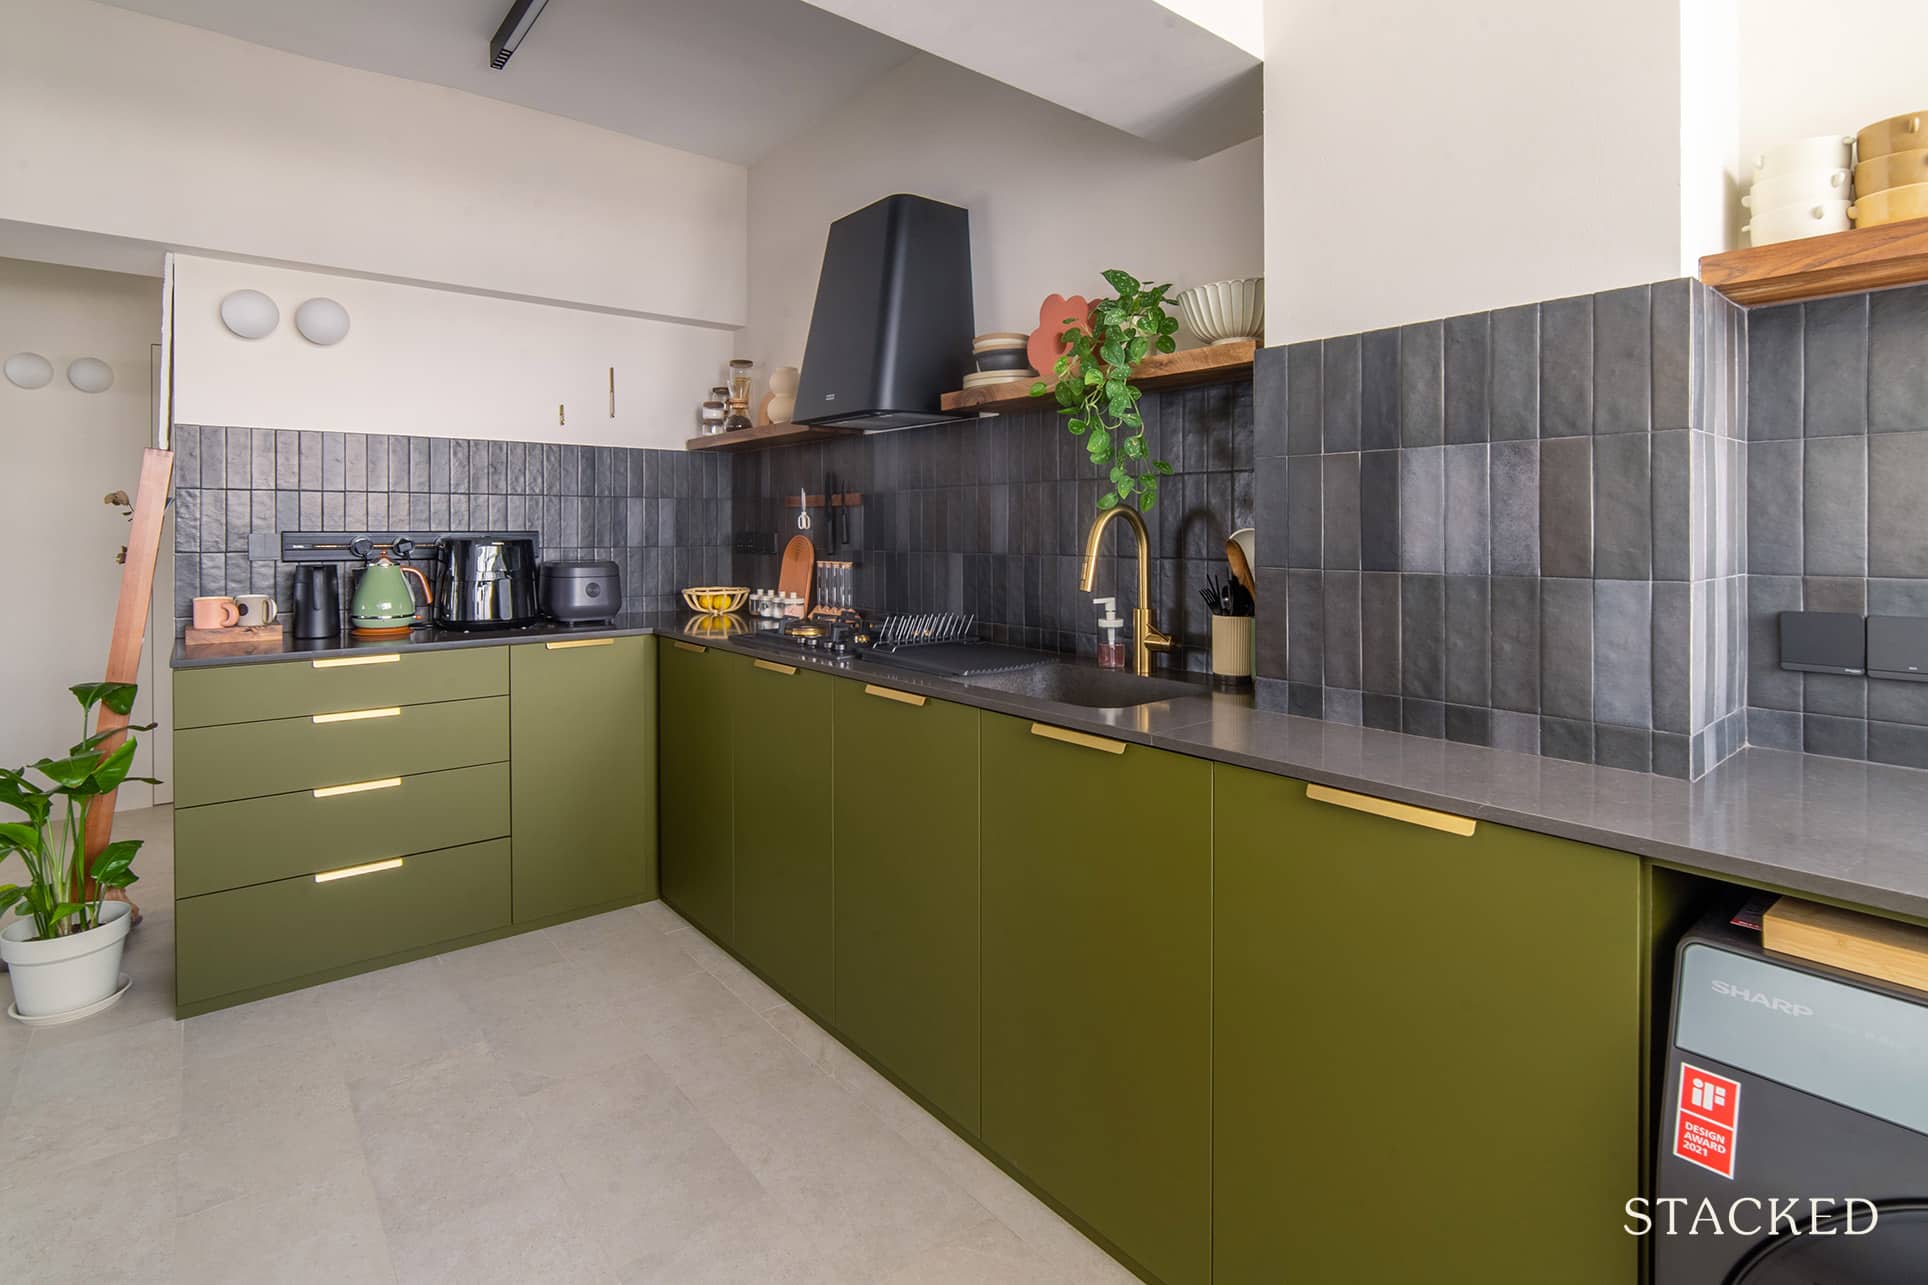
They chose a really unique shade of green for the laminates for the kitchen, as well as contrasting gold hardware for the drawer handles. This was complemented with a vertical different shades of black-tiled backsplash, which forms quite a unique look.
The couple said they enjoy cooking and baking but don’t want the smell (and grease) to spill out into the living room, so they installed a wall-to-wall bifold glass panel. Sarah said that they close the panel while they are cooking, and they leave it open when they are not, thus giving them the best of both worlds – an open-concept kitchen and a functional one when they want to cook.
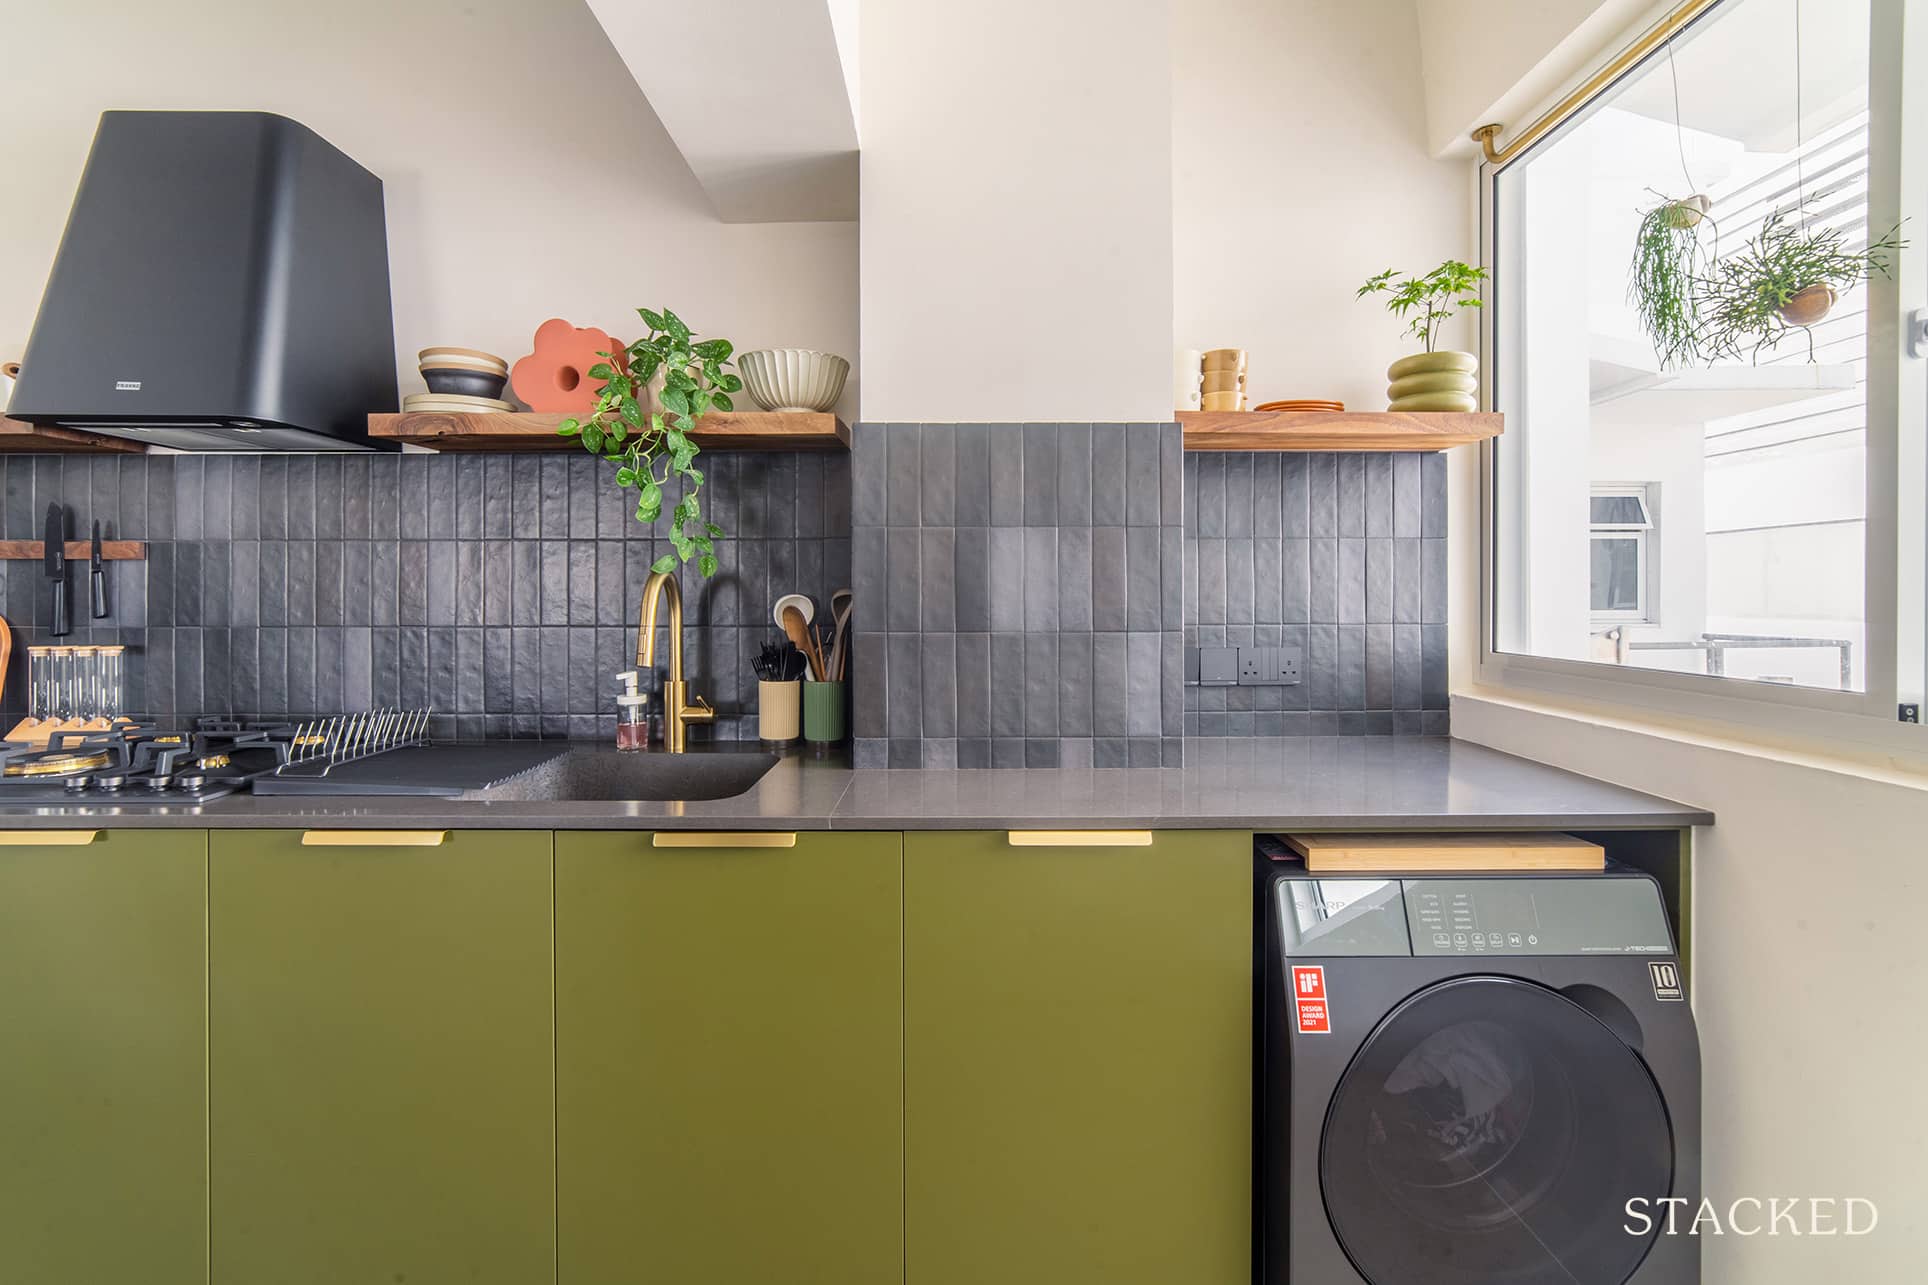
They also hacked away the walls of their service yard to make the kitchen area bigger.
Bedroom/s
With one bedroom hacked away, they now only have 2 bedrooms left which they designated as the master bedroom and their study room. But rather uniquely, they only have one bedroom door visible from the living room.
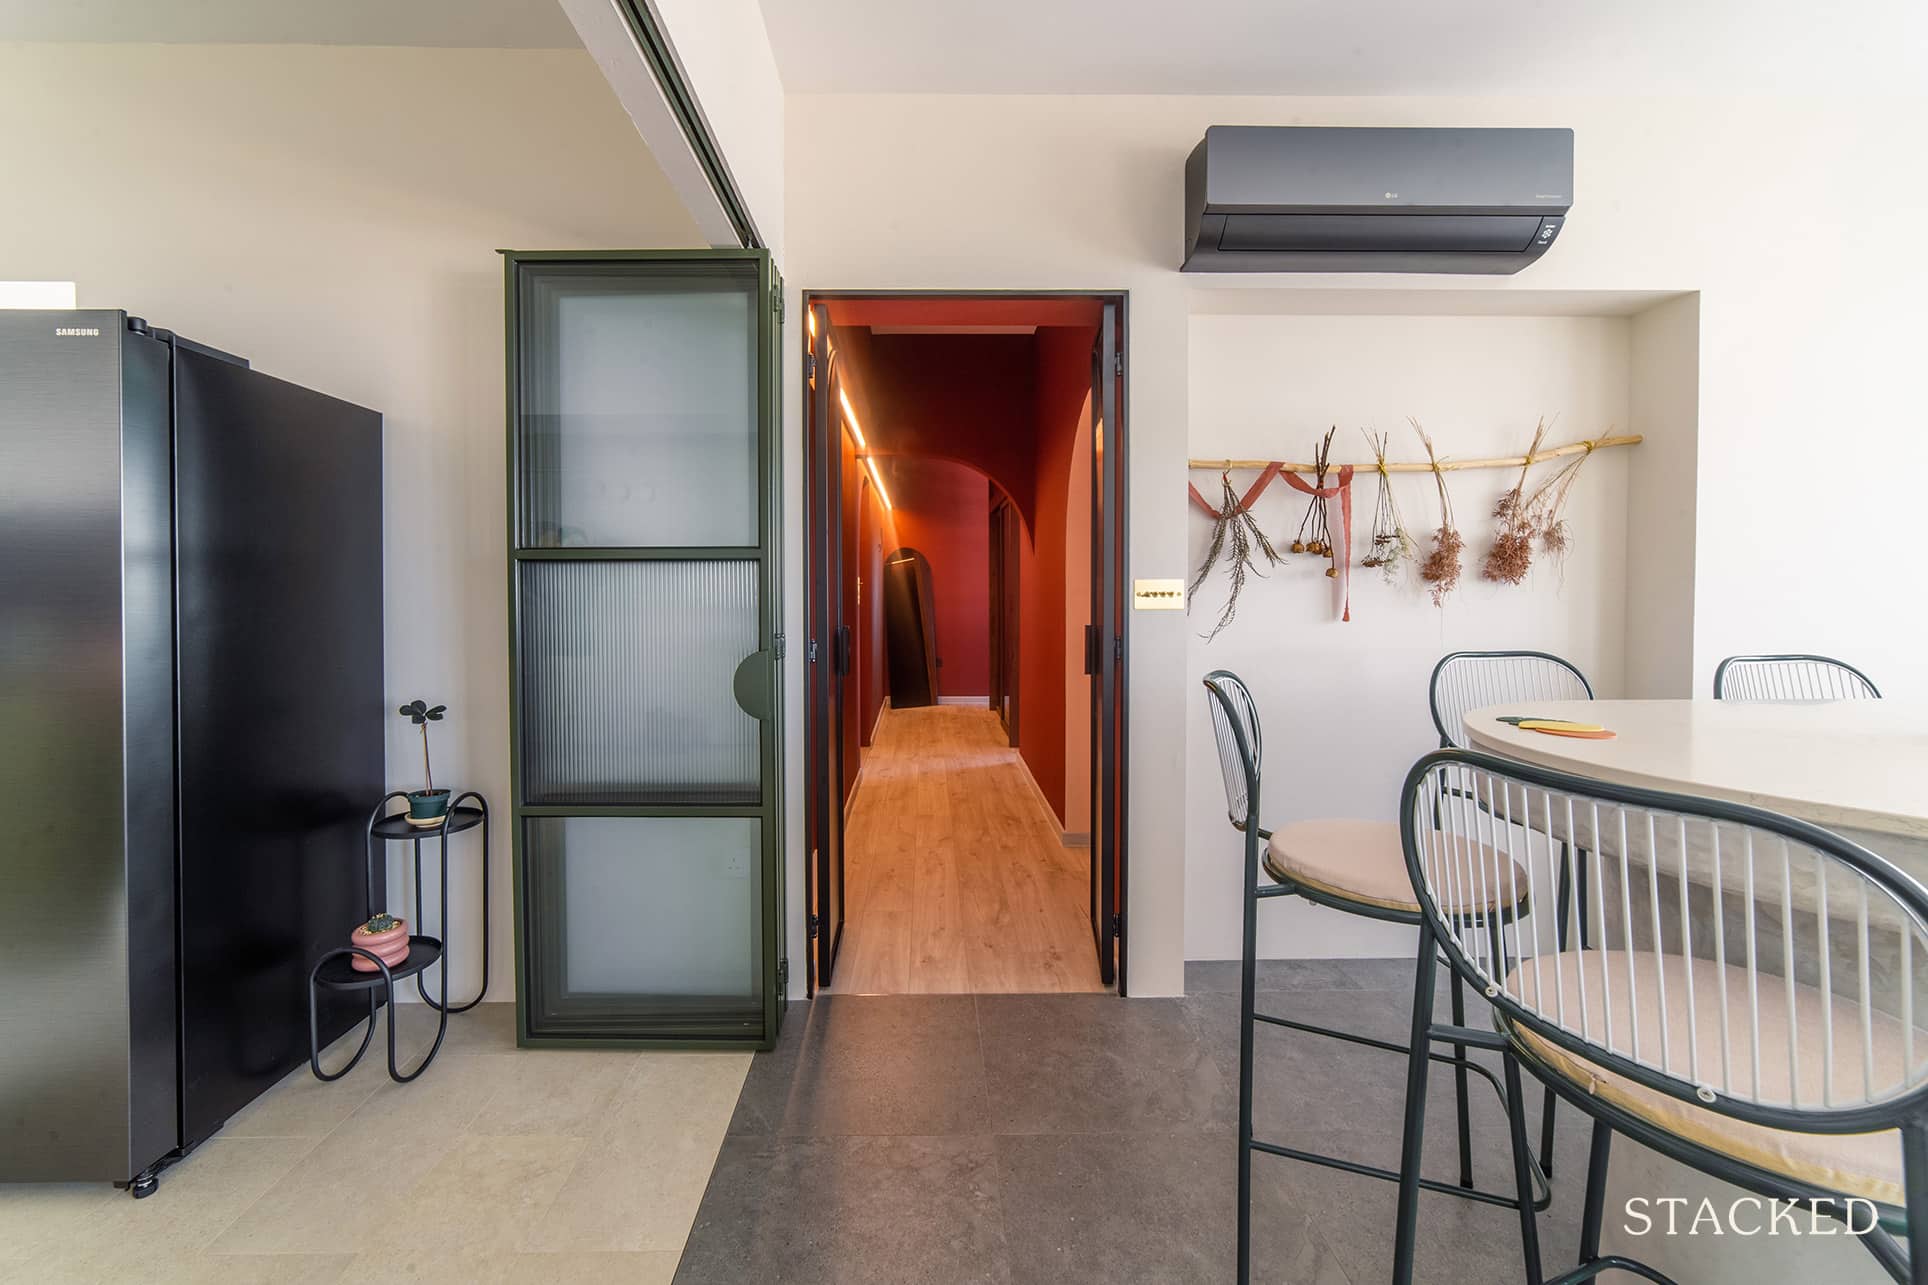
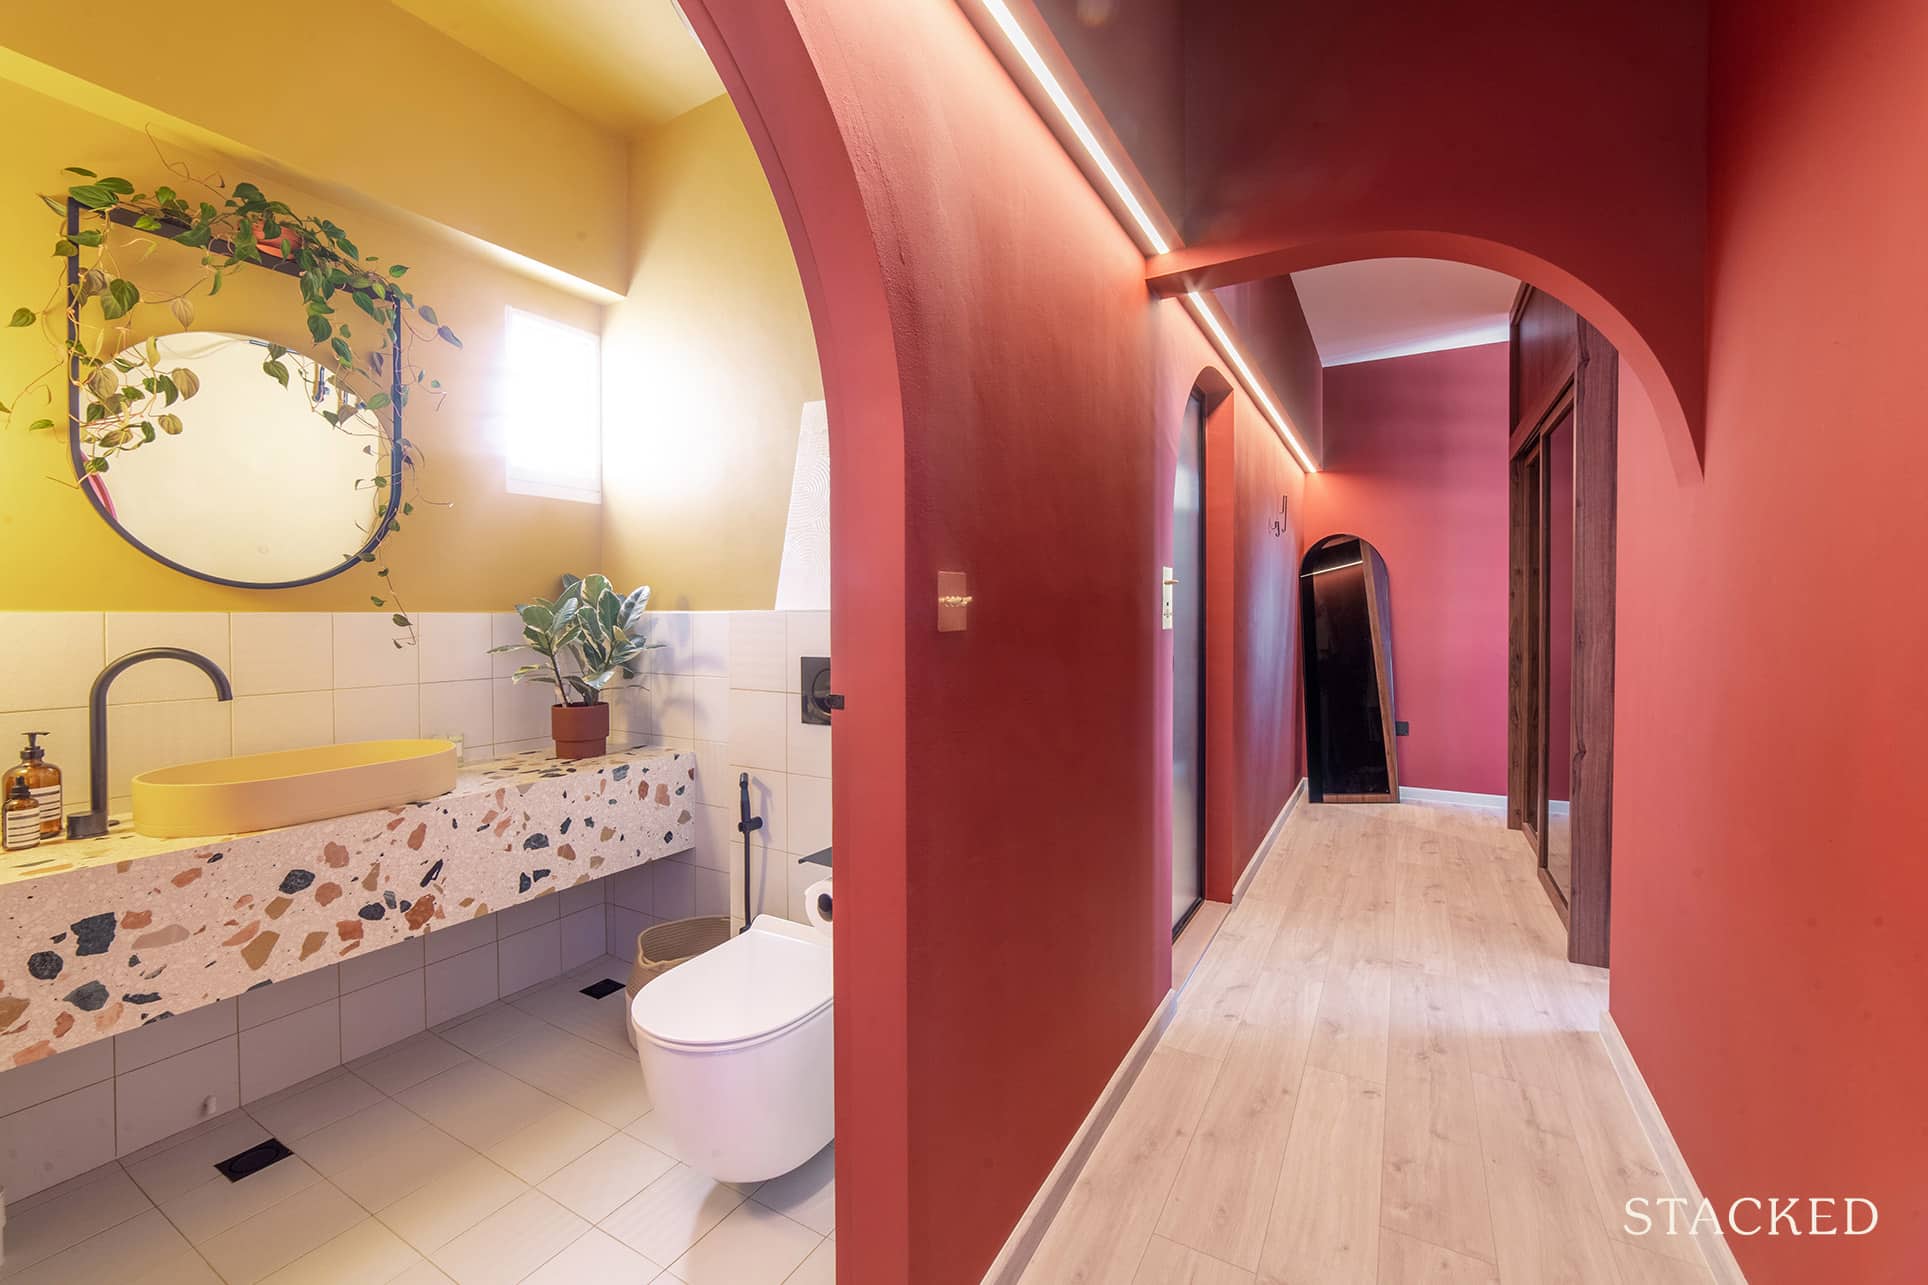
Sarah further described her design idea to us. “Once you enter the door, you’ll enter into our private space, where there’s a long passageway that leads to our master bedroom. Immediately as you enter the door, on the right is our study room, and on the left is our powder room.
We did not want to overwhelm people with 2 doors up on the entrance, thus, for our study room, we used a curtain instead of a door, and for the powder room, a concealed door with the same colour as the wall.”
The contrasting colours used here are definitely very bold, juxtaposed with the curved arches from the doorway and corridor. Add the LED lighting used and you get a hallway quite unlike anything that you’ve seen from an HDB before.
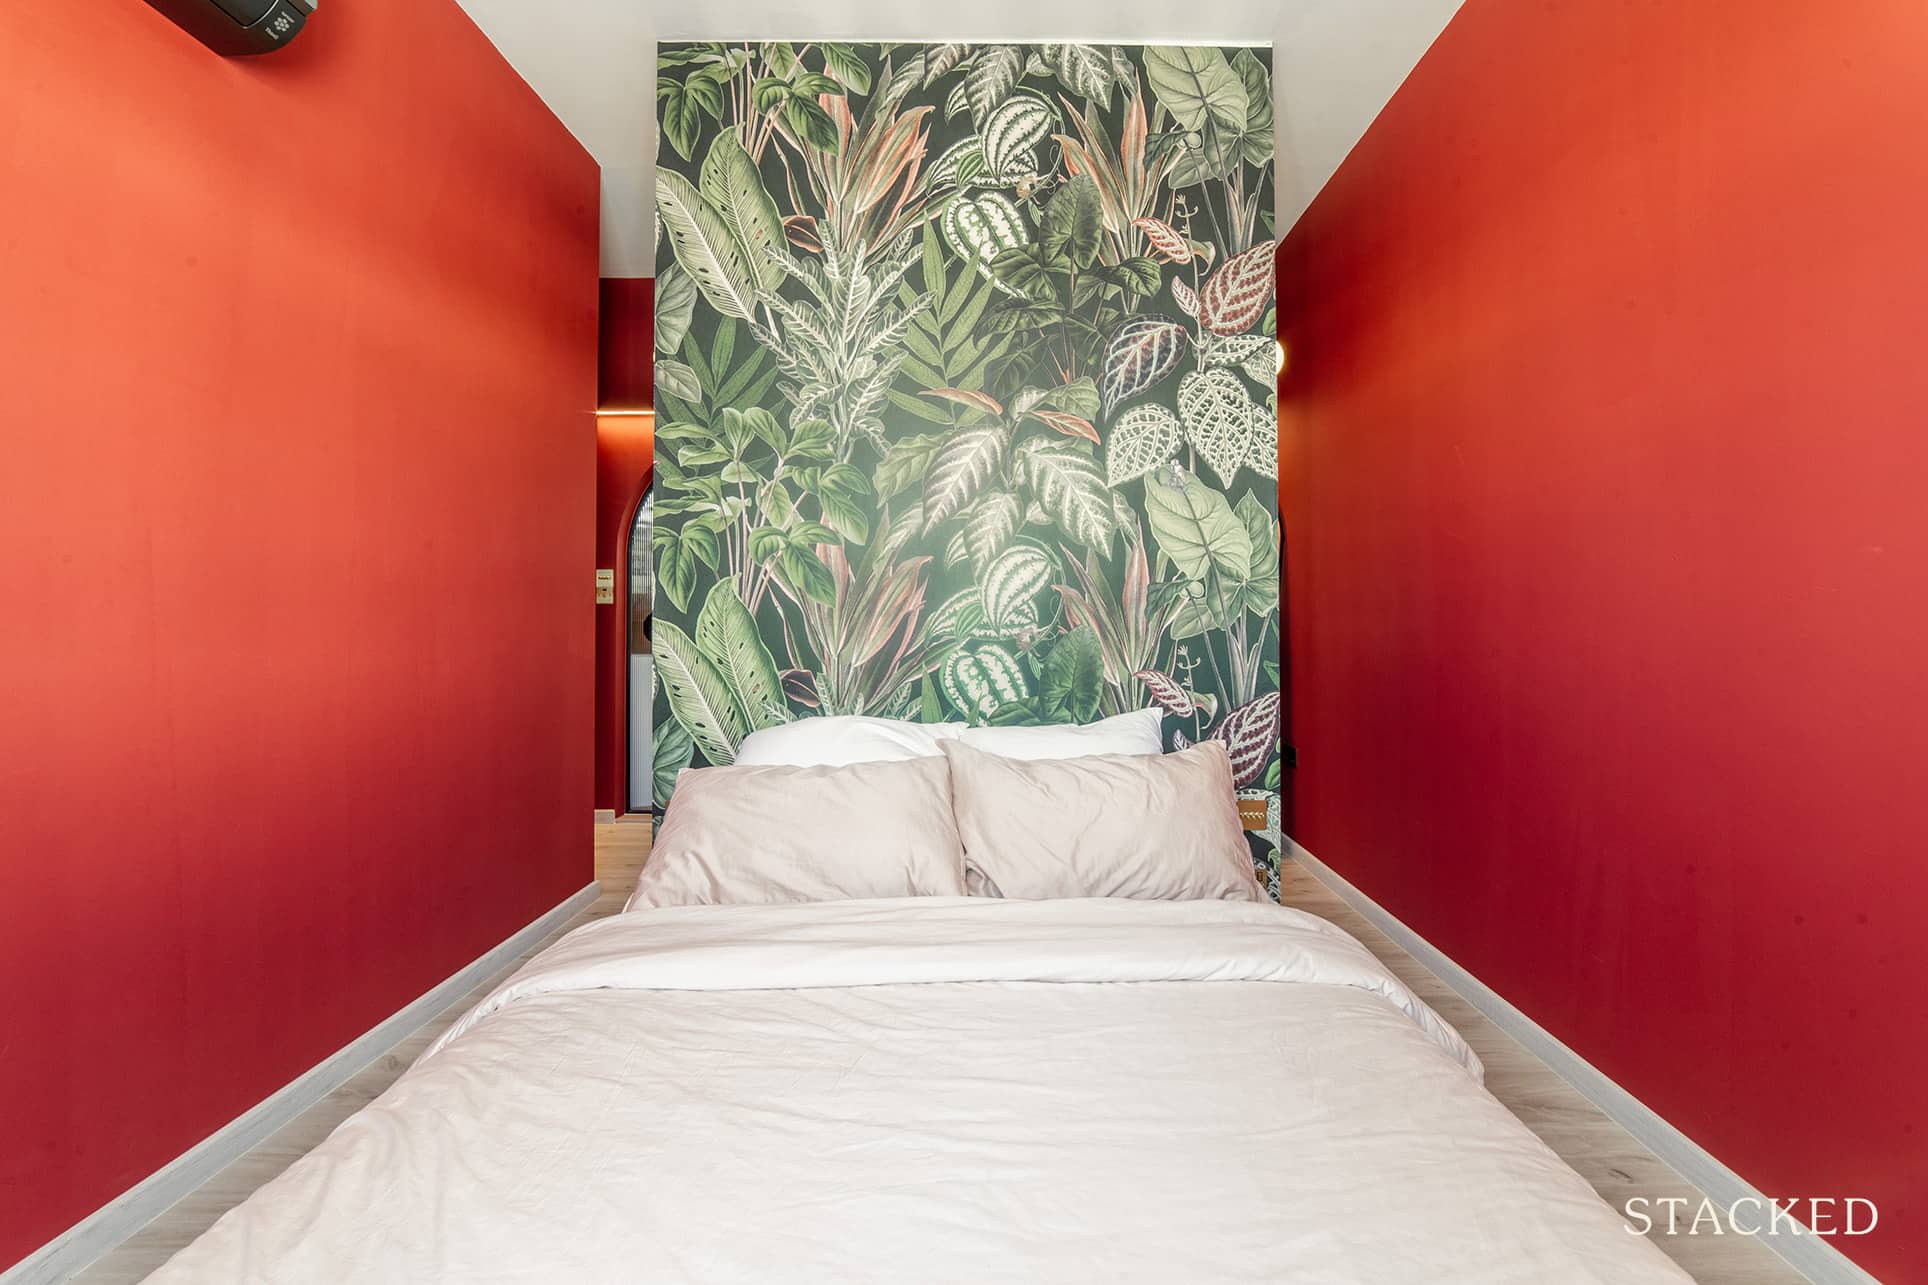
The only other door you’ll see upon walking the hallway is the one leading to their master bathroom. Since they don’t have a door per se to their master bedroom, the couple had to create some sort of privacy for their bed using a full-height wardrobe.
Bathroom/s
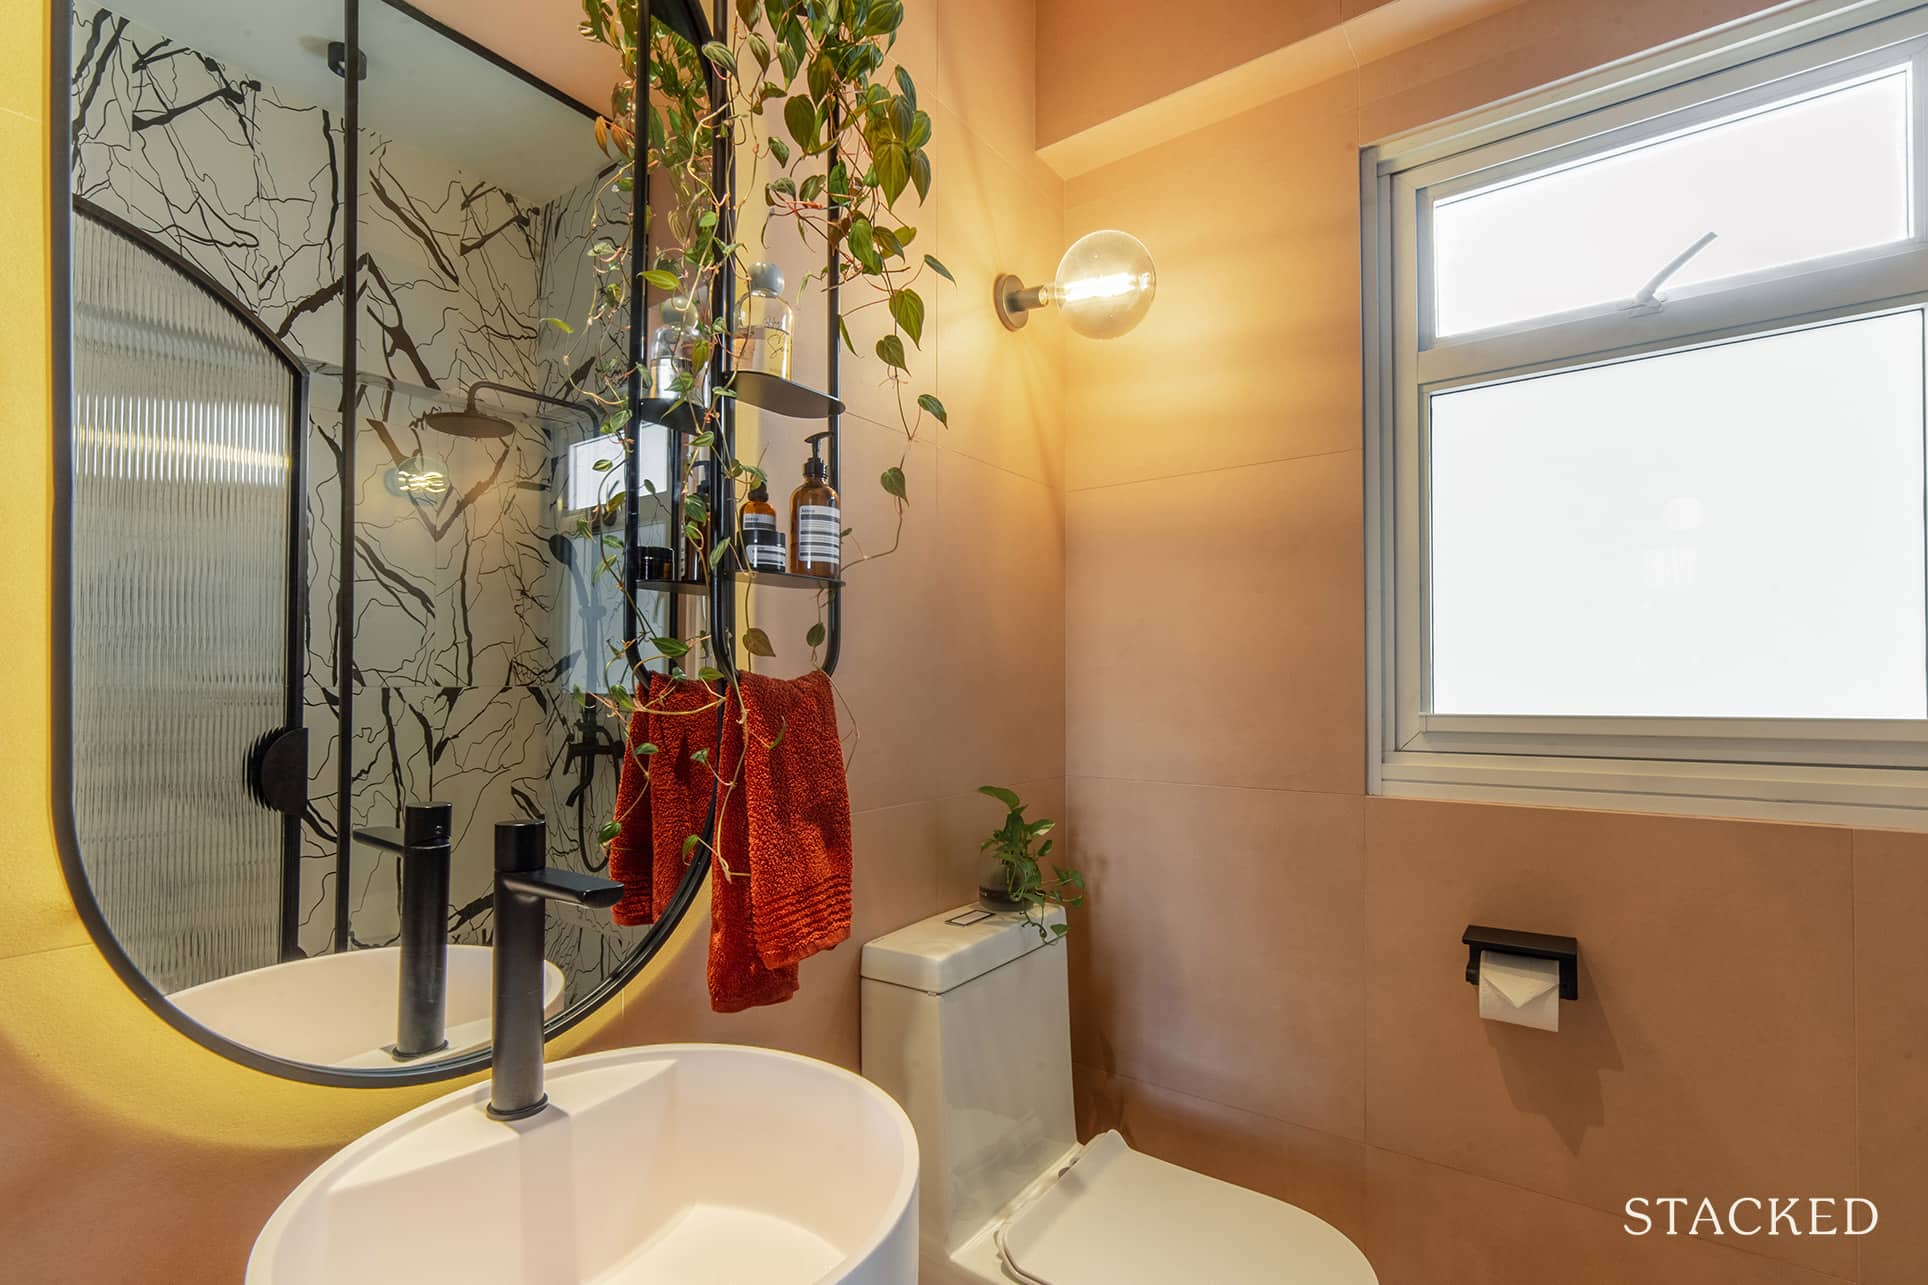
The biggest change they made with their bathroom is actually in the common toilet, where they removed the shower to turn it into a dry powder room.
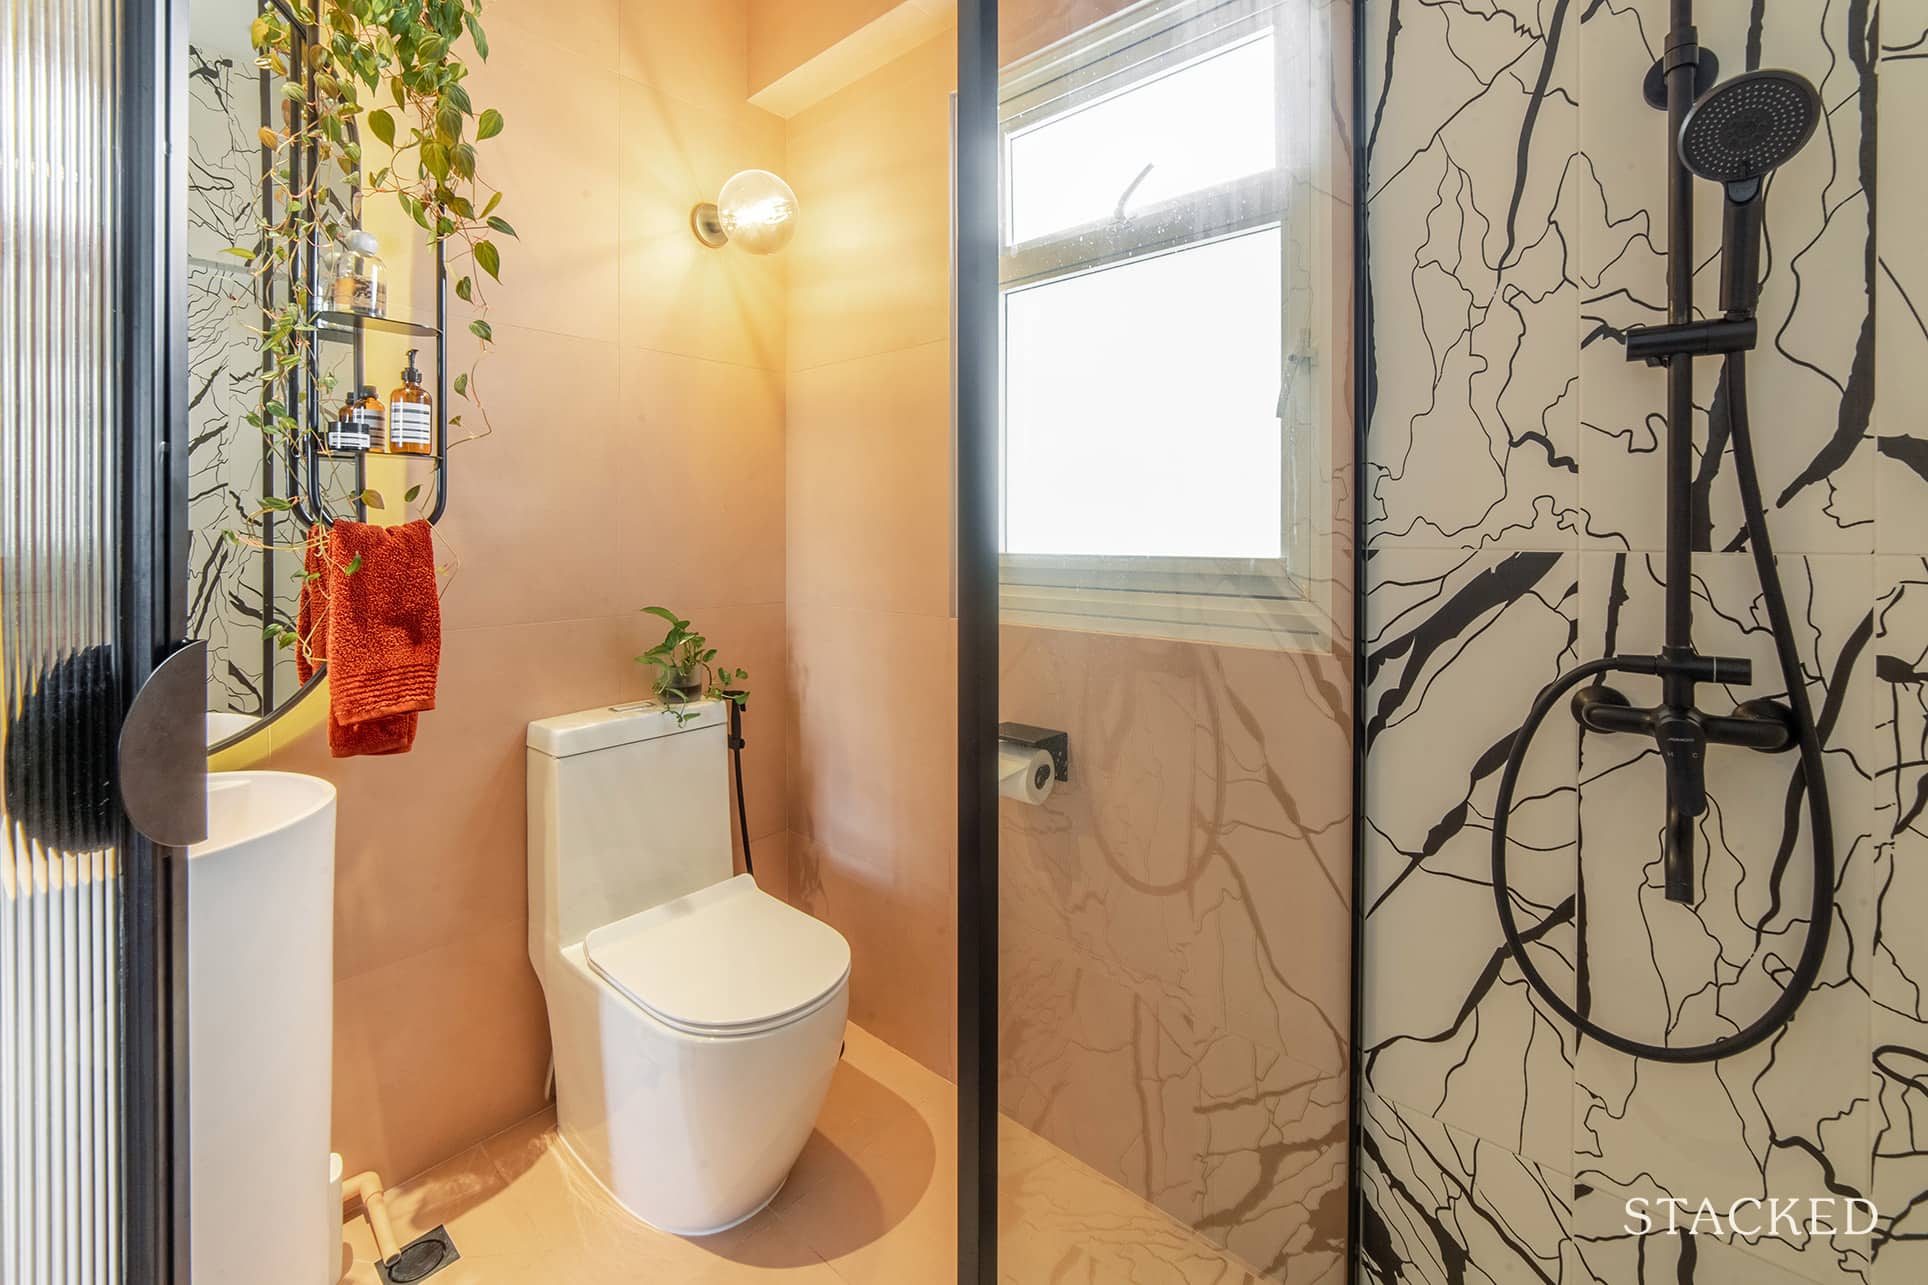
What catches the eye here would firstly be the fluted door panels, and opening it would naturally draw your eyes toward the very unique wall tiles in the standing shower area.
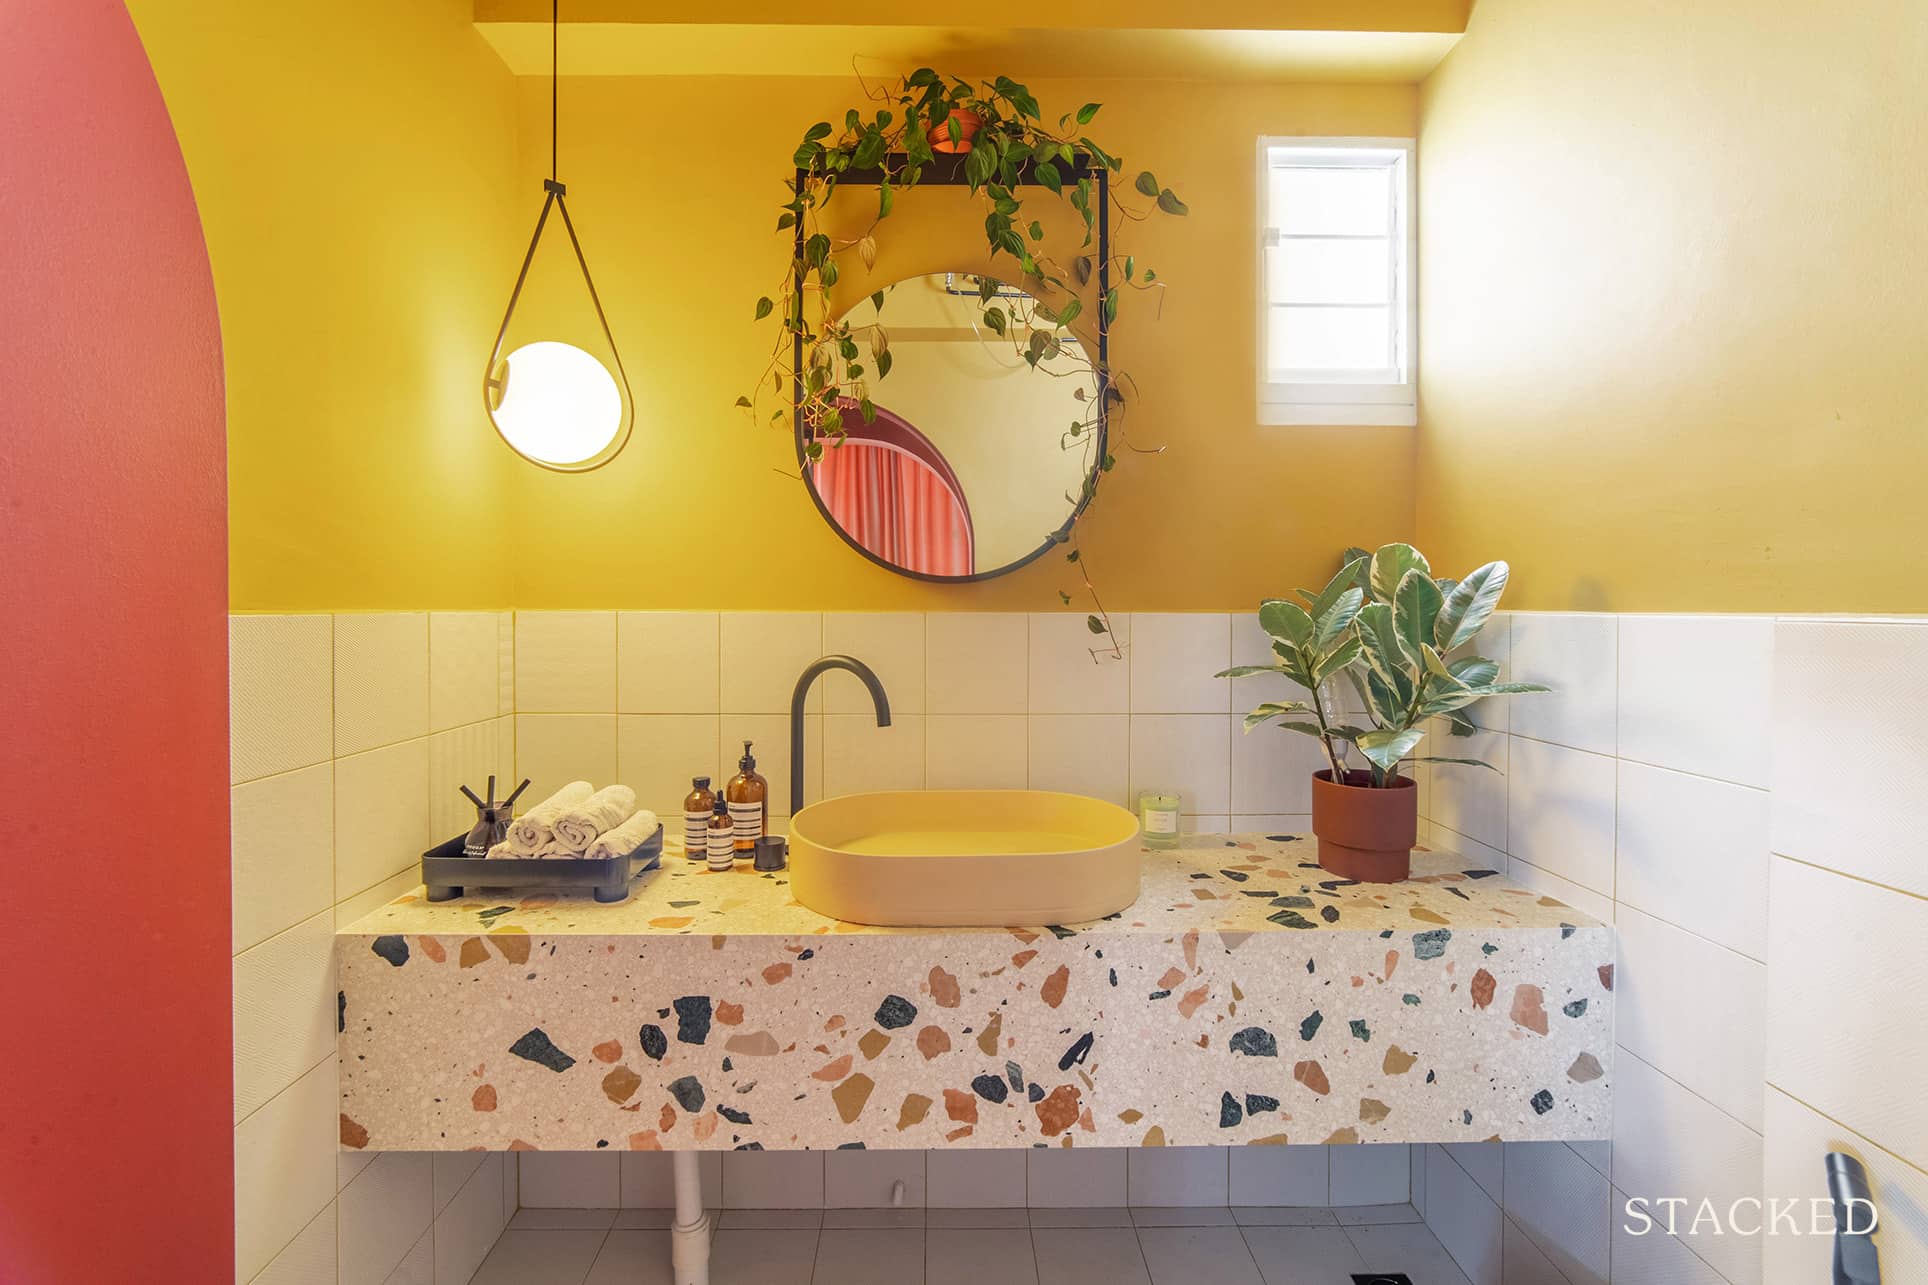
Again, you can see the eclectic nature of the home shine through with the pink basin and the terrazzo effect of the sink area.
Bringing The Vision To Reality
Despite the risk of tying different styles together, the couple was happy with how their home turned out in the end.
For Sarah, she was a designer by trade and as such, she already knew what she wanted for her home. So while she didn’t need an ID for the design, she needed one for the management. “Because I did not want to be project managing the whole process of our renovation, we decided to engage an ID firm instead.”
She said that their only criteria for choosing an ID were that it had to have good chemistry with her and accept that she would be very hands-on in the design process.
As for furniture, their furniture sourcing process was quite fast and easy. She said they visited local furniture stores and showrooms because they knew what exactly they wanted.
Finally, with regards to their favourite area in the house, this was by far and away their island spot.
“This is where I create my floral crafts and because we had a very squarish layout even after we hacked down one room, it made our living space look bigger and more spacious after our renovation.”
Lessons Learned From A Successful Reno Journey
Budget constraints were the big hurdle they had to go through in the course of their project. “The greatest challenge I encountered was trying to fit within a specific budget, but still was able to achieve what I wanted for my home to look like,” said Sarah.
But what took her surprise was that the renovation process wasn’t easy as she thought it would be. They had a couple of miscommunications along the way, which led to extra unnecessary work.
What she would consider their biggest mistake as homeowners were not consistently checking in through the renovation process. She said that they only went to check on the progress once every 2 or 3 weeks, and as a result, certain errors were already too late to rectify. She strongly recommends homeowners always check in throughout the renovation process.
On the same note, Sarah also gives us some more tips for renovating:
“I am a strong believer in having your home designed/furnished to your own personal taste and liking. Really take some time to ask yourself what you actually like and select it based on that.”