A Step-By-Step Walkthrough To Check Your BTO For Defects (With Pictures)
August 19, 2021
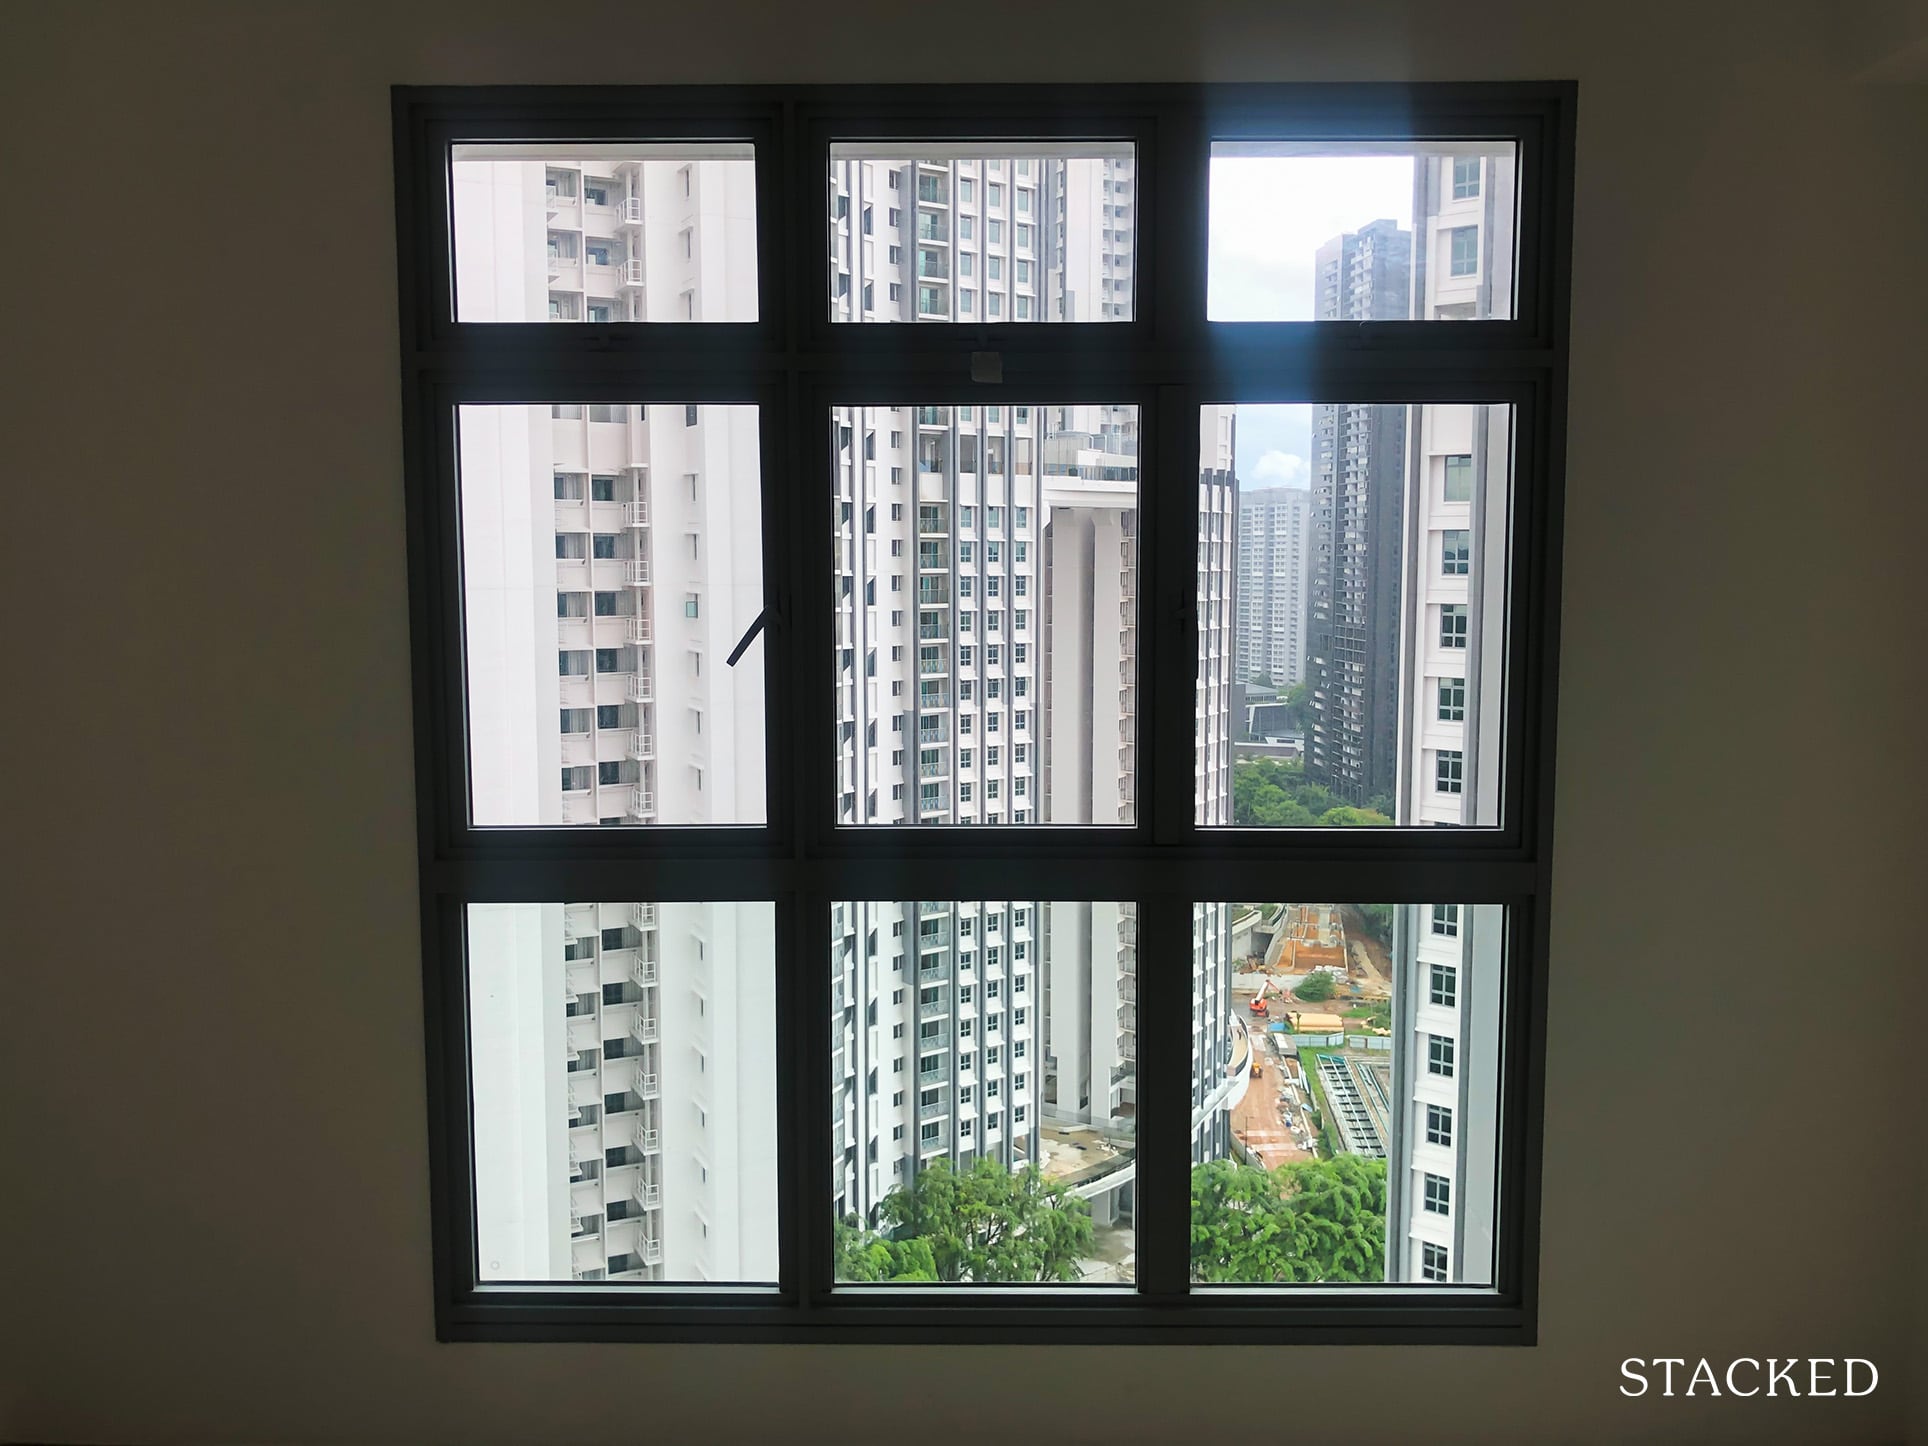
While it does seem like an almost impossible task to get a BTO these days (just look at the recent way over-subscribed August 2021 BTO launch), it isn’t all rainbows and sunshine once you actually secure one – there’s still work to do when you finally collect your keys!
We have covered this briefly before in our BTO defects checklist article (see here), but we figured it would be useful to do a complete walk-through to help you check through your newly built BTO flat on your own!
Before we start, here’s a snippet of what you need to know:
Once you collect your keys, you will be asked to fill in the Defects Feedback Form. This allows you to check for defects, and immediately report it to the on-site Building Services Centre (BSC).
Although you’re advised to report defects within seven days, the actual Defect Liability Period (DLP) is 12 months. This will start from the exact date of the key collection. Remember if you do find a defect within this period, HDB will fix it at their cost; any defects you find later will have to be fixed at your own expense.
Note that it usually takes around two weeks to fix reported issues, so the sooner you report it, the sooner it’s fixed.
Another reason to do it fast is that the DLP only covers defects found prior to any renovation. This could mean your reno works are stalled until the defects are all settled.
As of 2016, HDB also provides an Assure 3 Warranty, on top of the DLP. This covers ceiling leaks in the toilet or kitchen, as well as water seepage from external walls, for up to five years. Spalling concrete is covered for up to 10 years.
Now, let’s start on our BTO defects DIY walkthrough, starting with the entrance!
Doors & windows
Things you need:
1. Tapping Rod (or 50-cent coin)
2. Post-it Sticky notes (or tape and a pen/marker)
3. Apply for an SP Utility account!
4. Pail to splash water
5. Stool to check on harder to reach areas.
The first stop of the day is the entrance, you should test the keys for all the doors in the unit, and ensure all the locks are working.
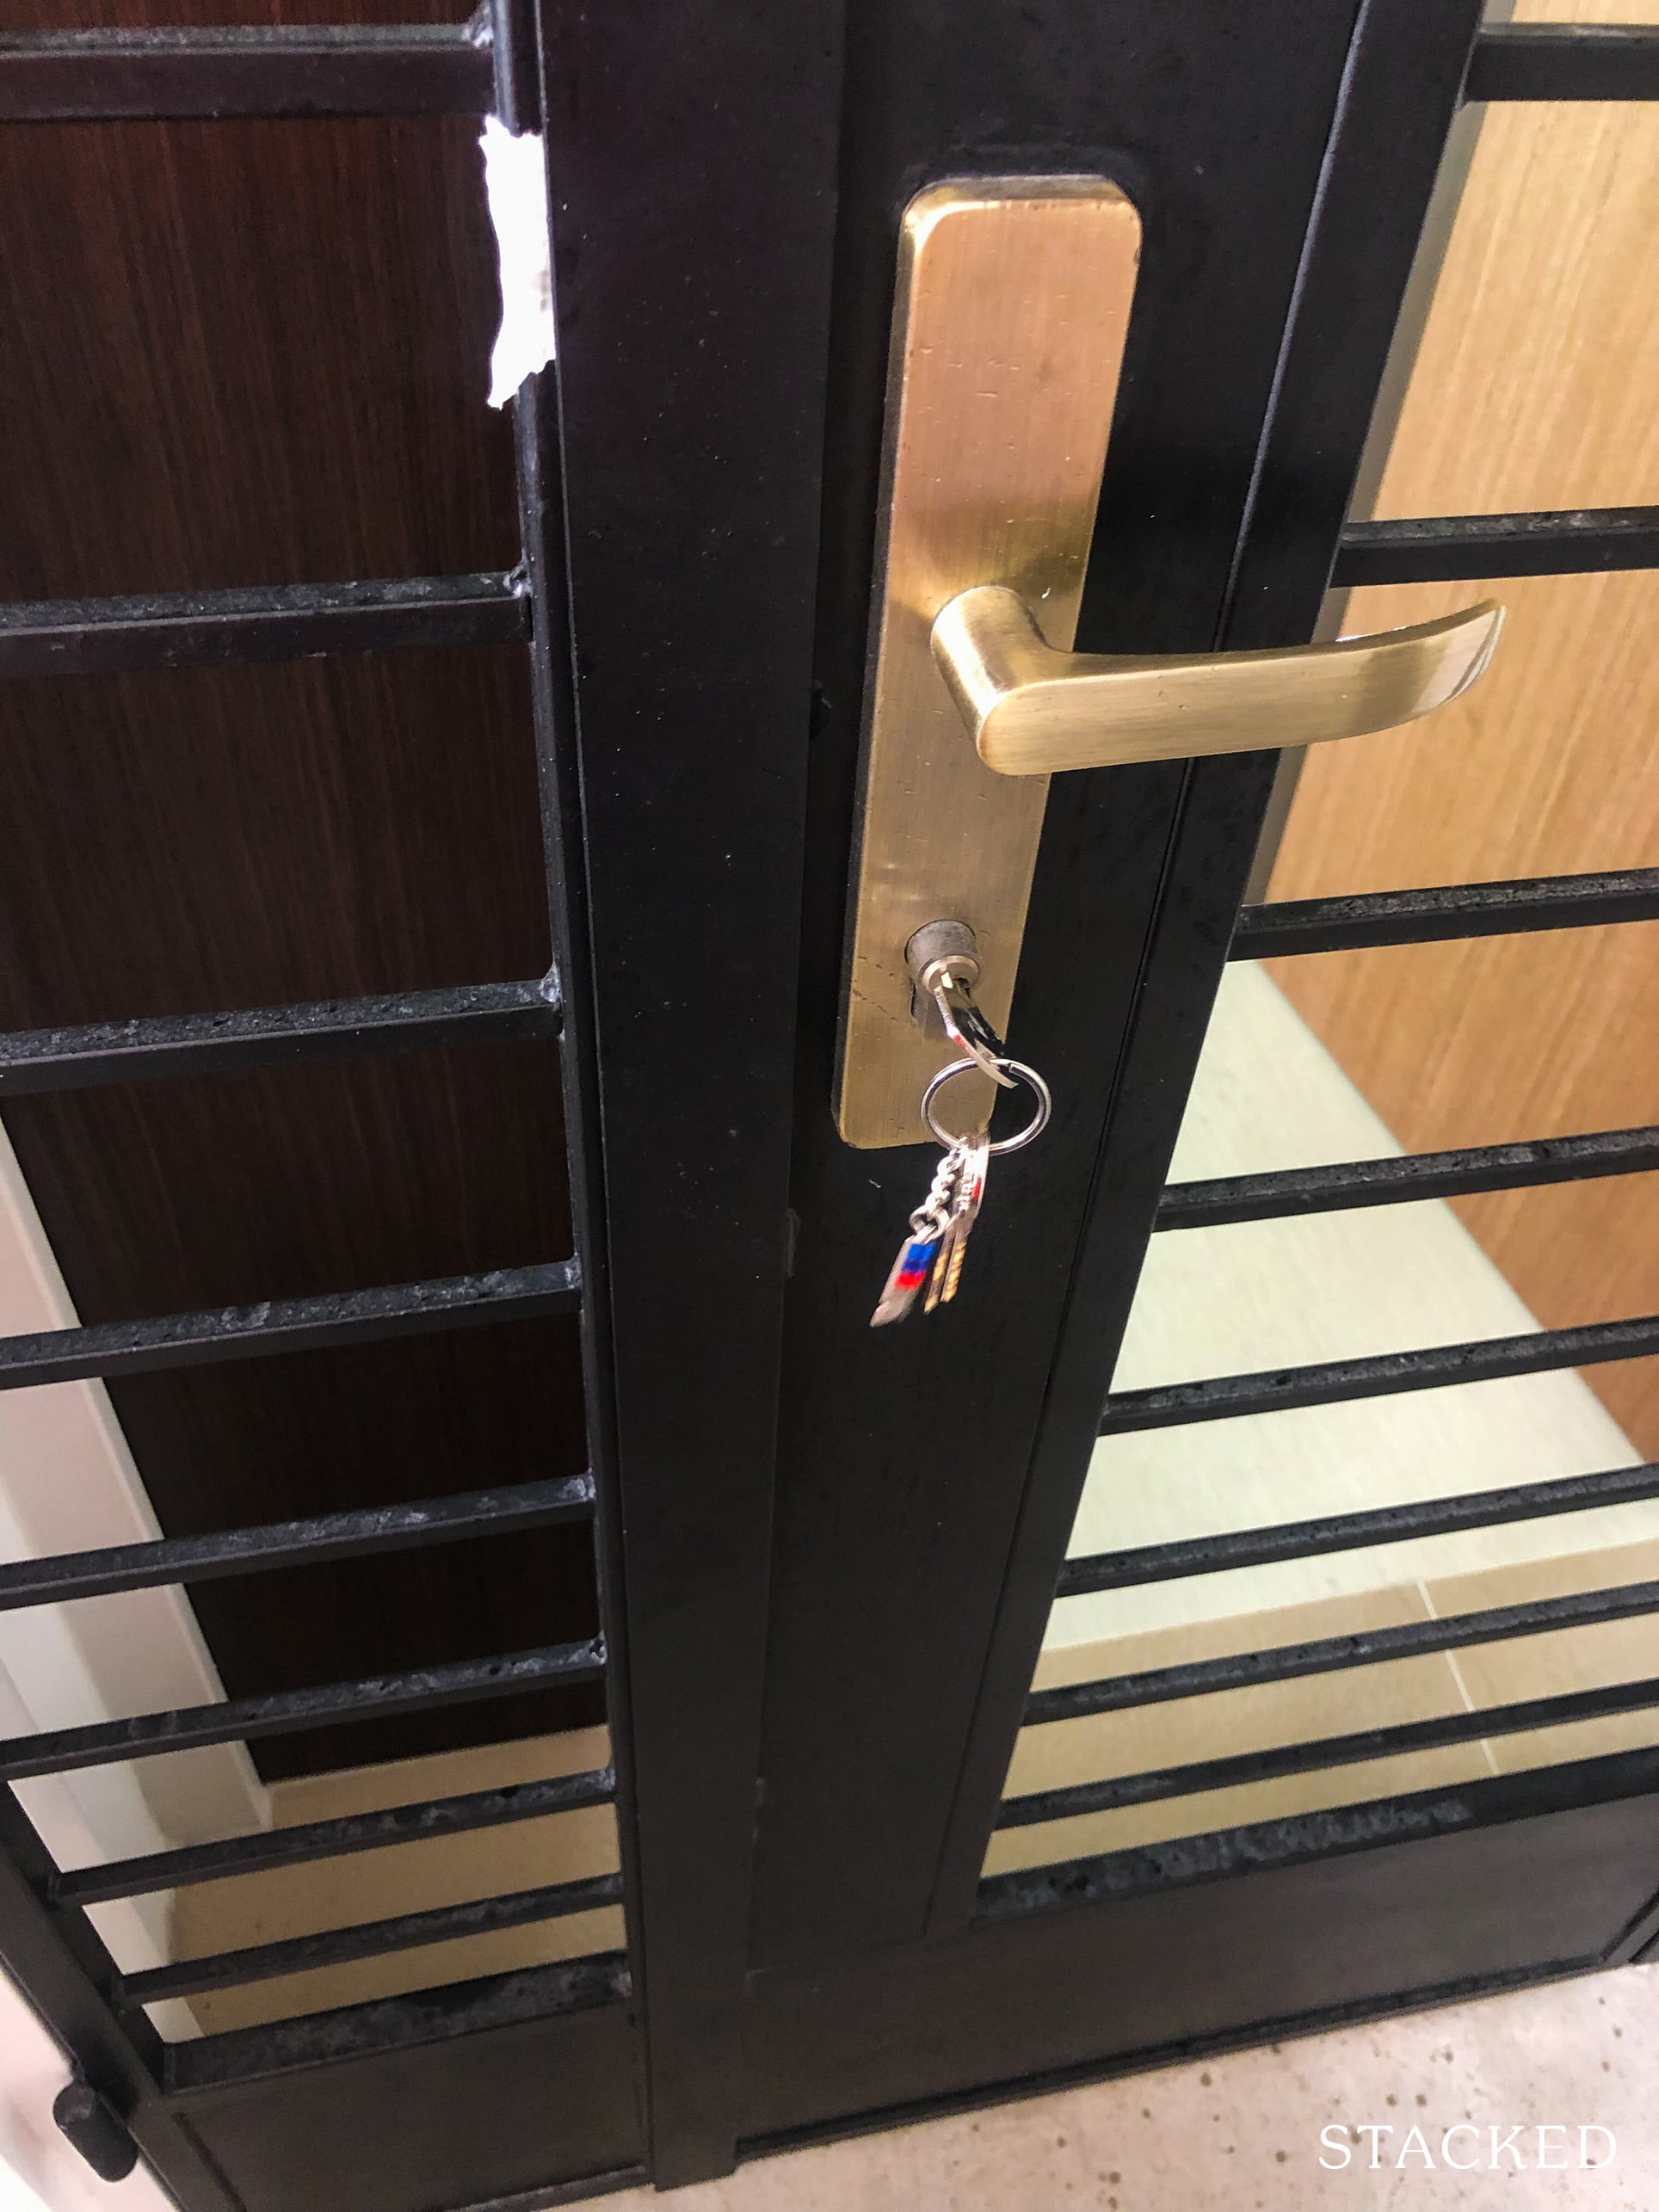
Do ensure that the main gate and door are properly aligned when shut. There should be no scratches on the door and look out for rust on the hinges, or on any part of the gate as well.
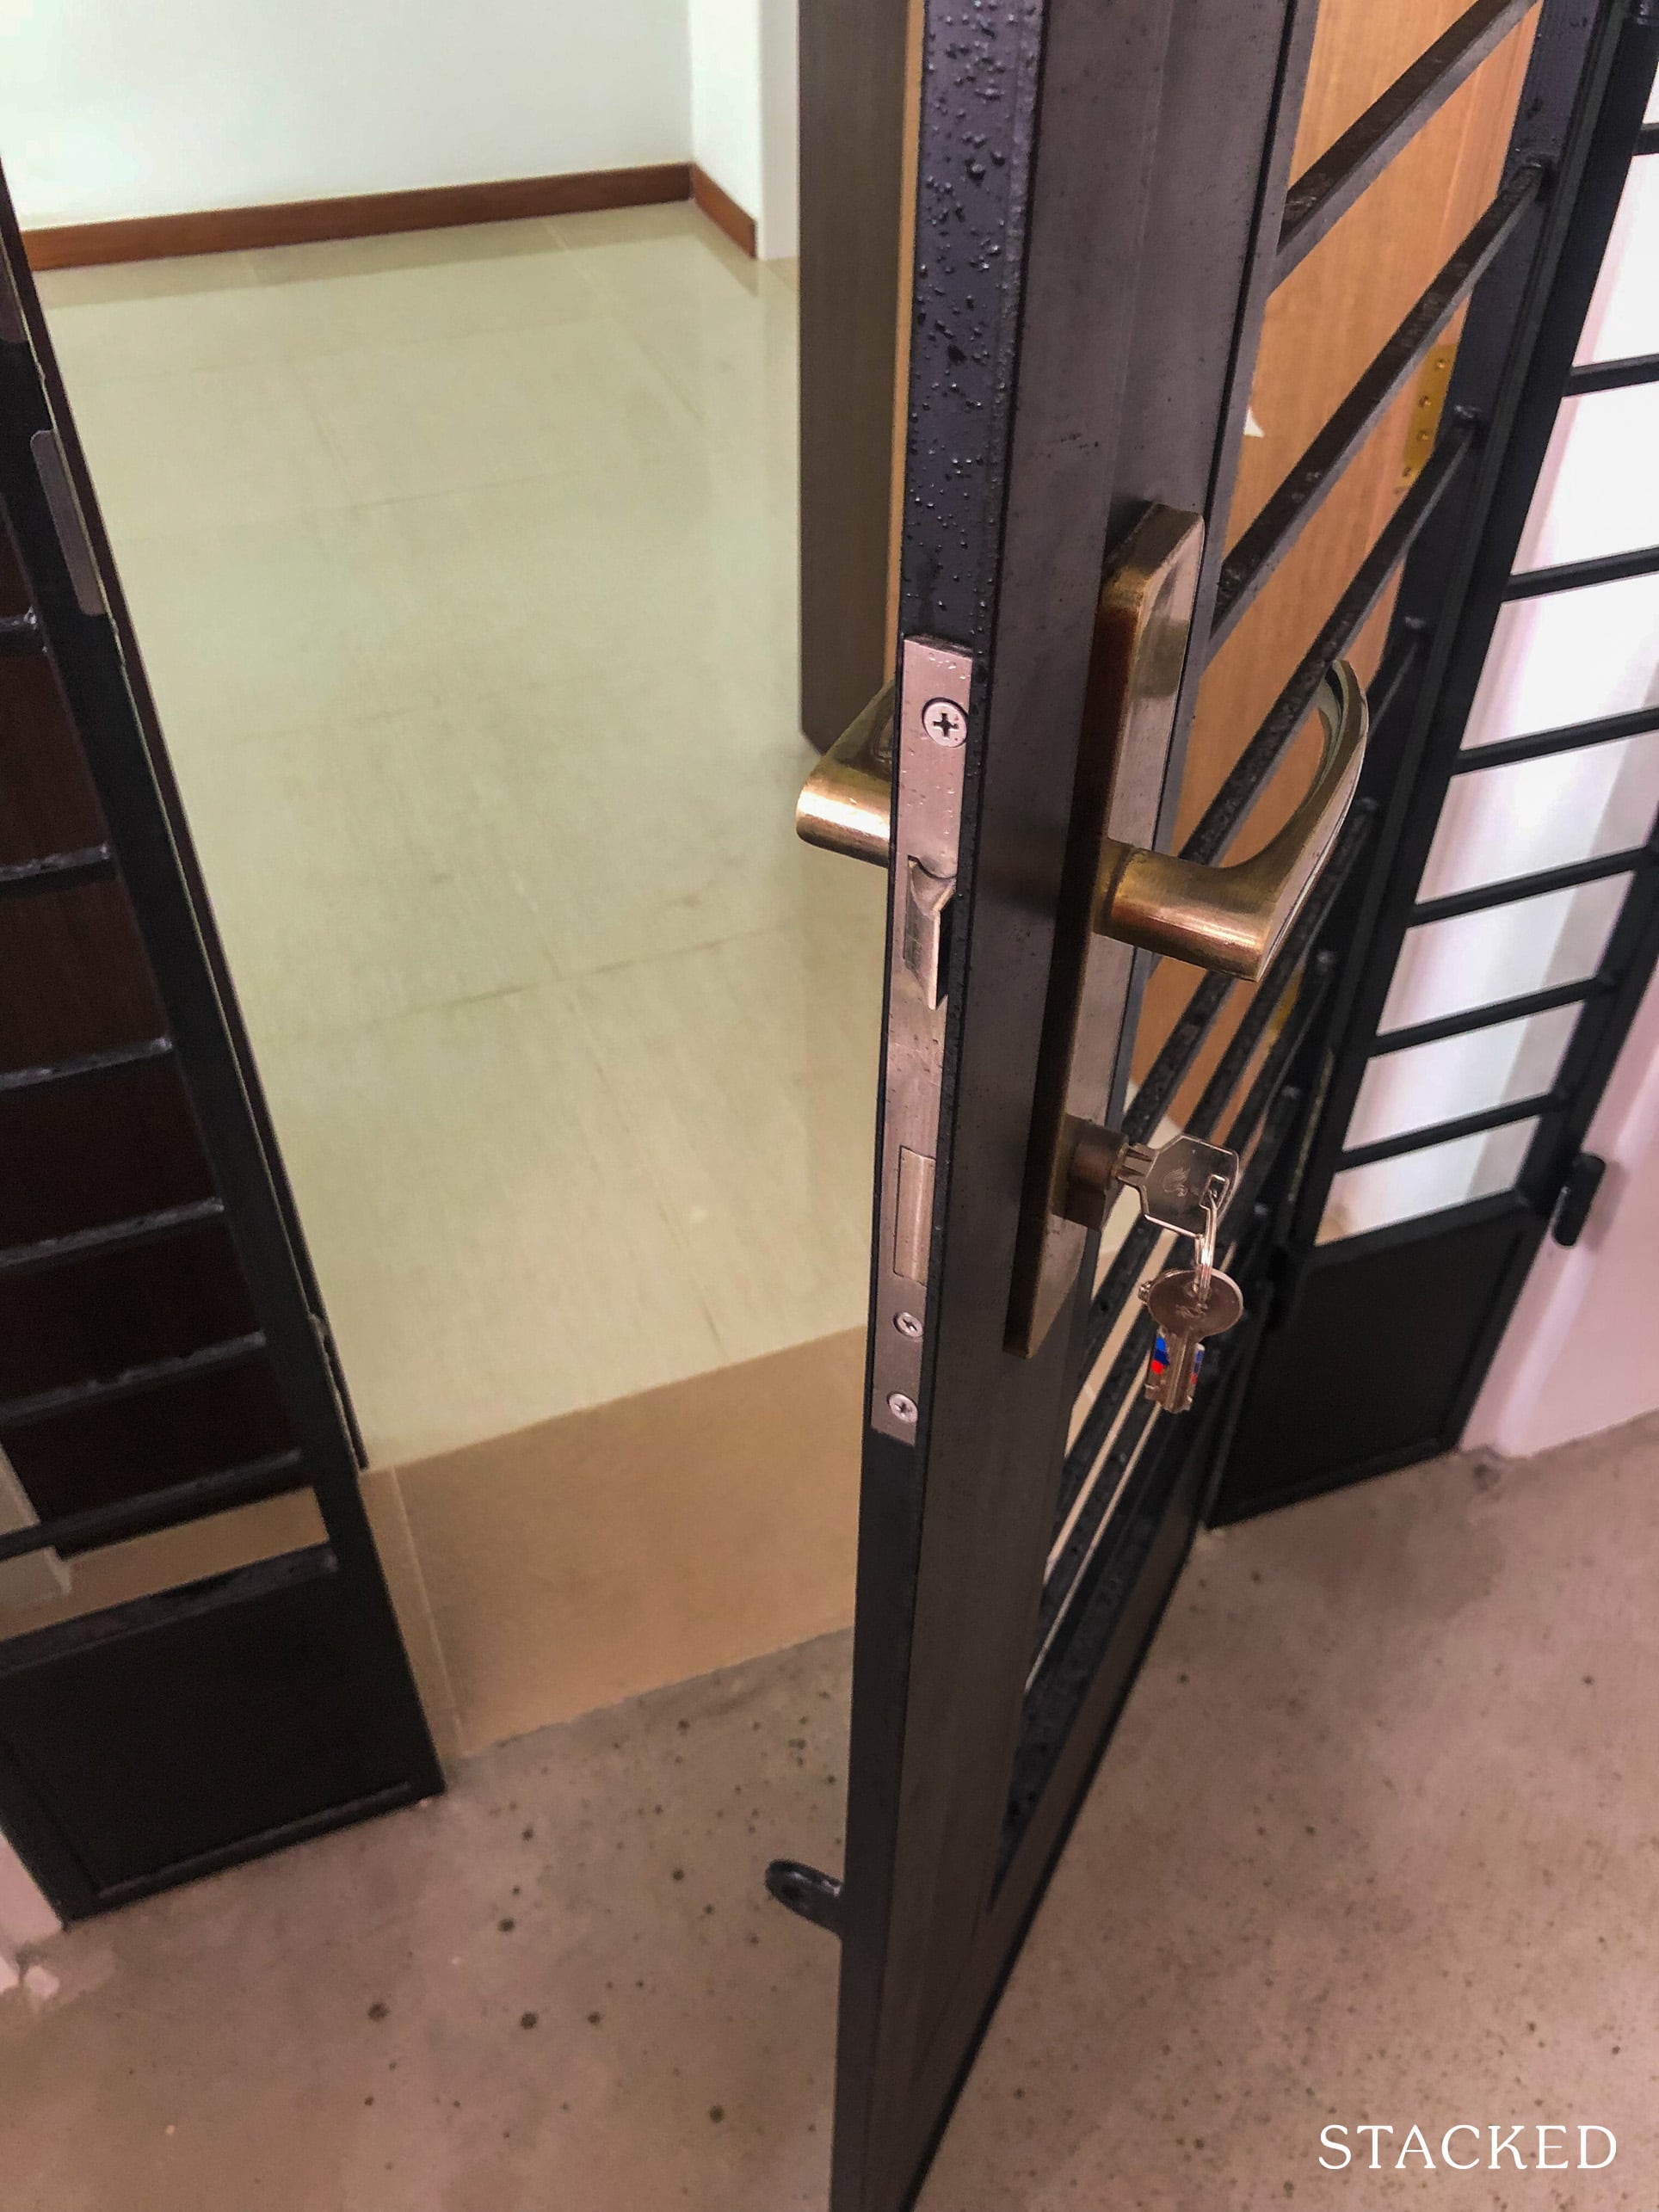
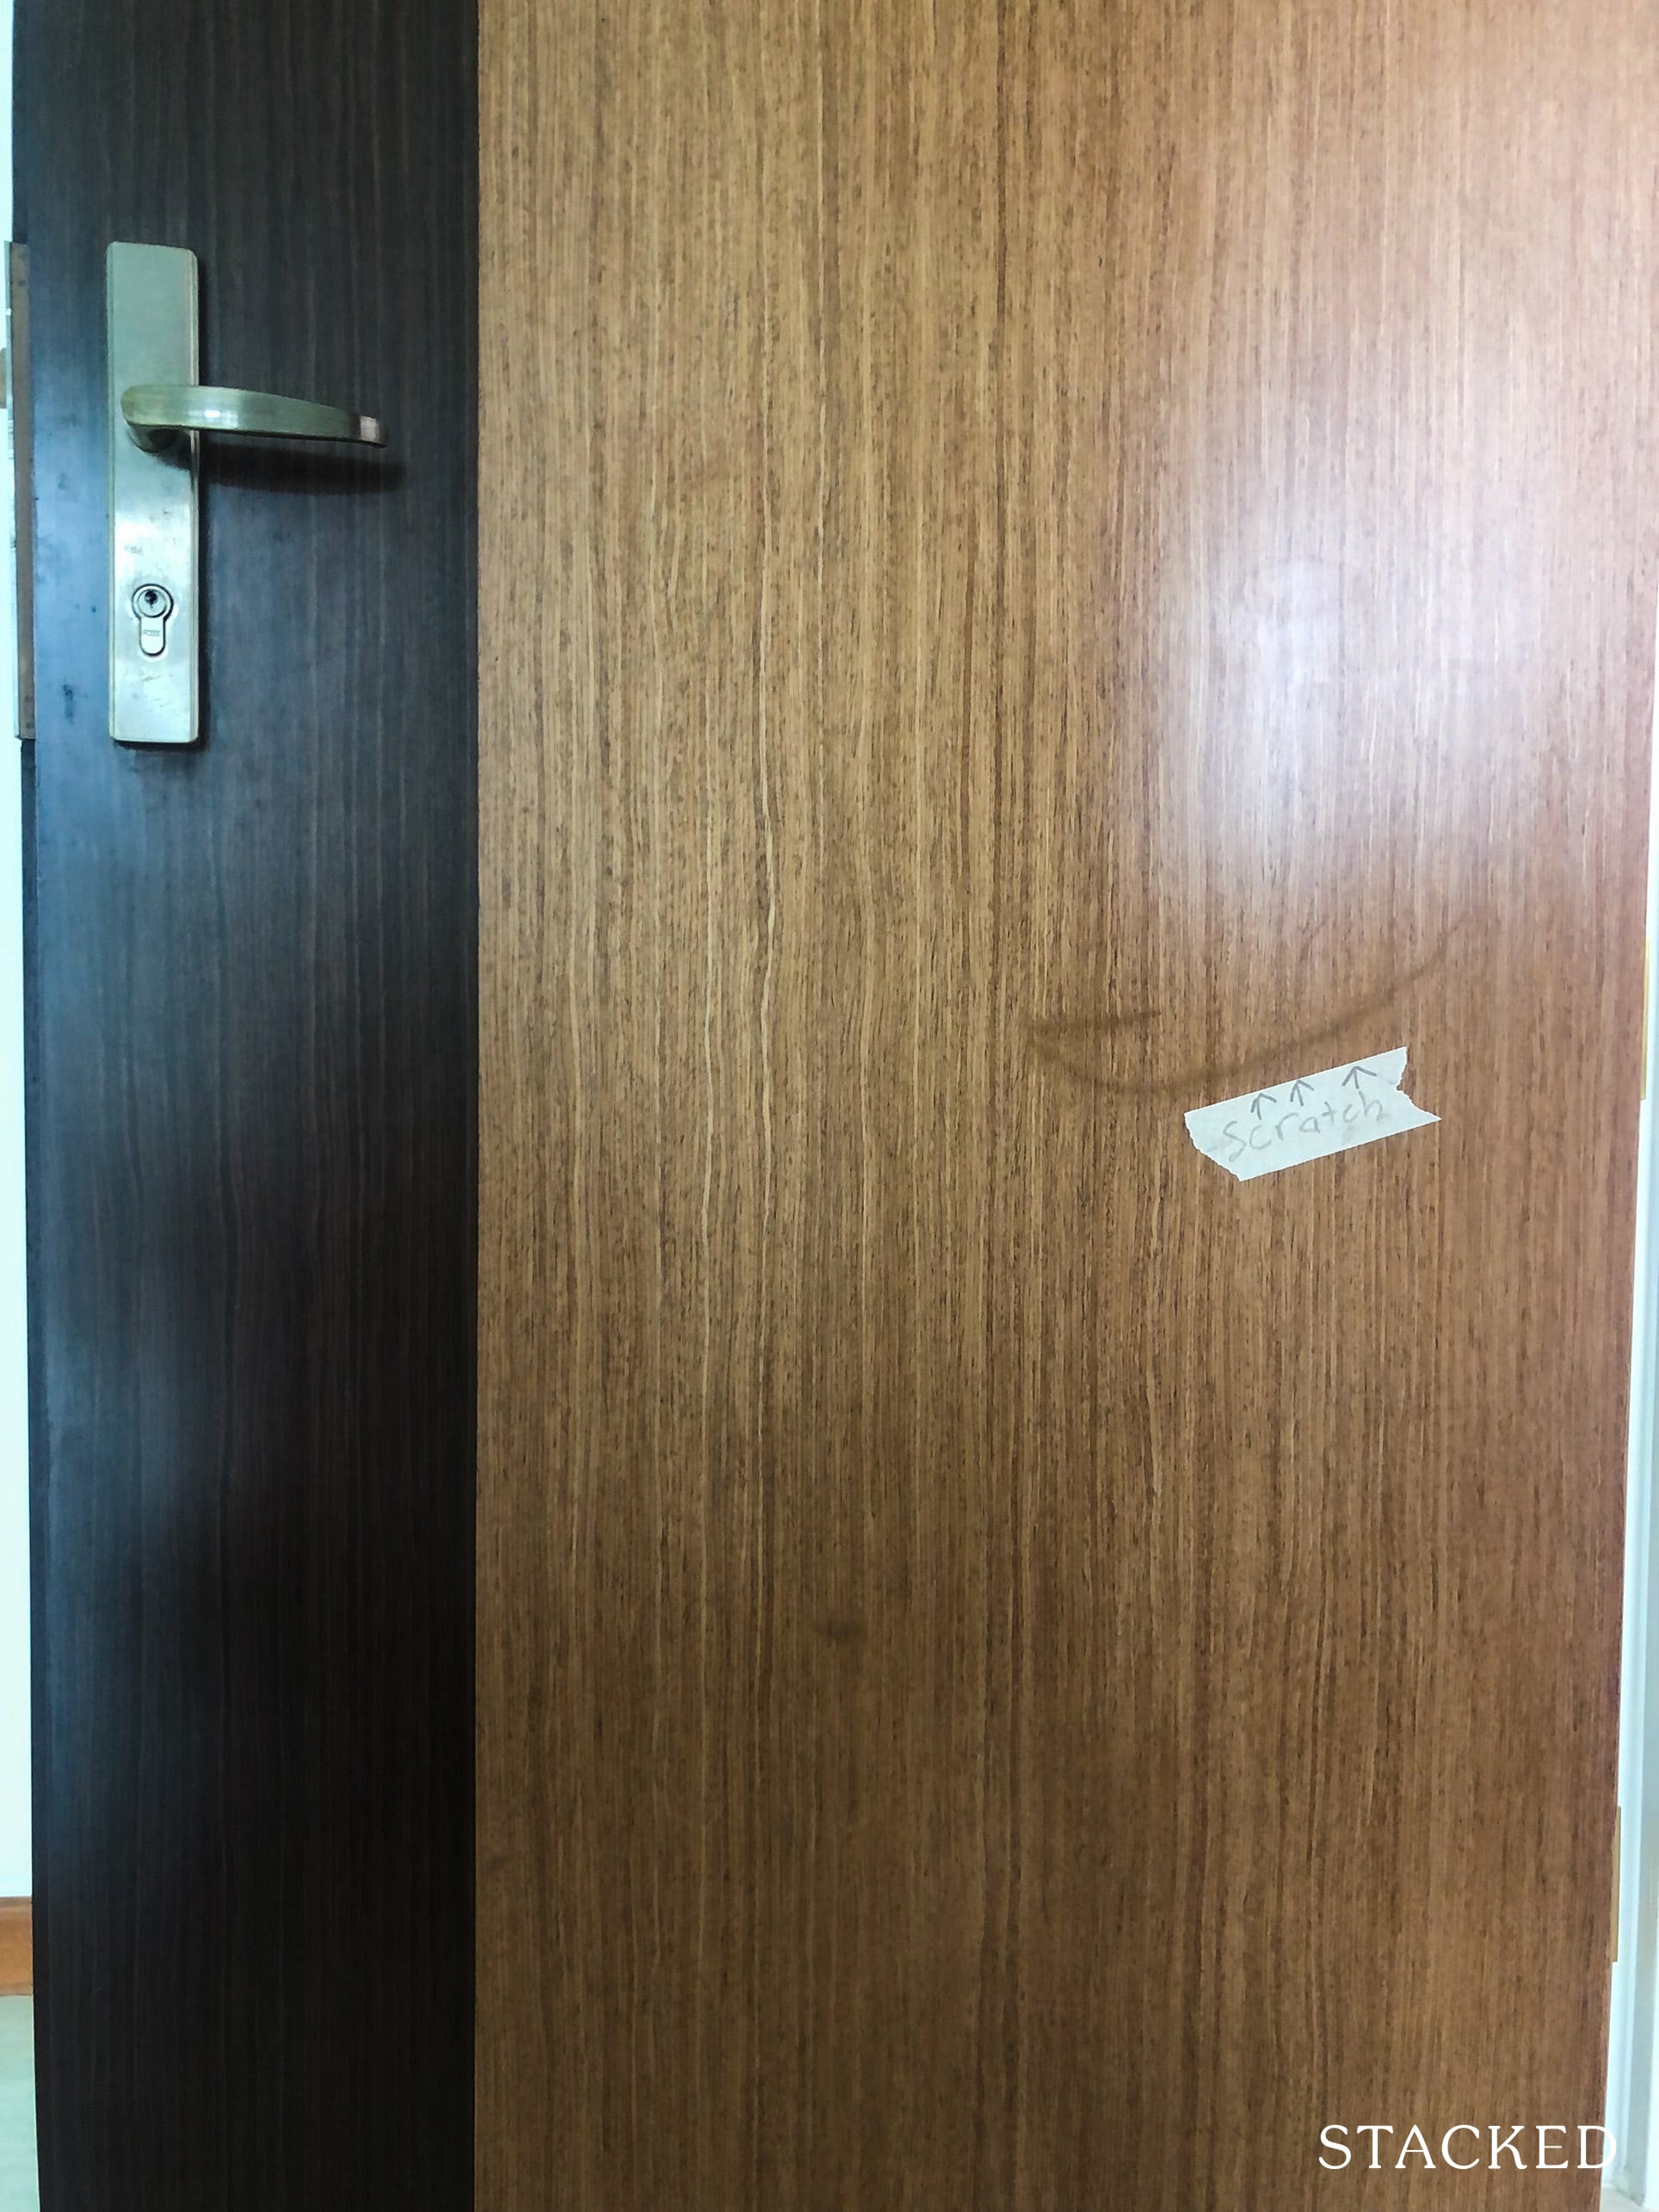
Next, make sure that the doors and windows open and close smoothly.
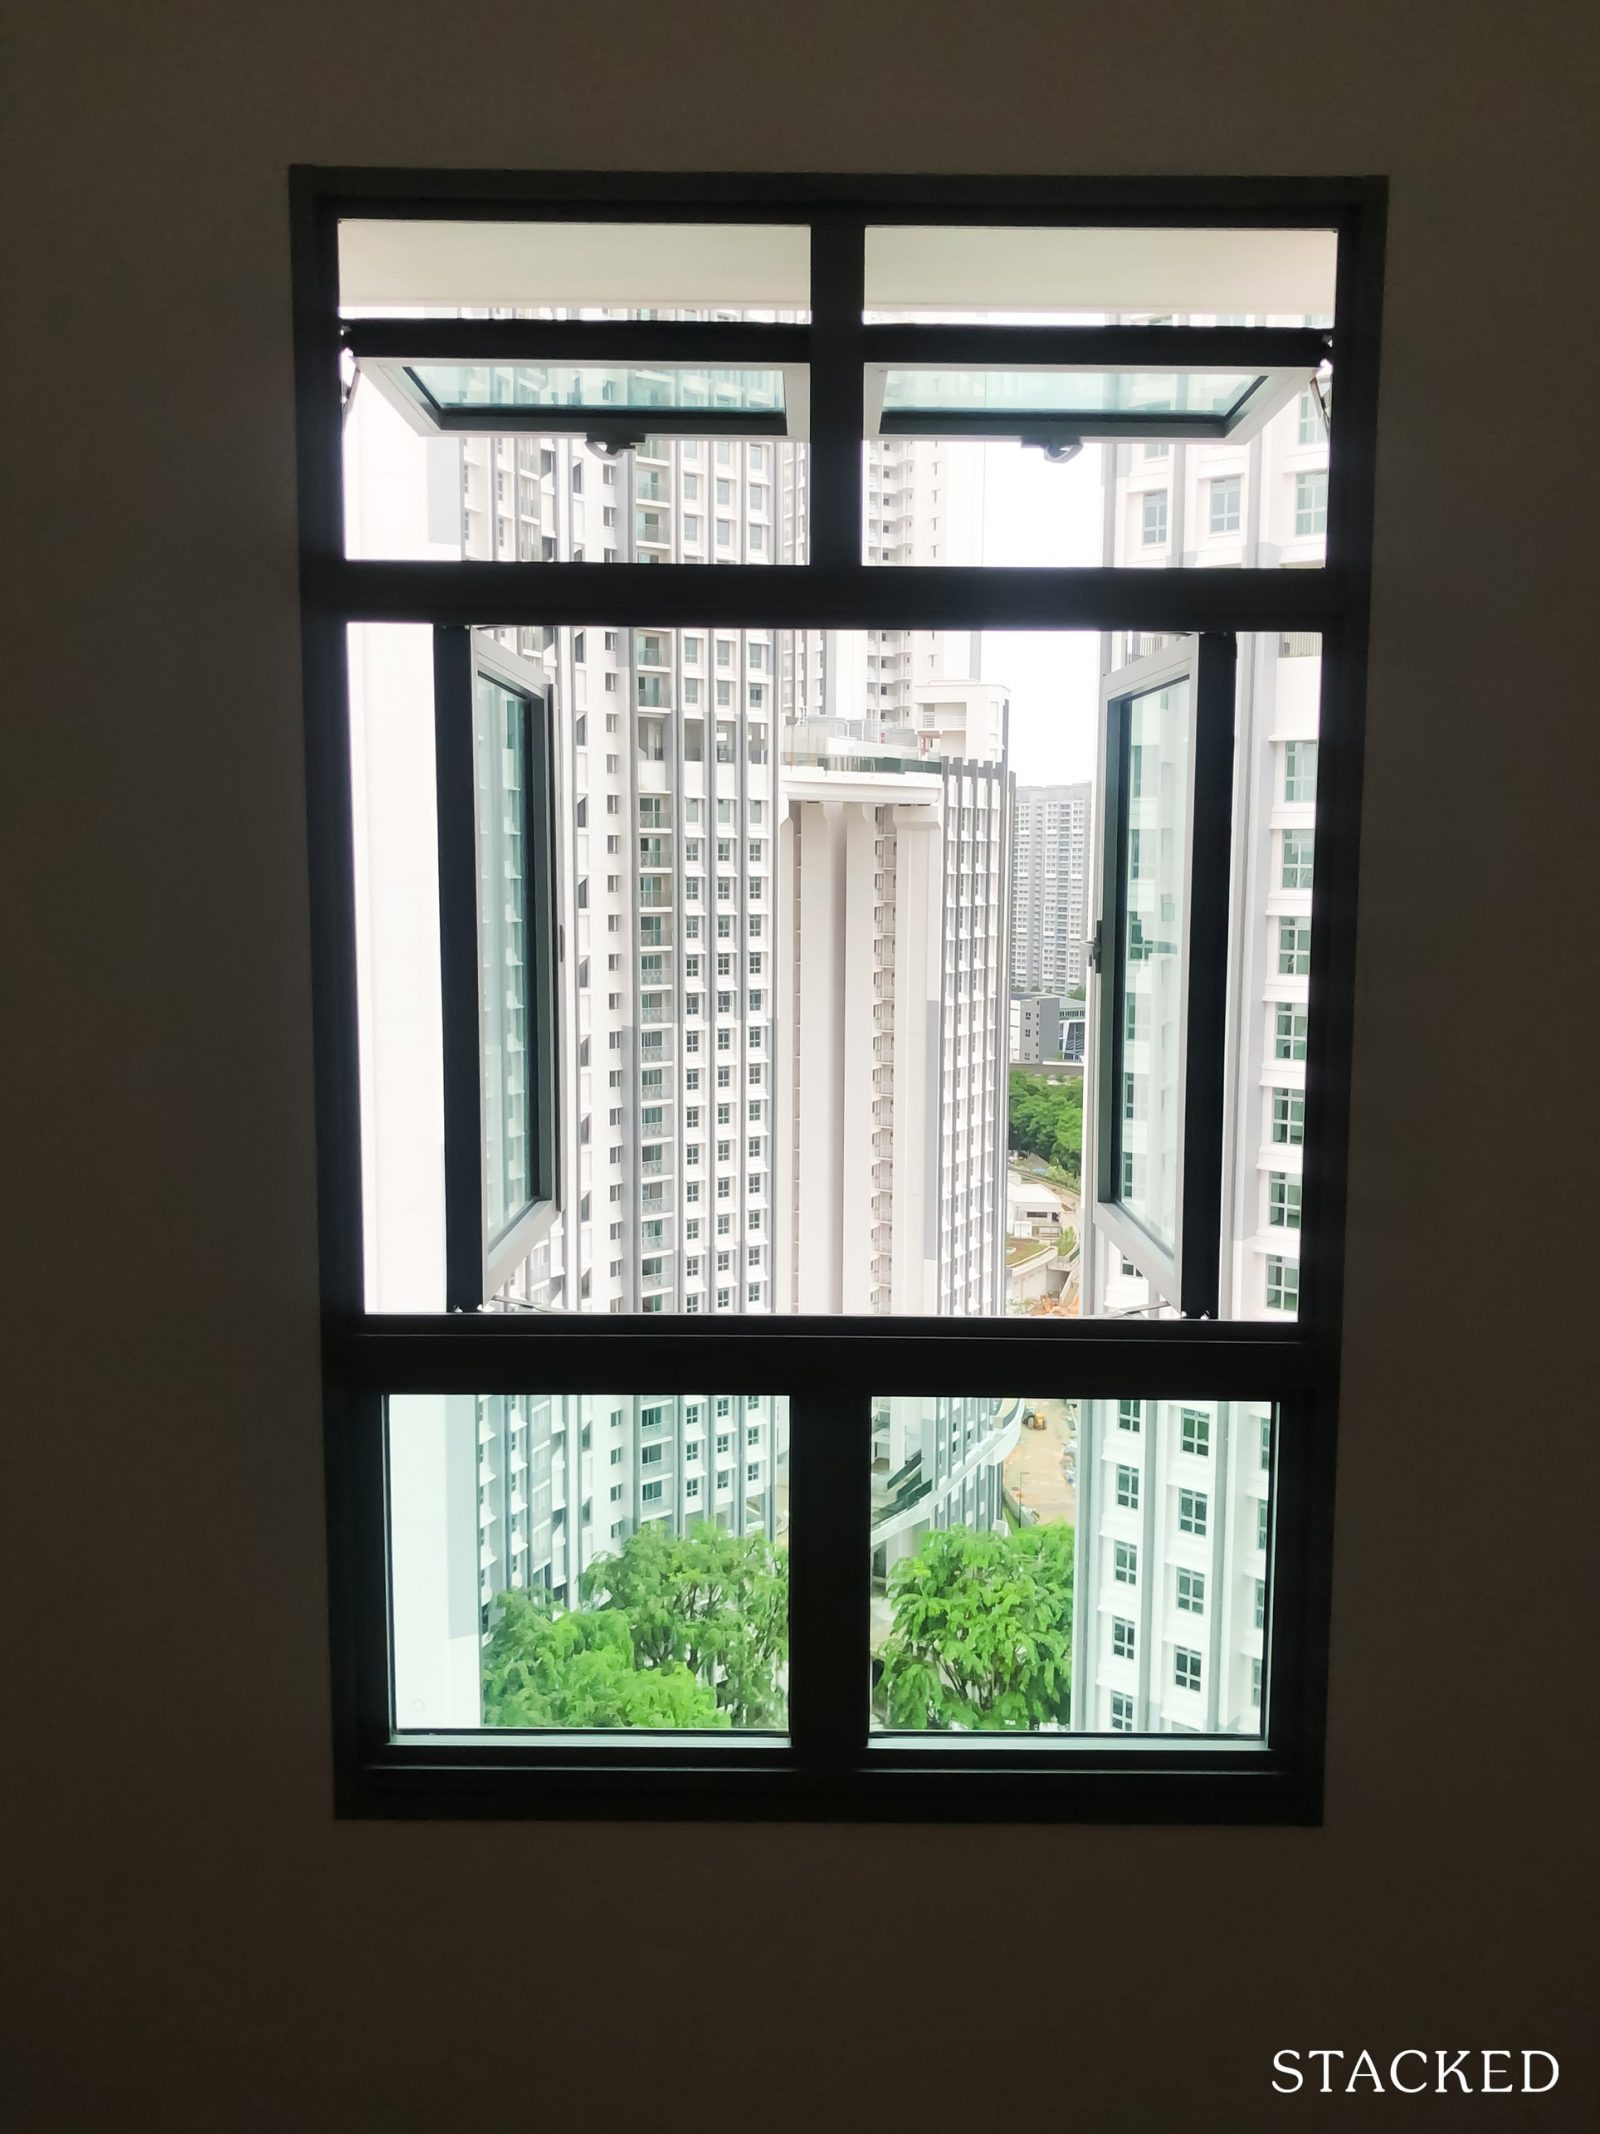
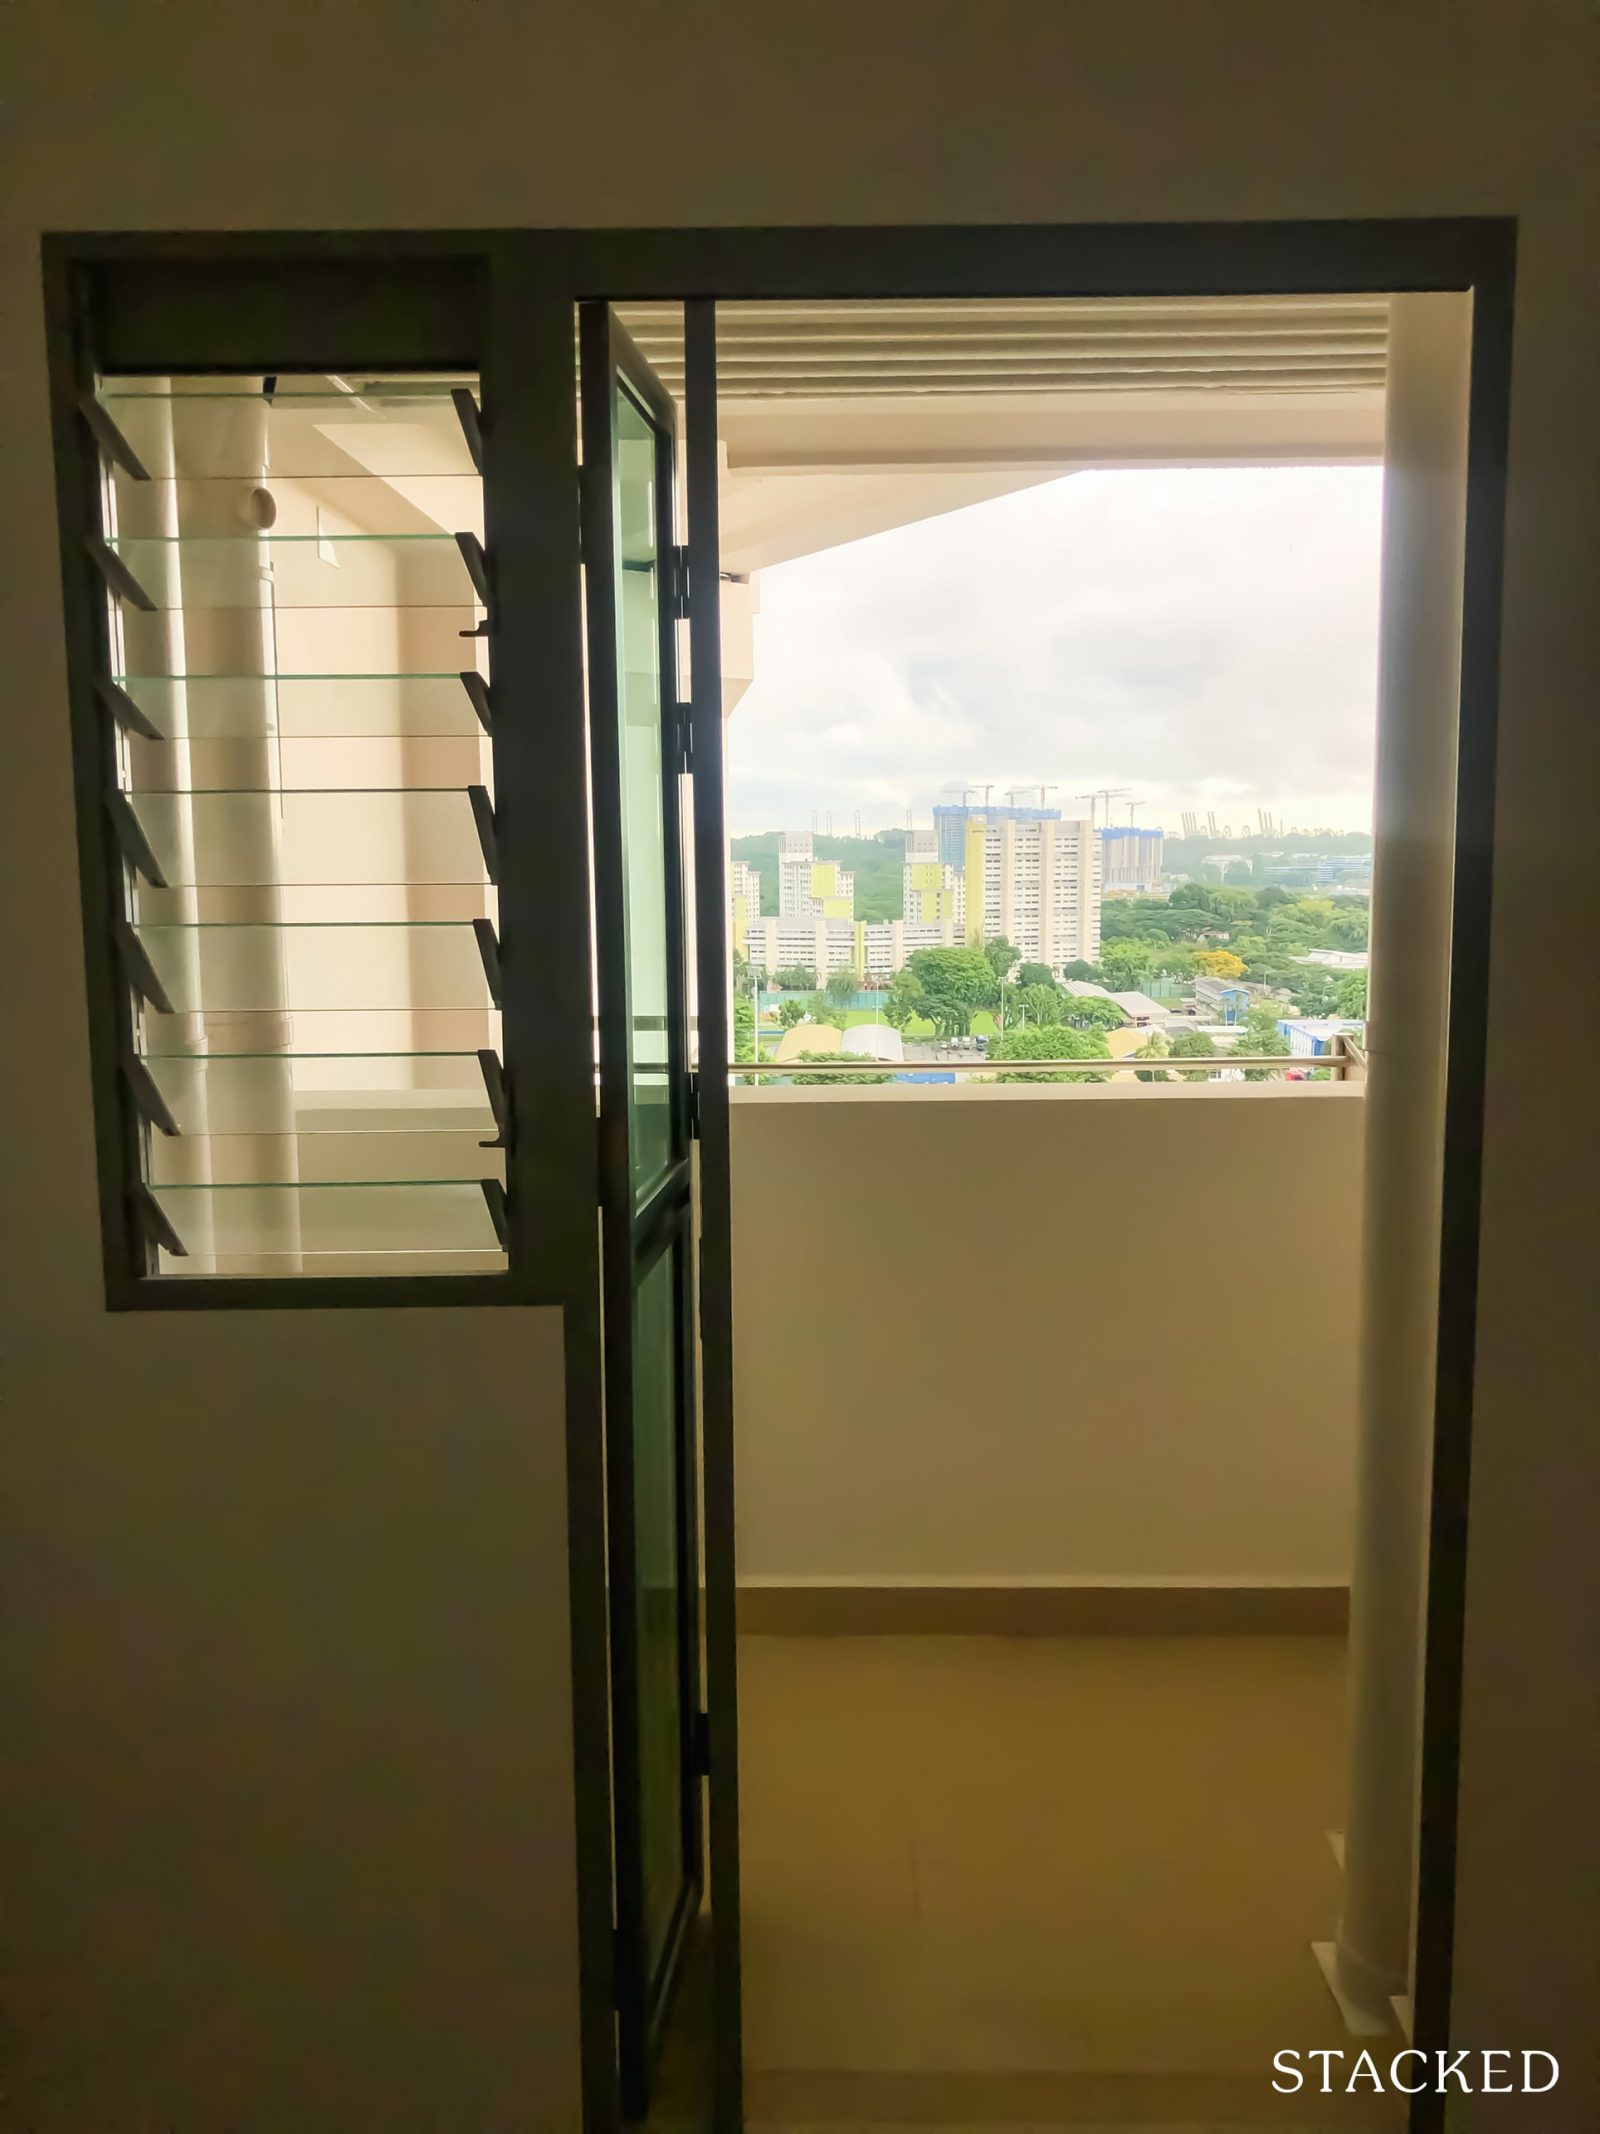
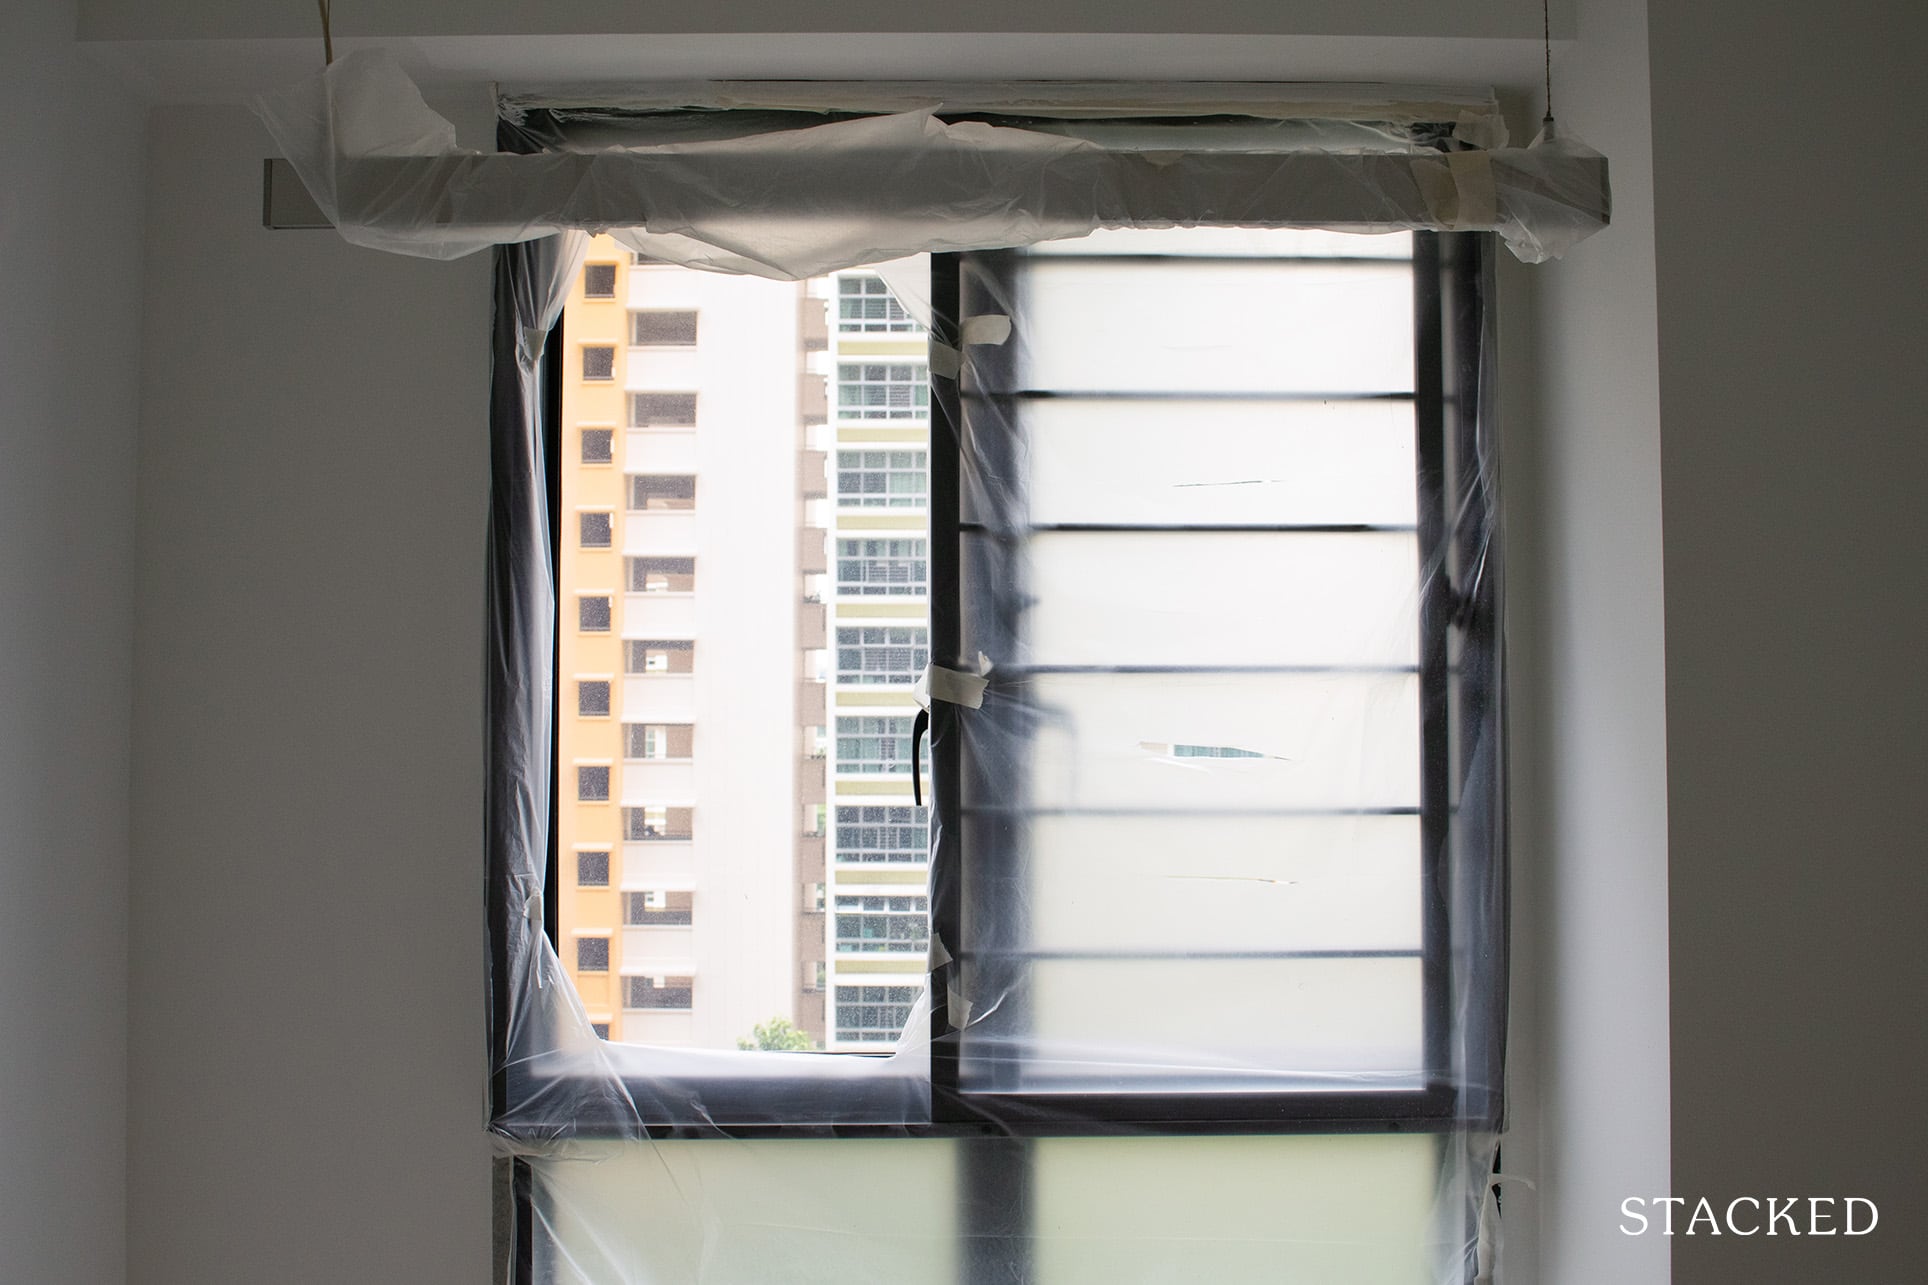
Now for the window frames. Check to see that the window frames are not rusty and there are no scratches or cracks on the window panels. The last piece of the puzzle here is the sealant – make sure it is intact!
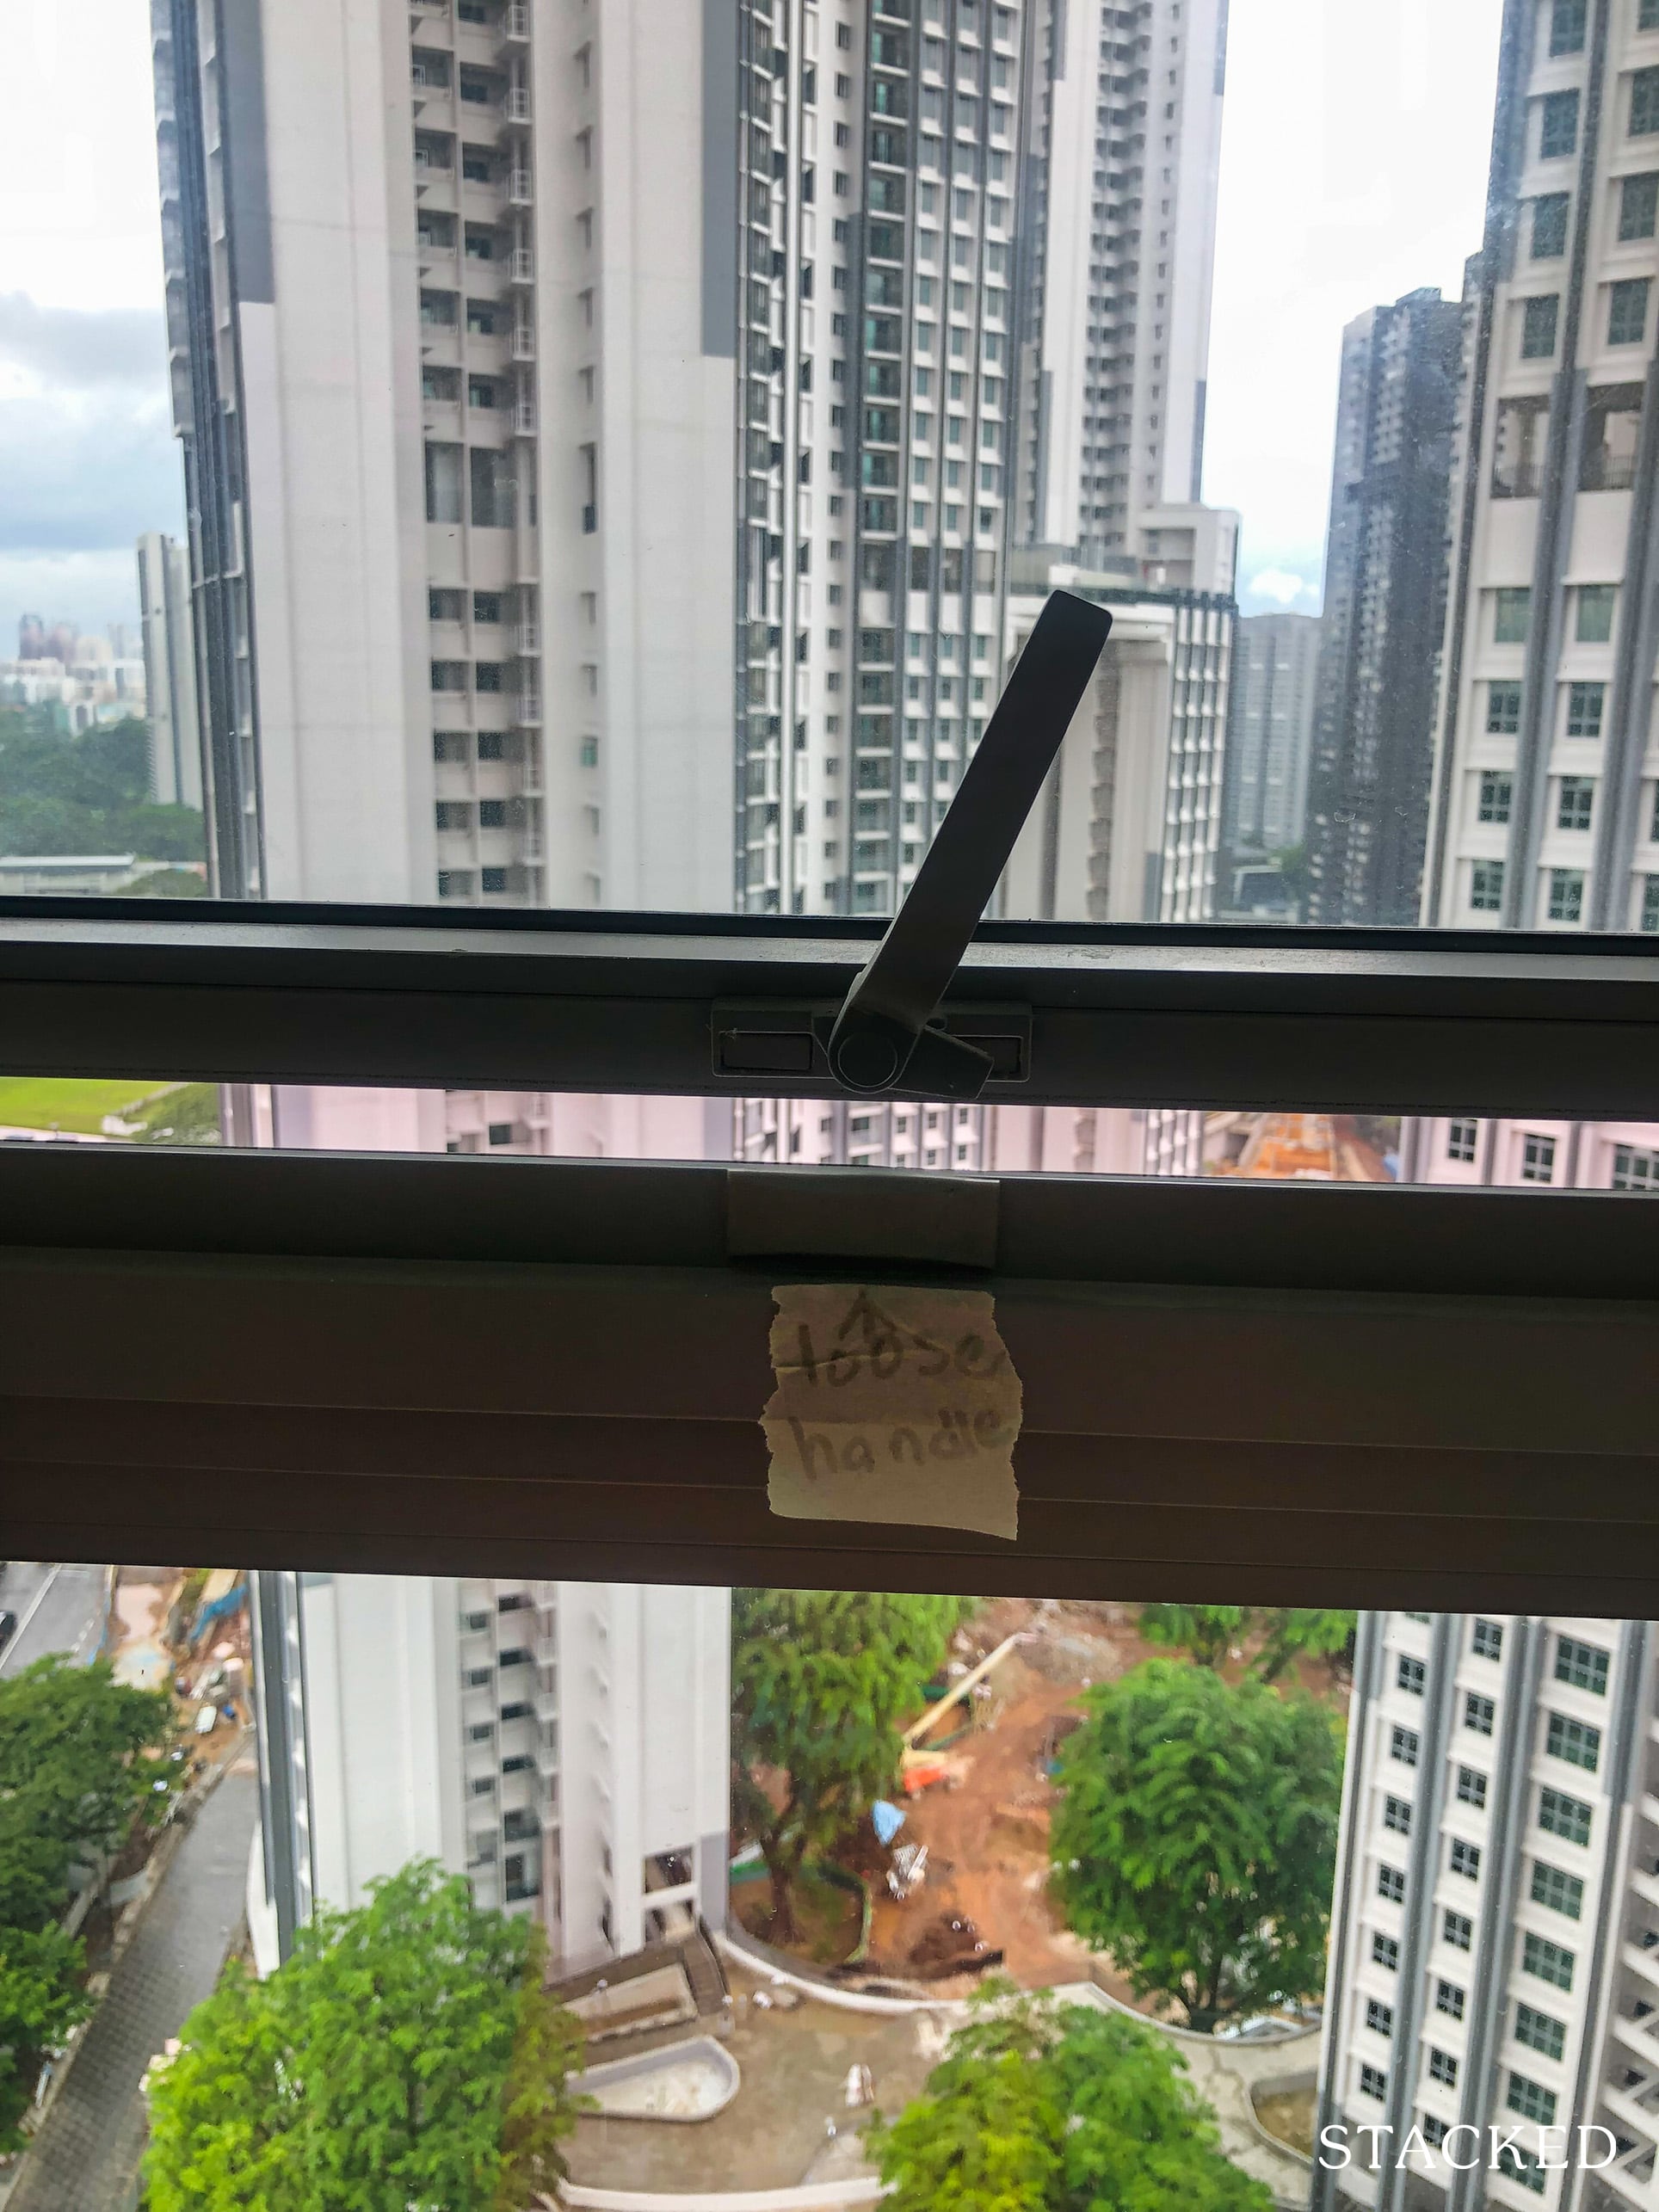
The movable parts of the window frame, such as screws, handles, and pivot points should not be loose. And of course, the window lock should be aligned with the stopper as well.
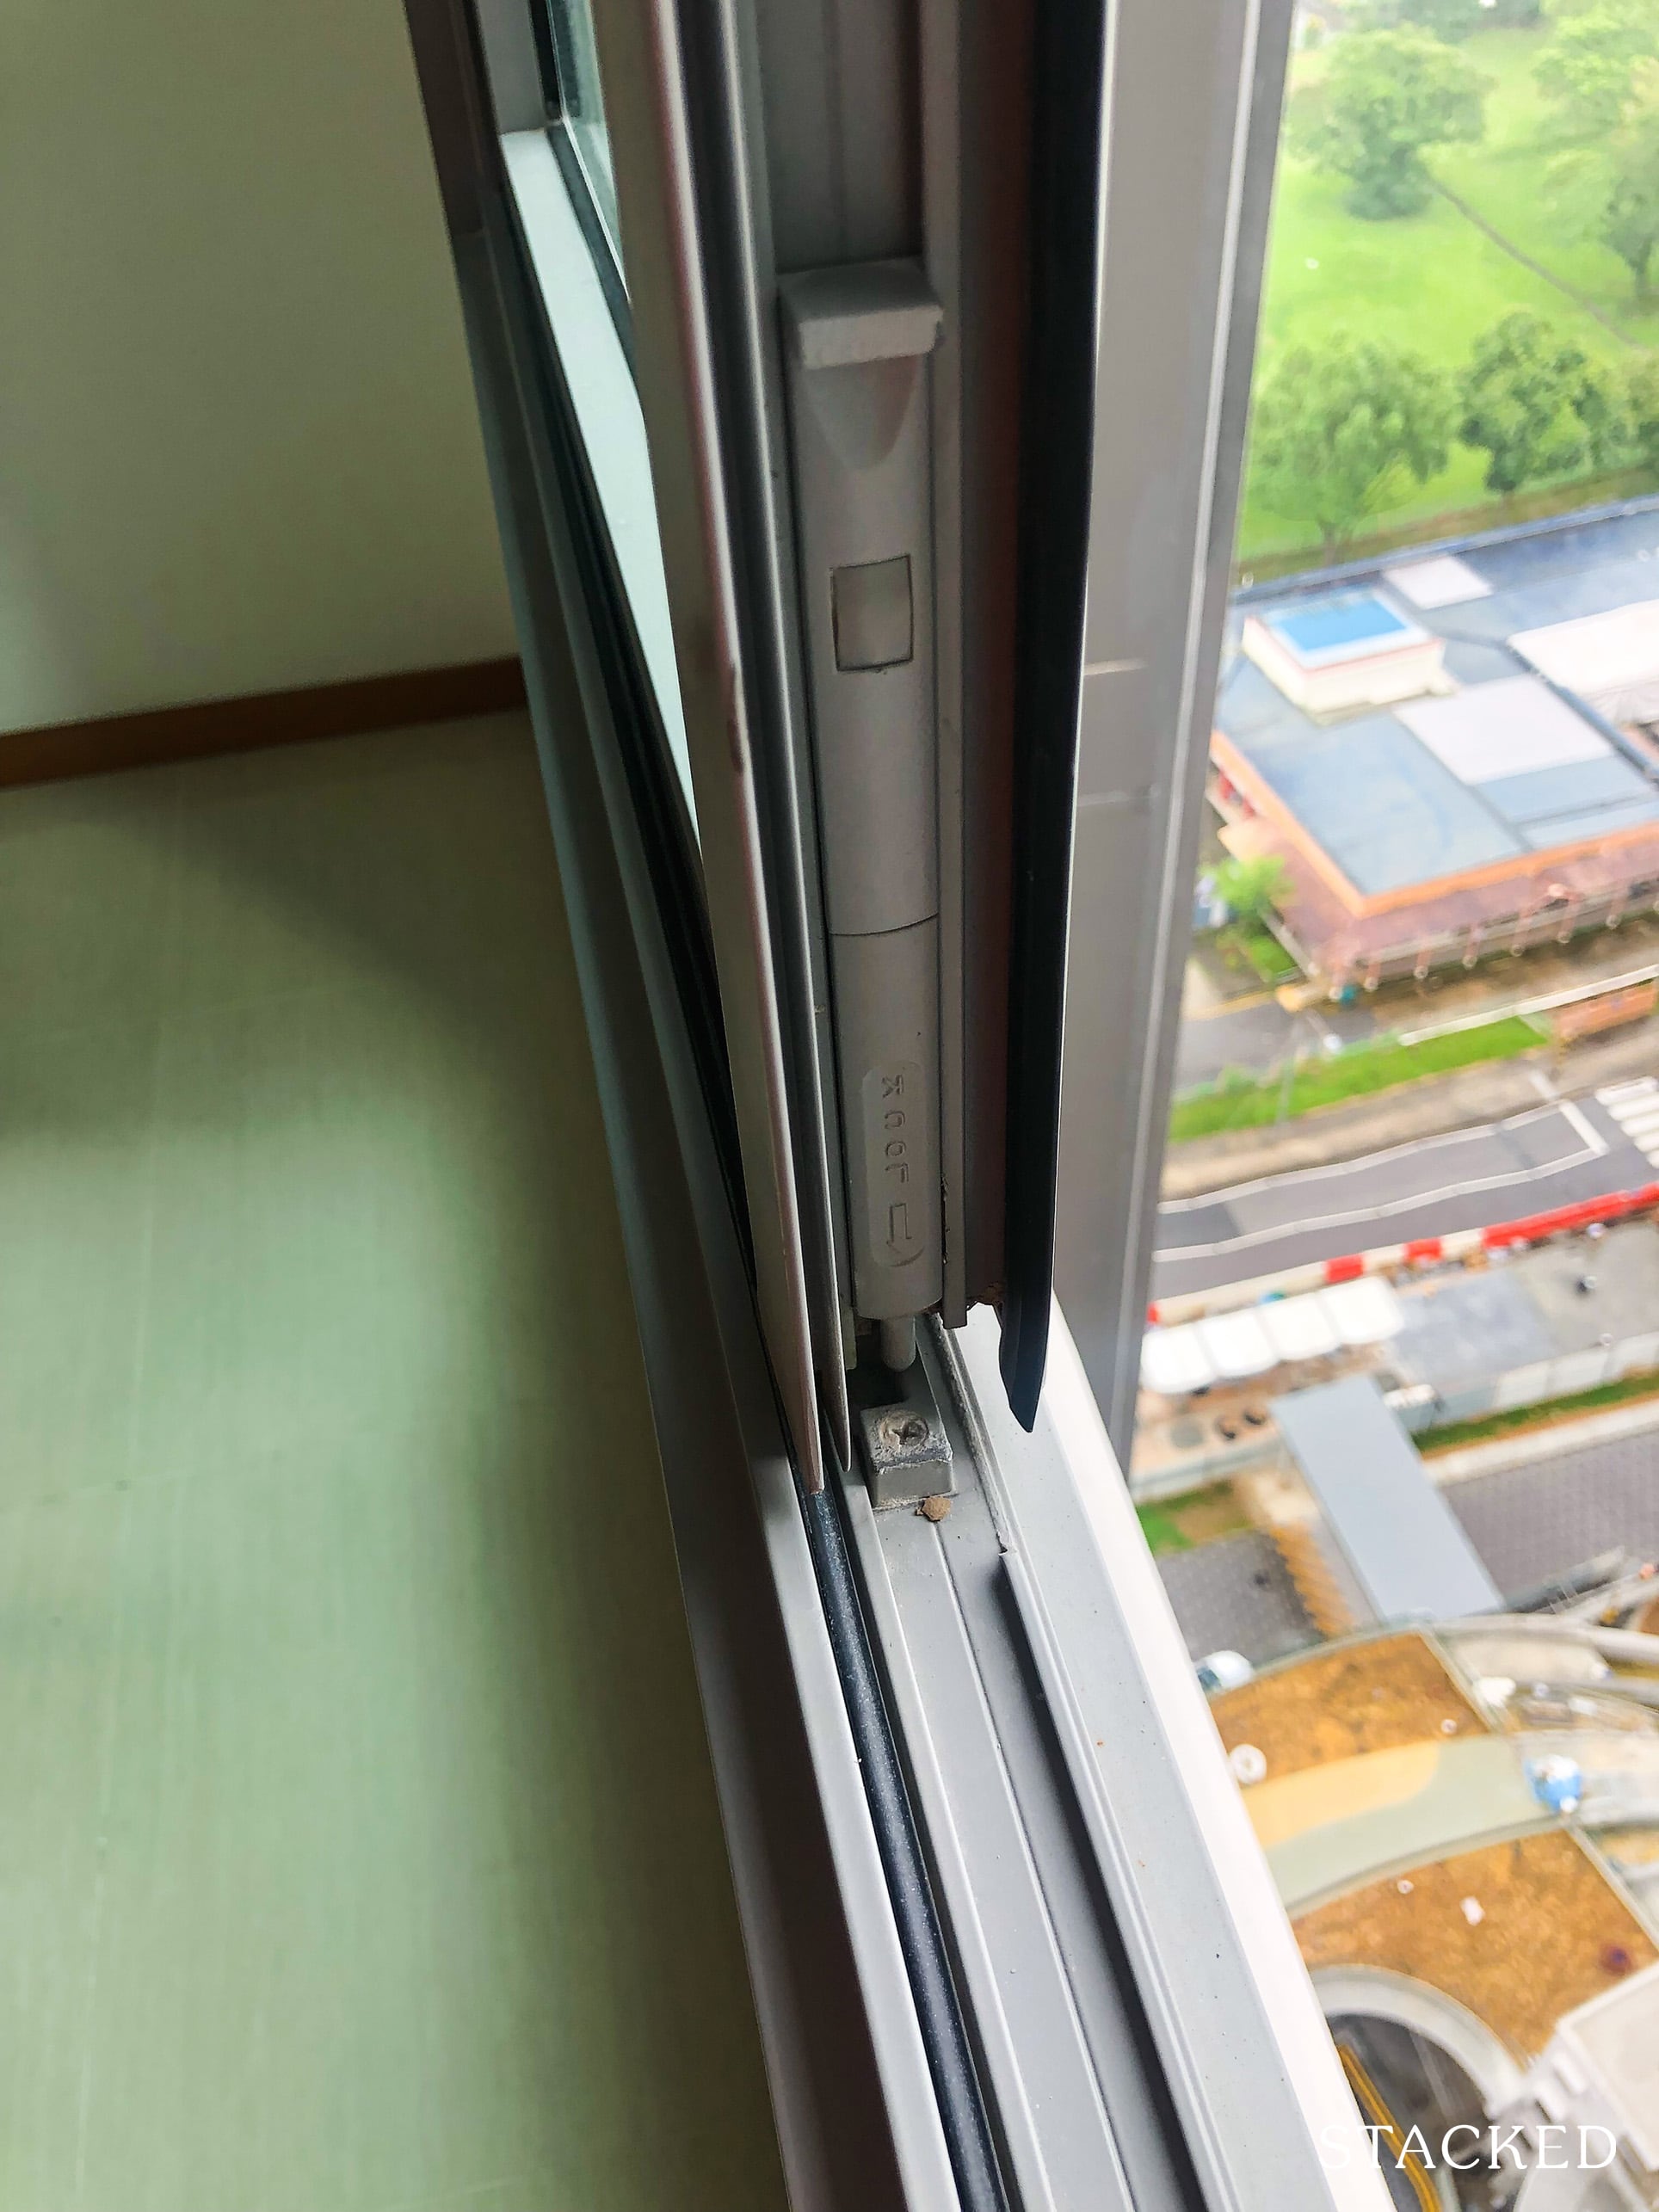
Finally, the joints between the window frame and the wall should be free of gaps. Be on the lookout for dampness or streaks in the paint, which may suggest that water is coming through. A good tip here is to check for leaks around the windows, especially after a bout of heavy rain.
Walls
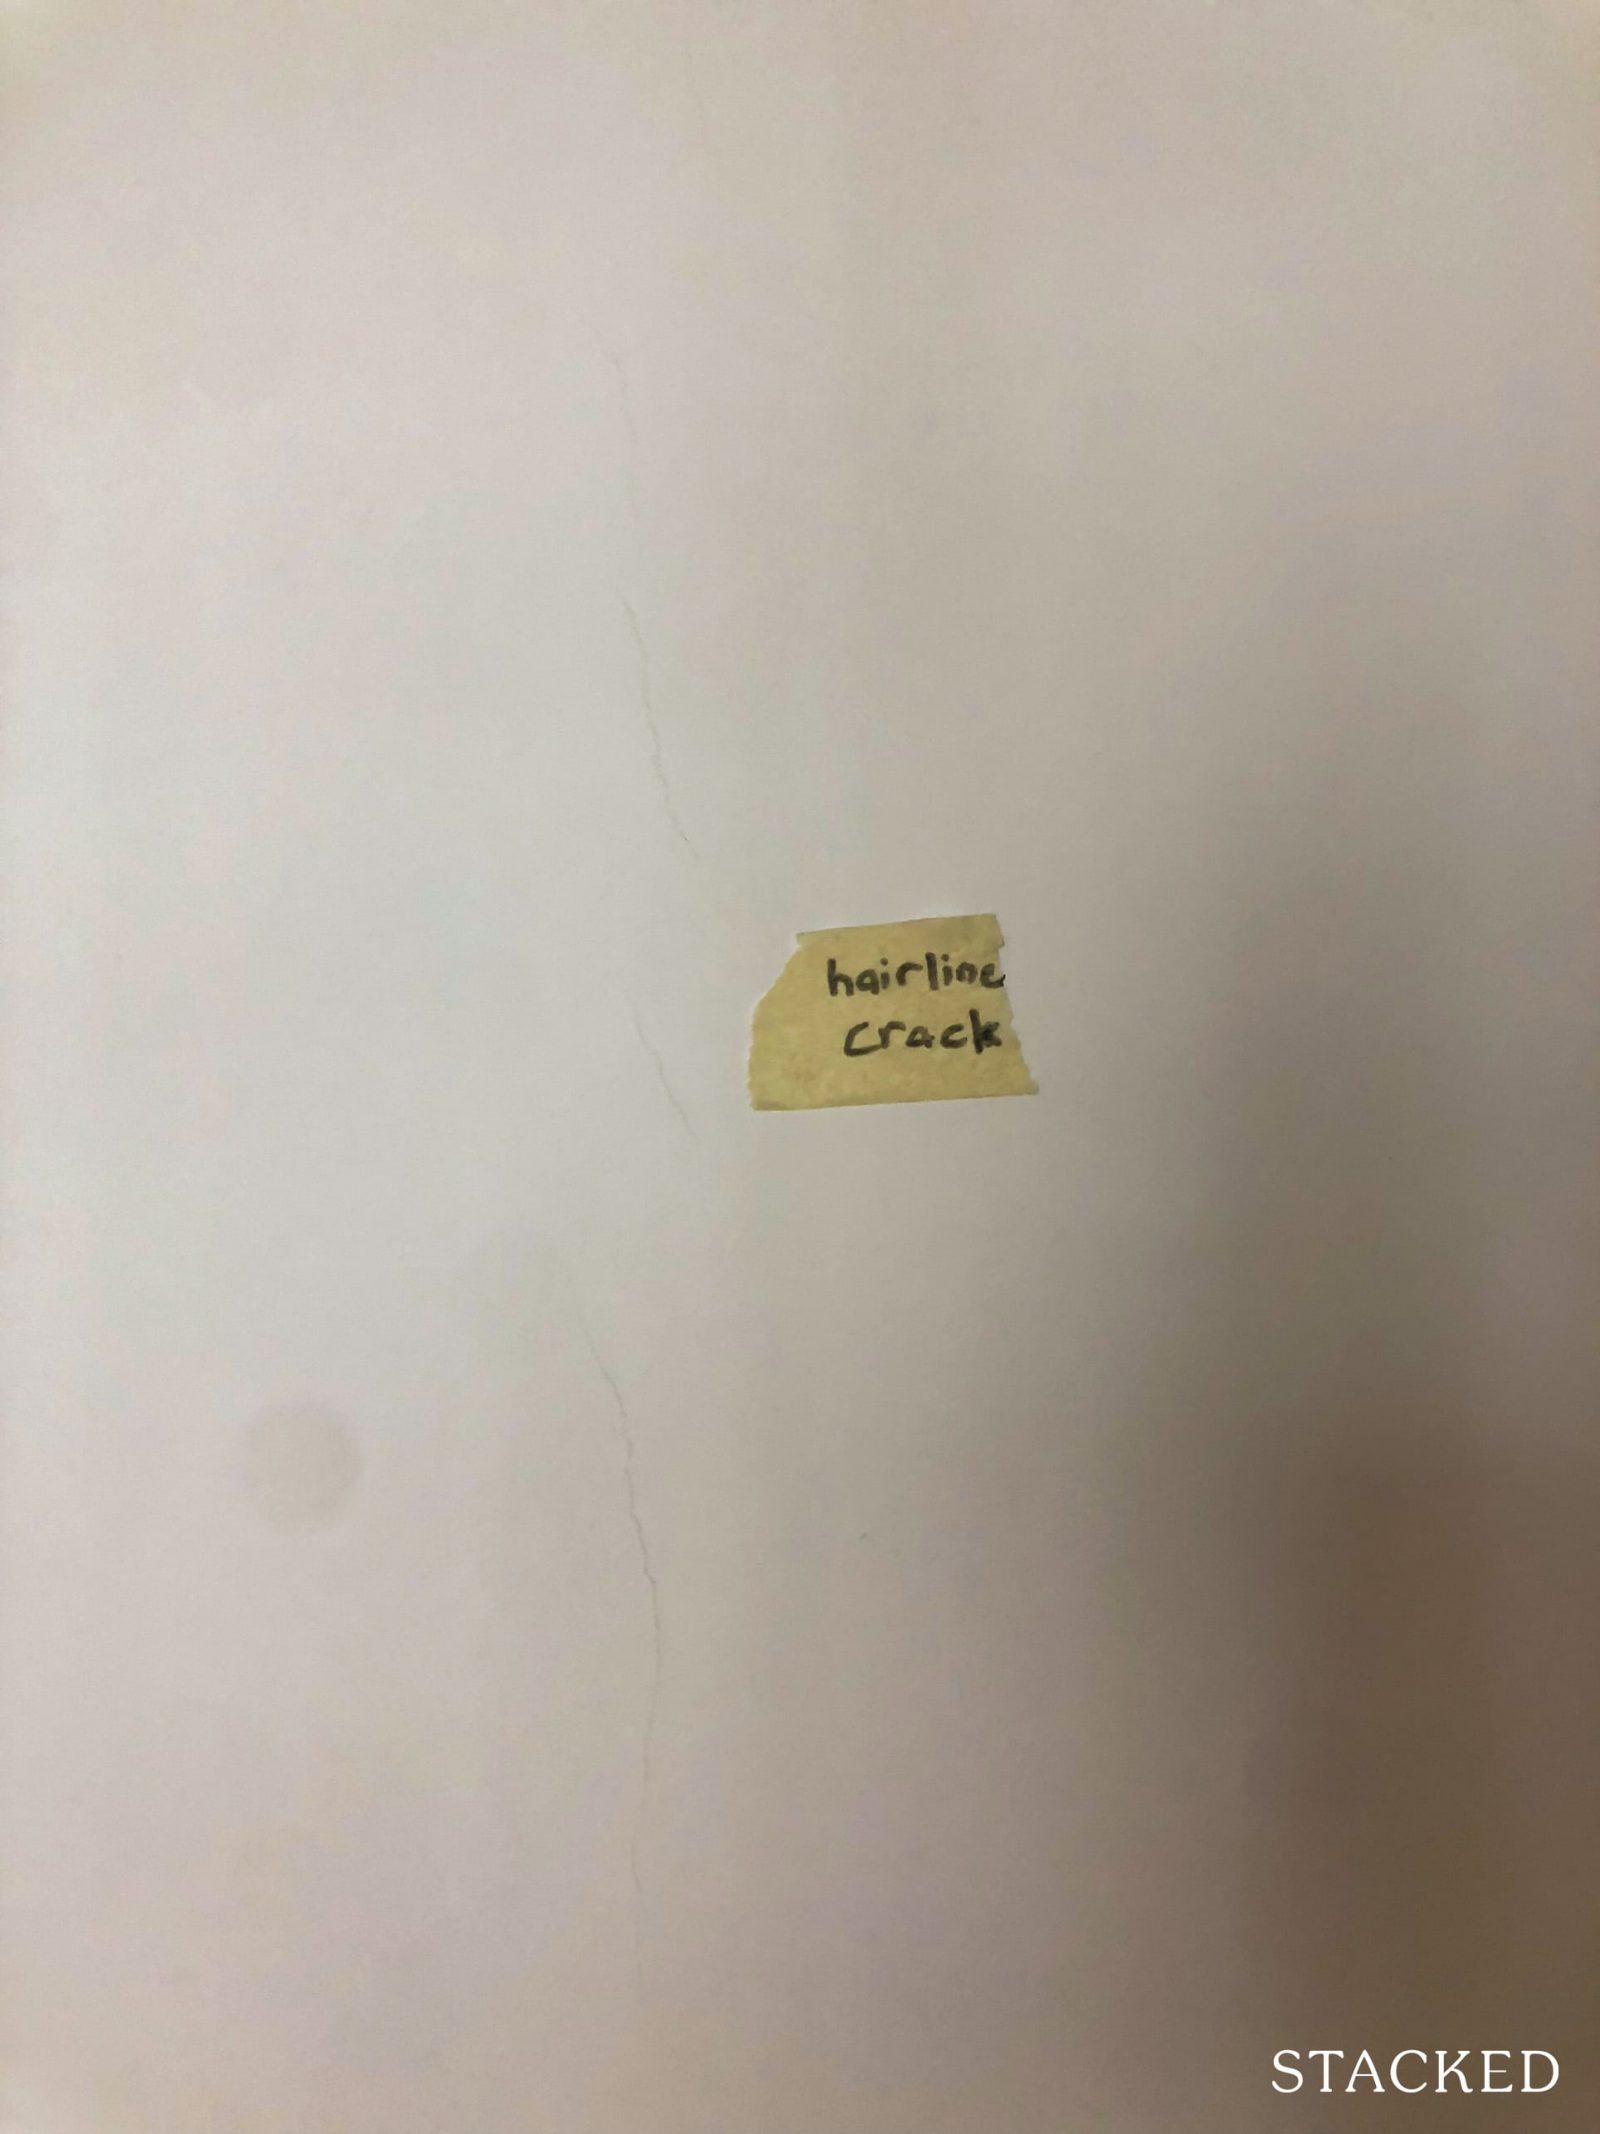
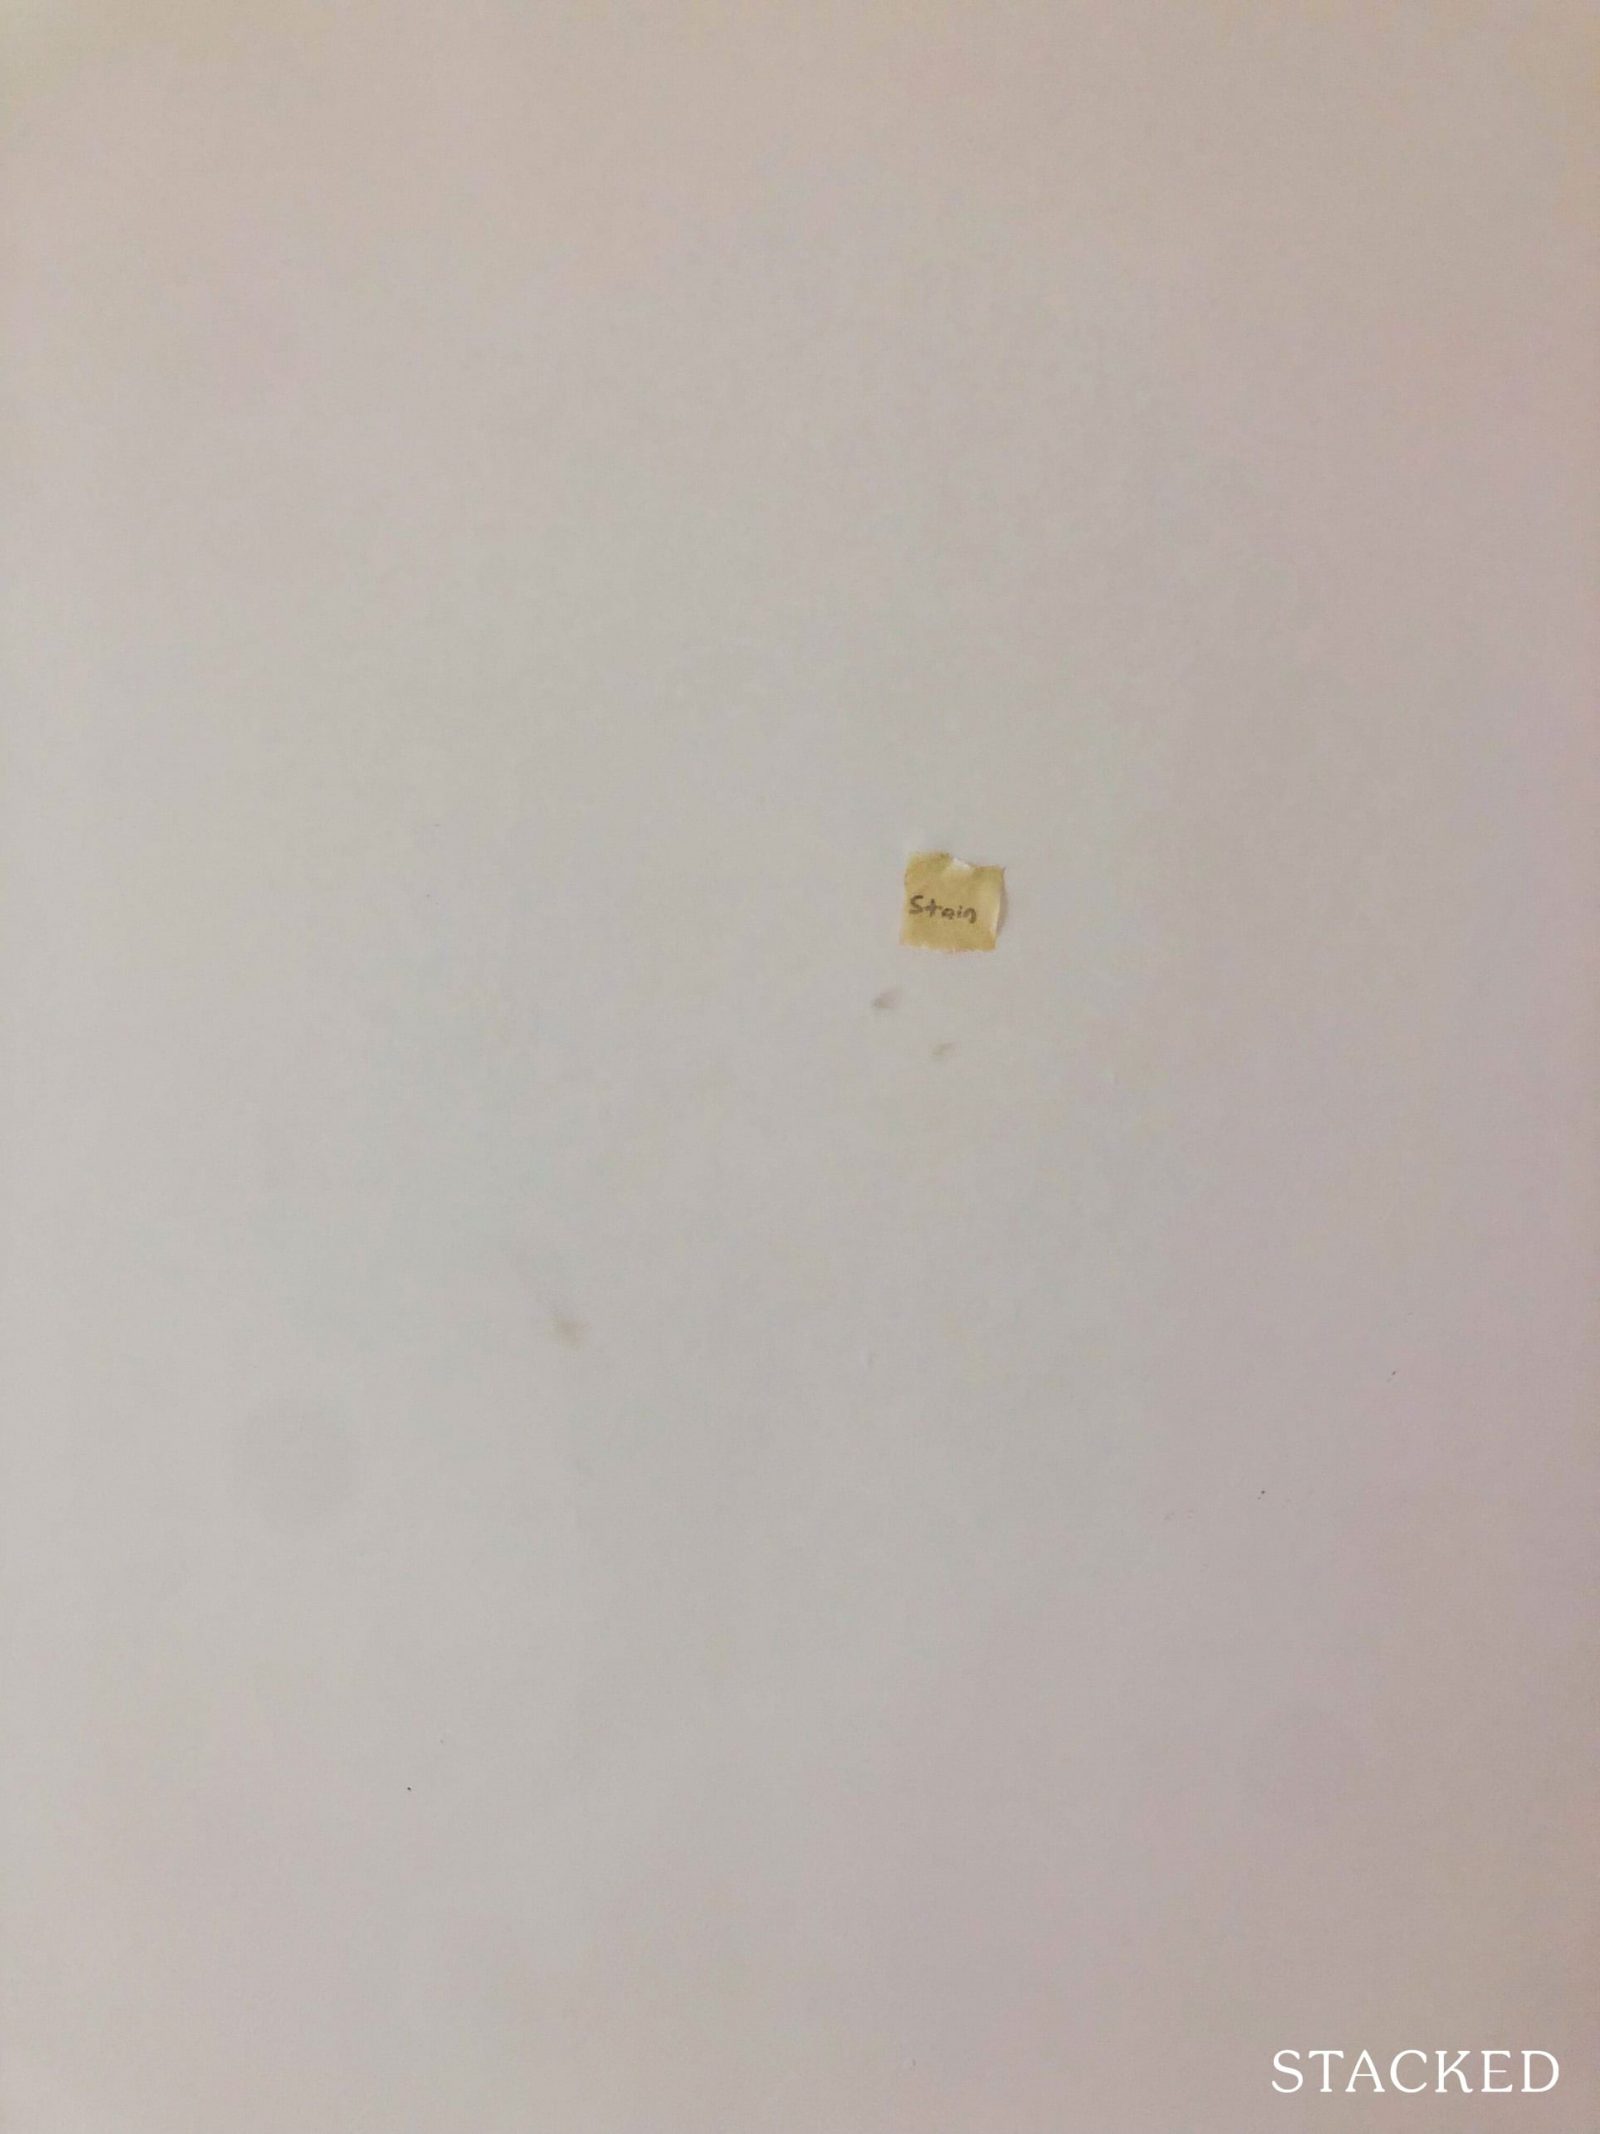
Usually, the walls are the most obvious to look for defects at first glance. Walls should not have cracks, peeling paint, or other surface inconsistencies. Touch and feel the wall to check – if it feels damp, stained, sticky, or overly rough in parts that will be something to flag out. There should also not be any hairline crack as this may be a structural concern. If you see stains on the wall, this could be a sign of leaks.
Floors
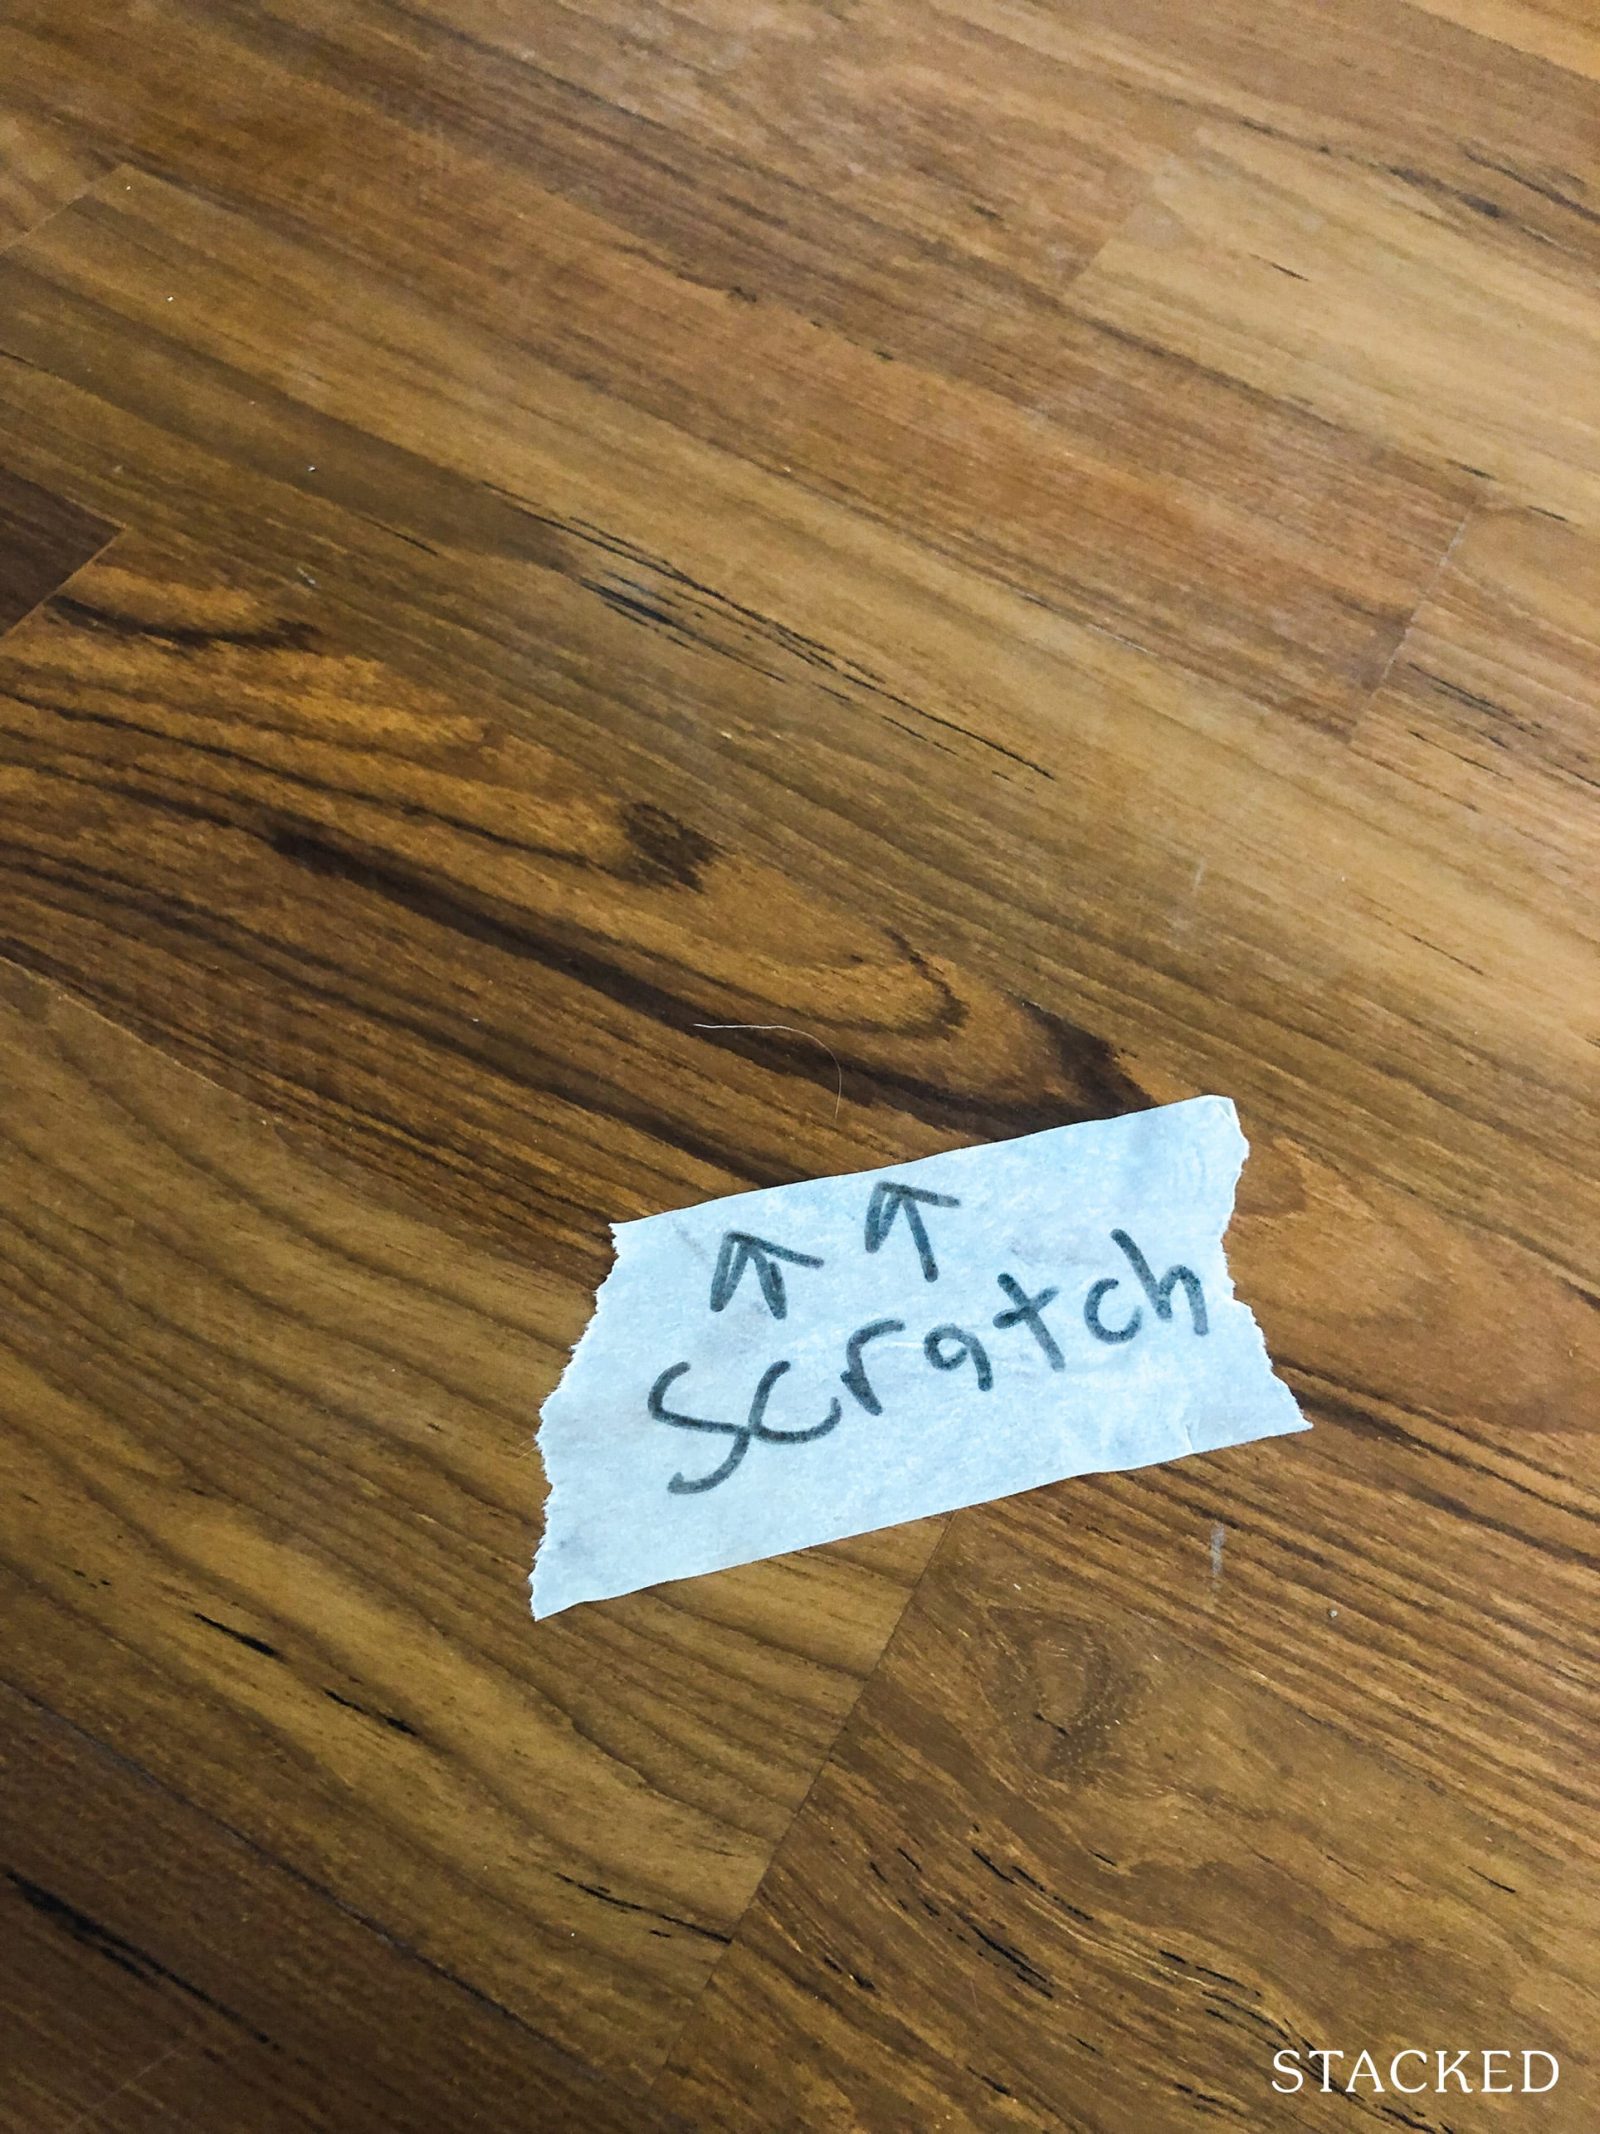
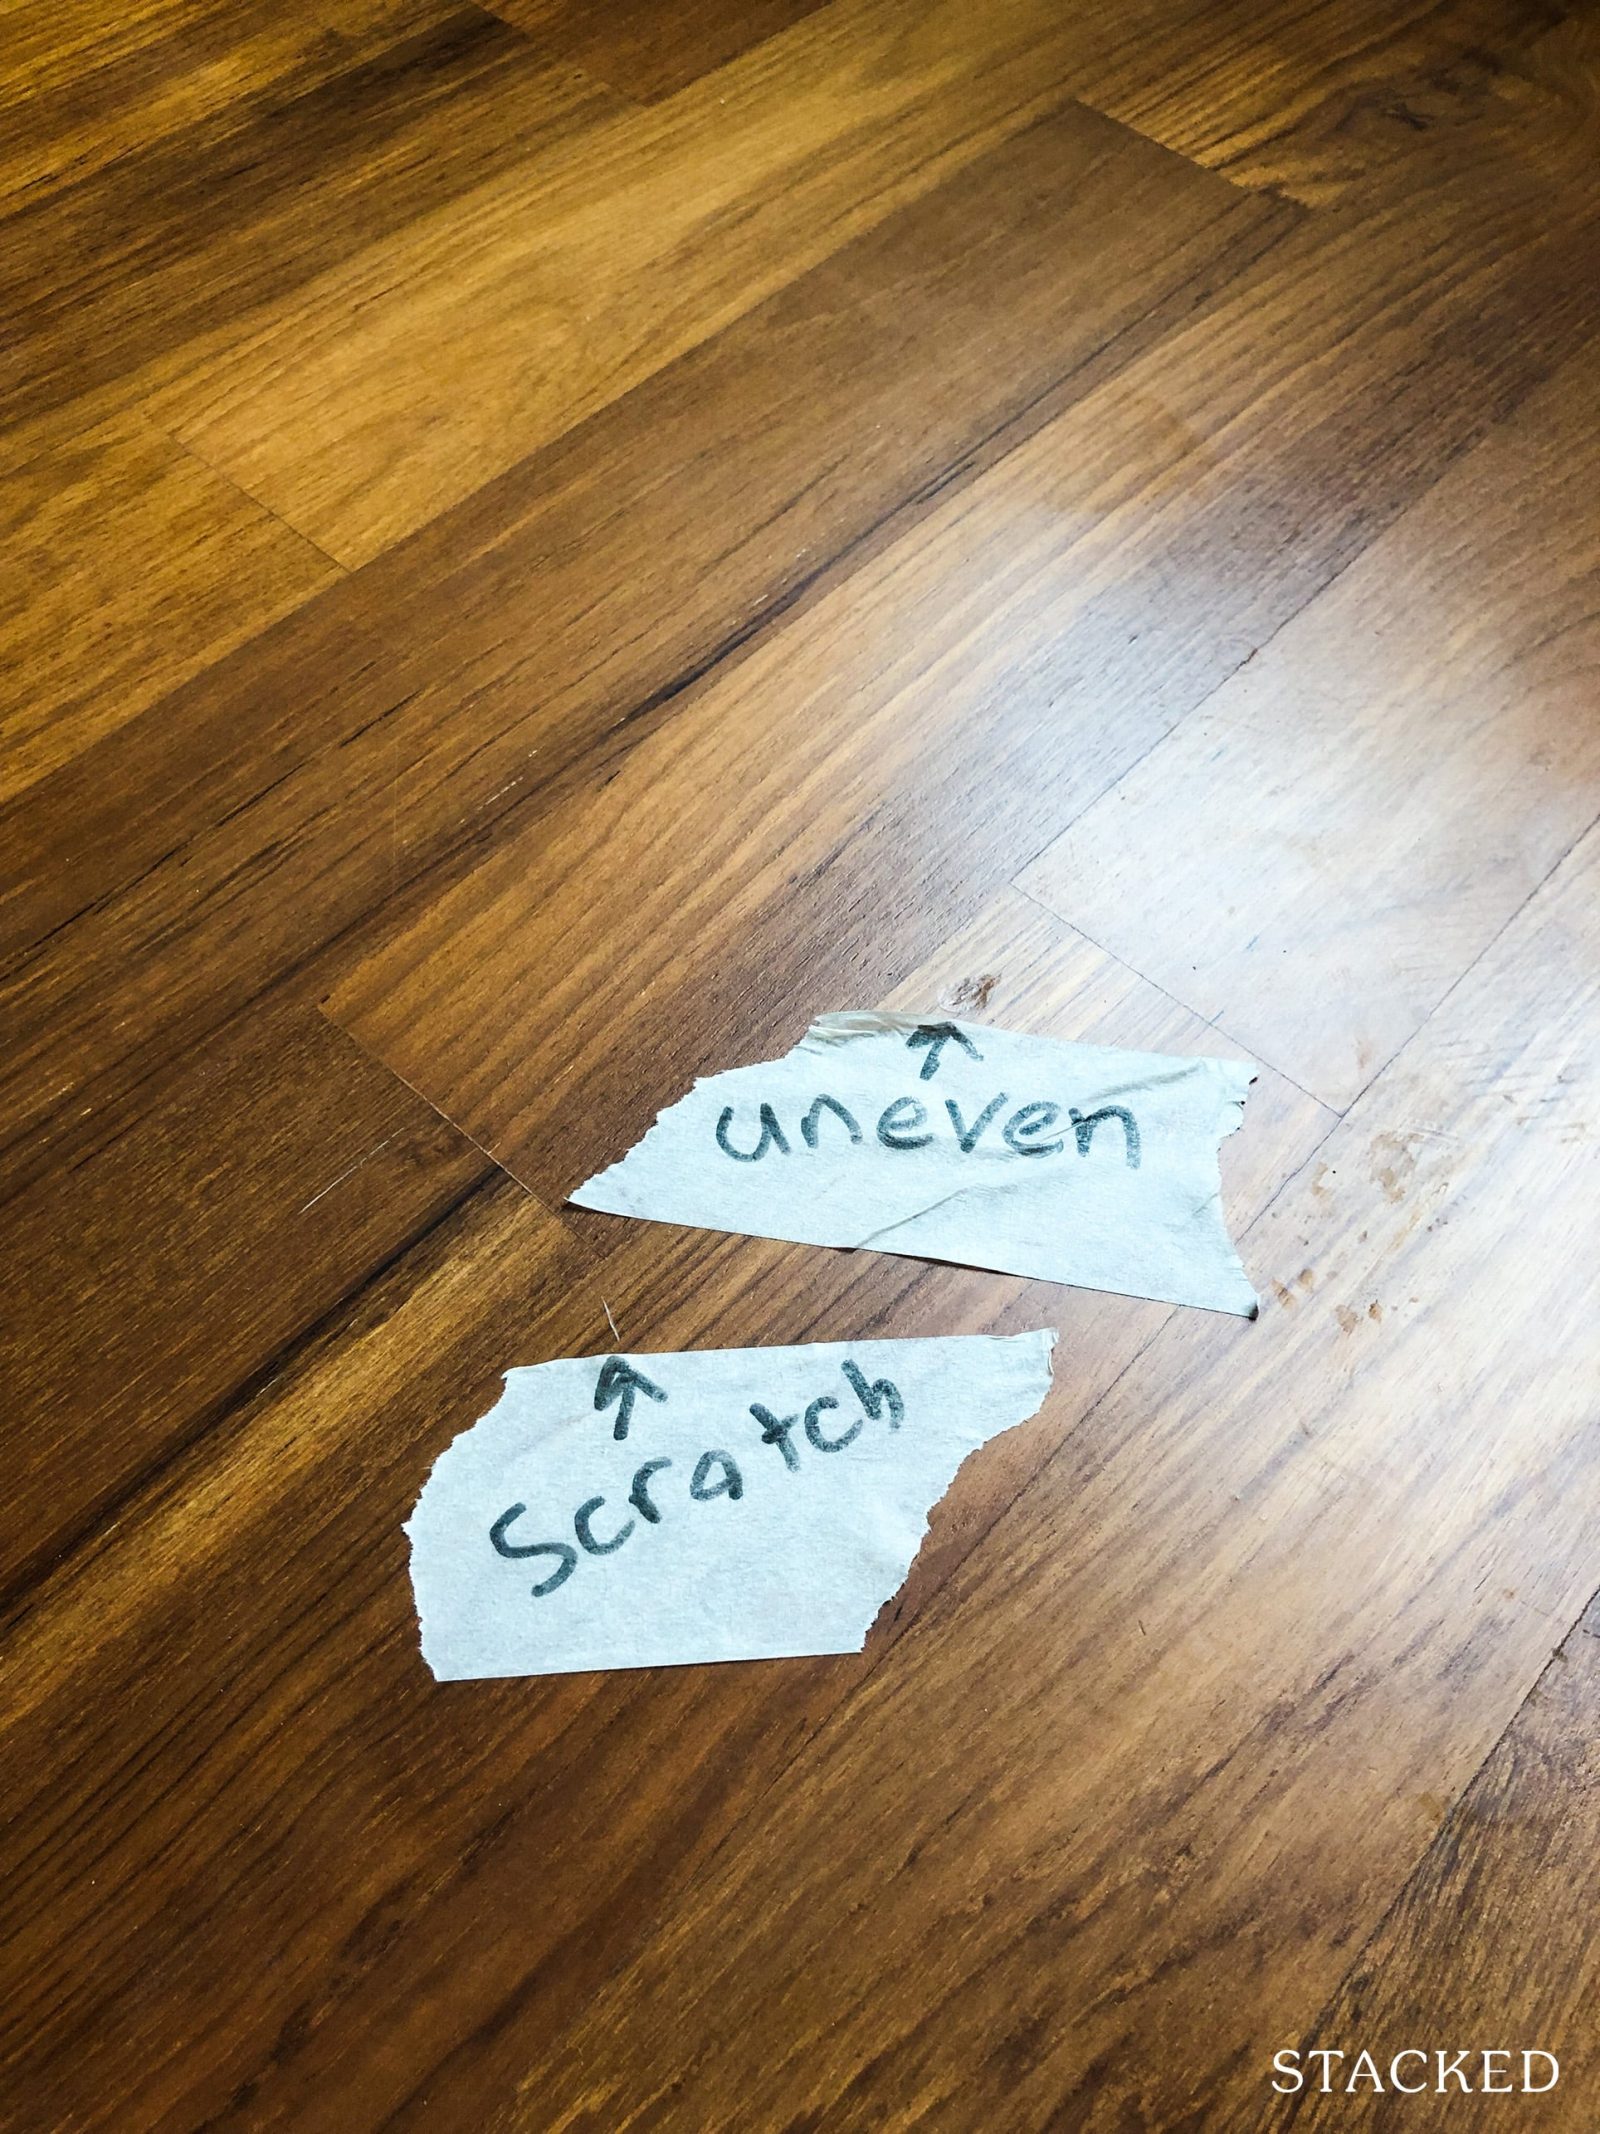
Next up, the floors are something that you need to pay careful attention to, as defects are easier to miss on the smooth surface. Look out for chipping, scratches or uneven and especially stains that suggest some kind of water seepage.
For tiled floors, you can check for any hollowness by using a tapping rod (pretty easy to buy online) If not, a handy 50-cent coin will do the trick too if you don’t have the “special stick”.
I reckon most people would find it troublesome to get a tapping rod, so here’s how to check for hollow tiles with the coin method:
Use a 50-cent coin
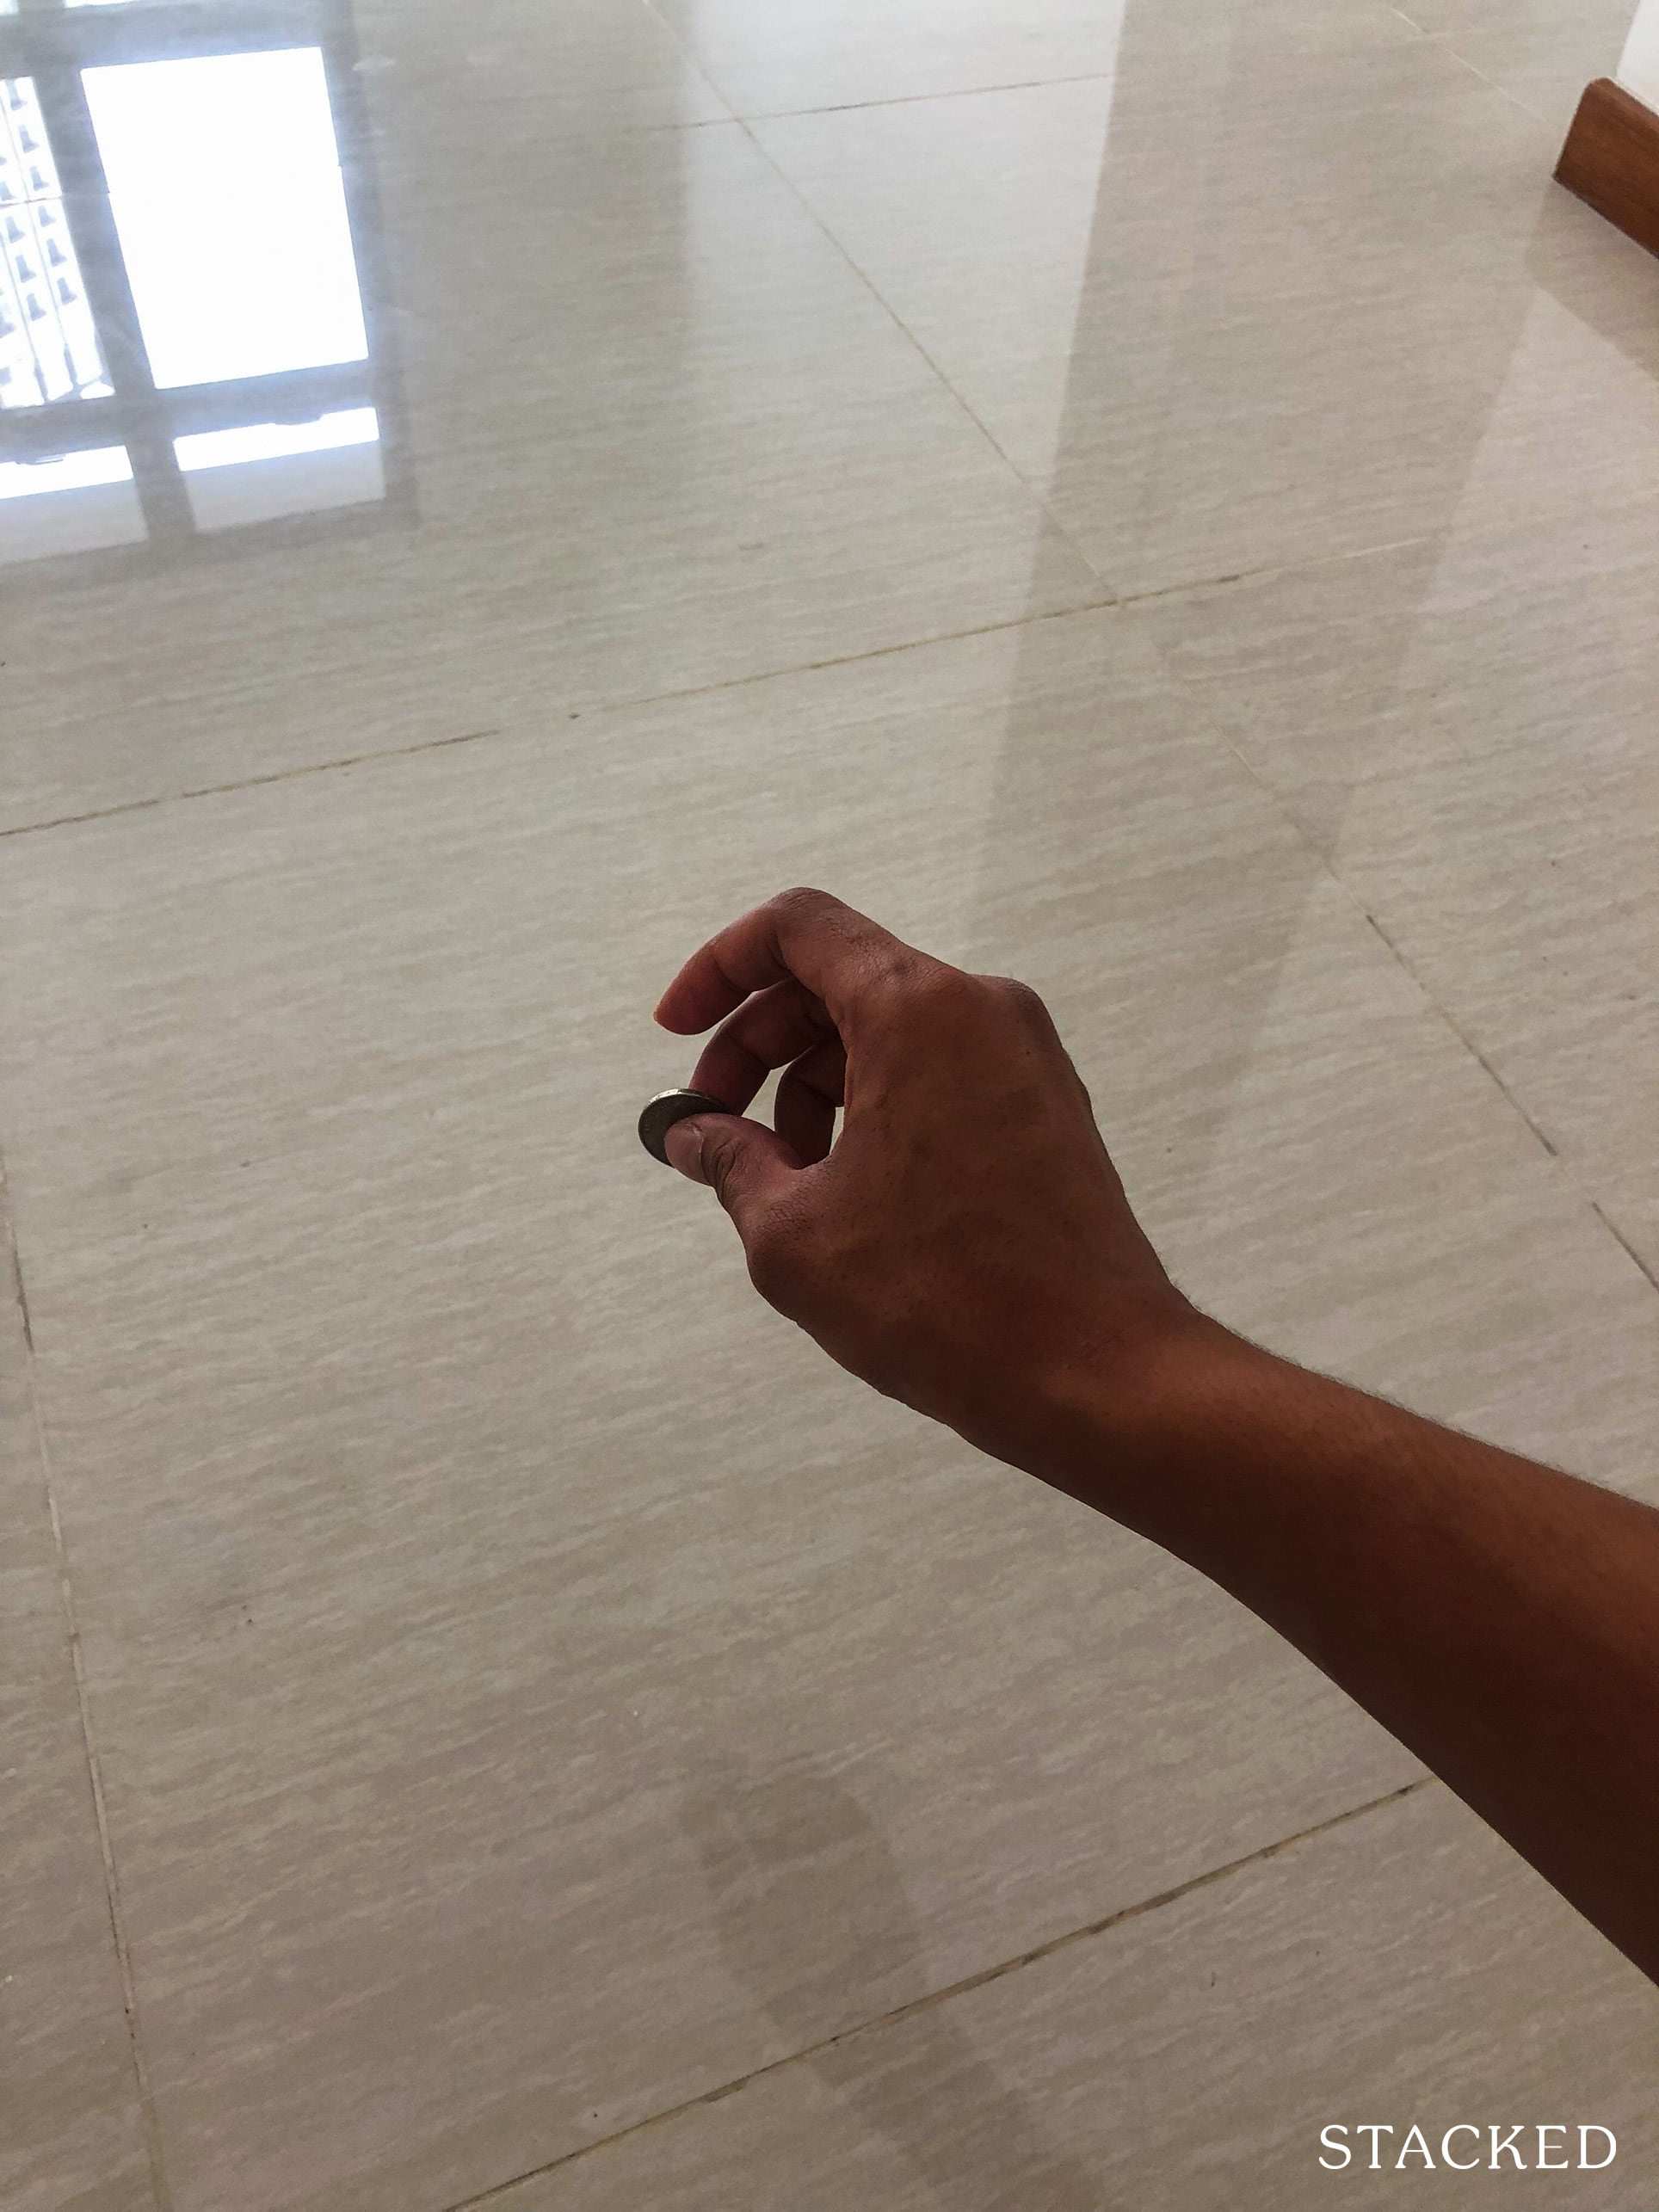
Step 1: Hold it with 2 fingers
Step 2: Lightly release and tap it on the tile
Step 3: Repeat it on a few contact points for each tile
*There should not be any hollow sound.
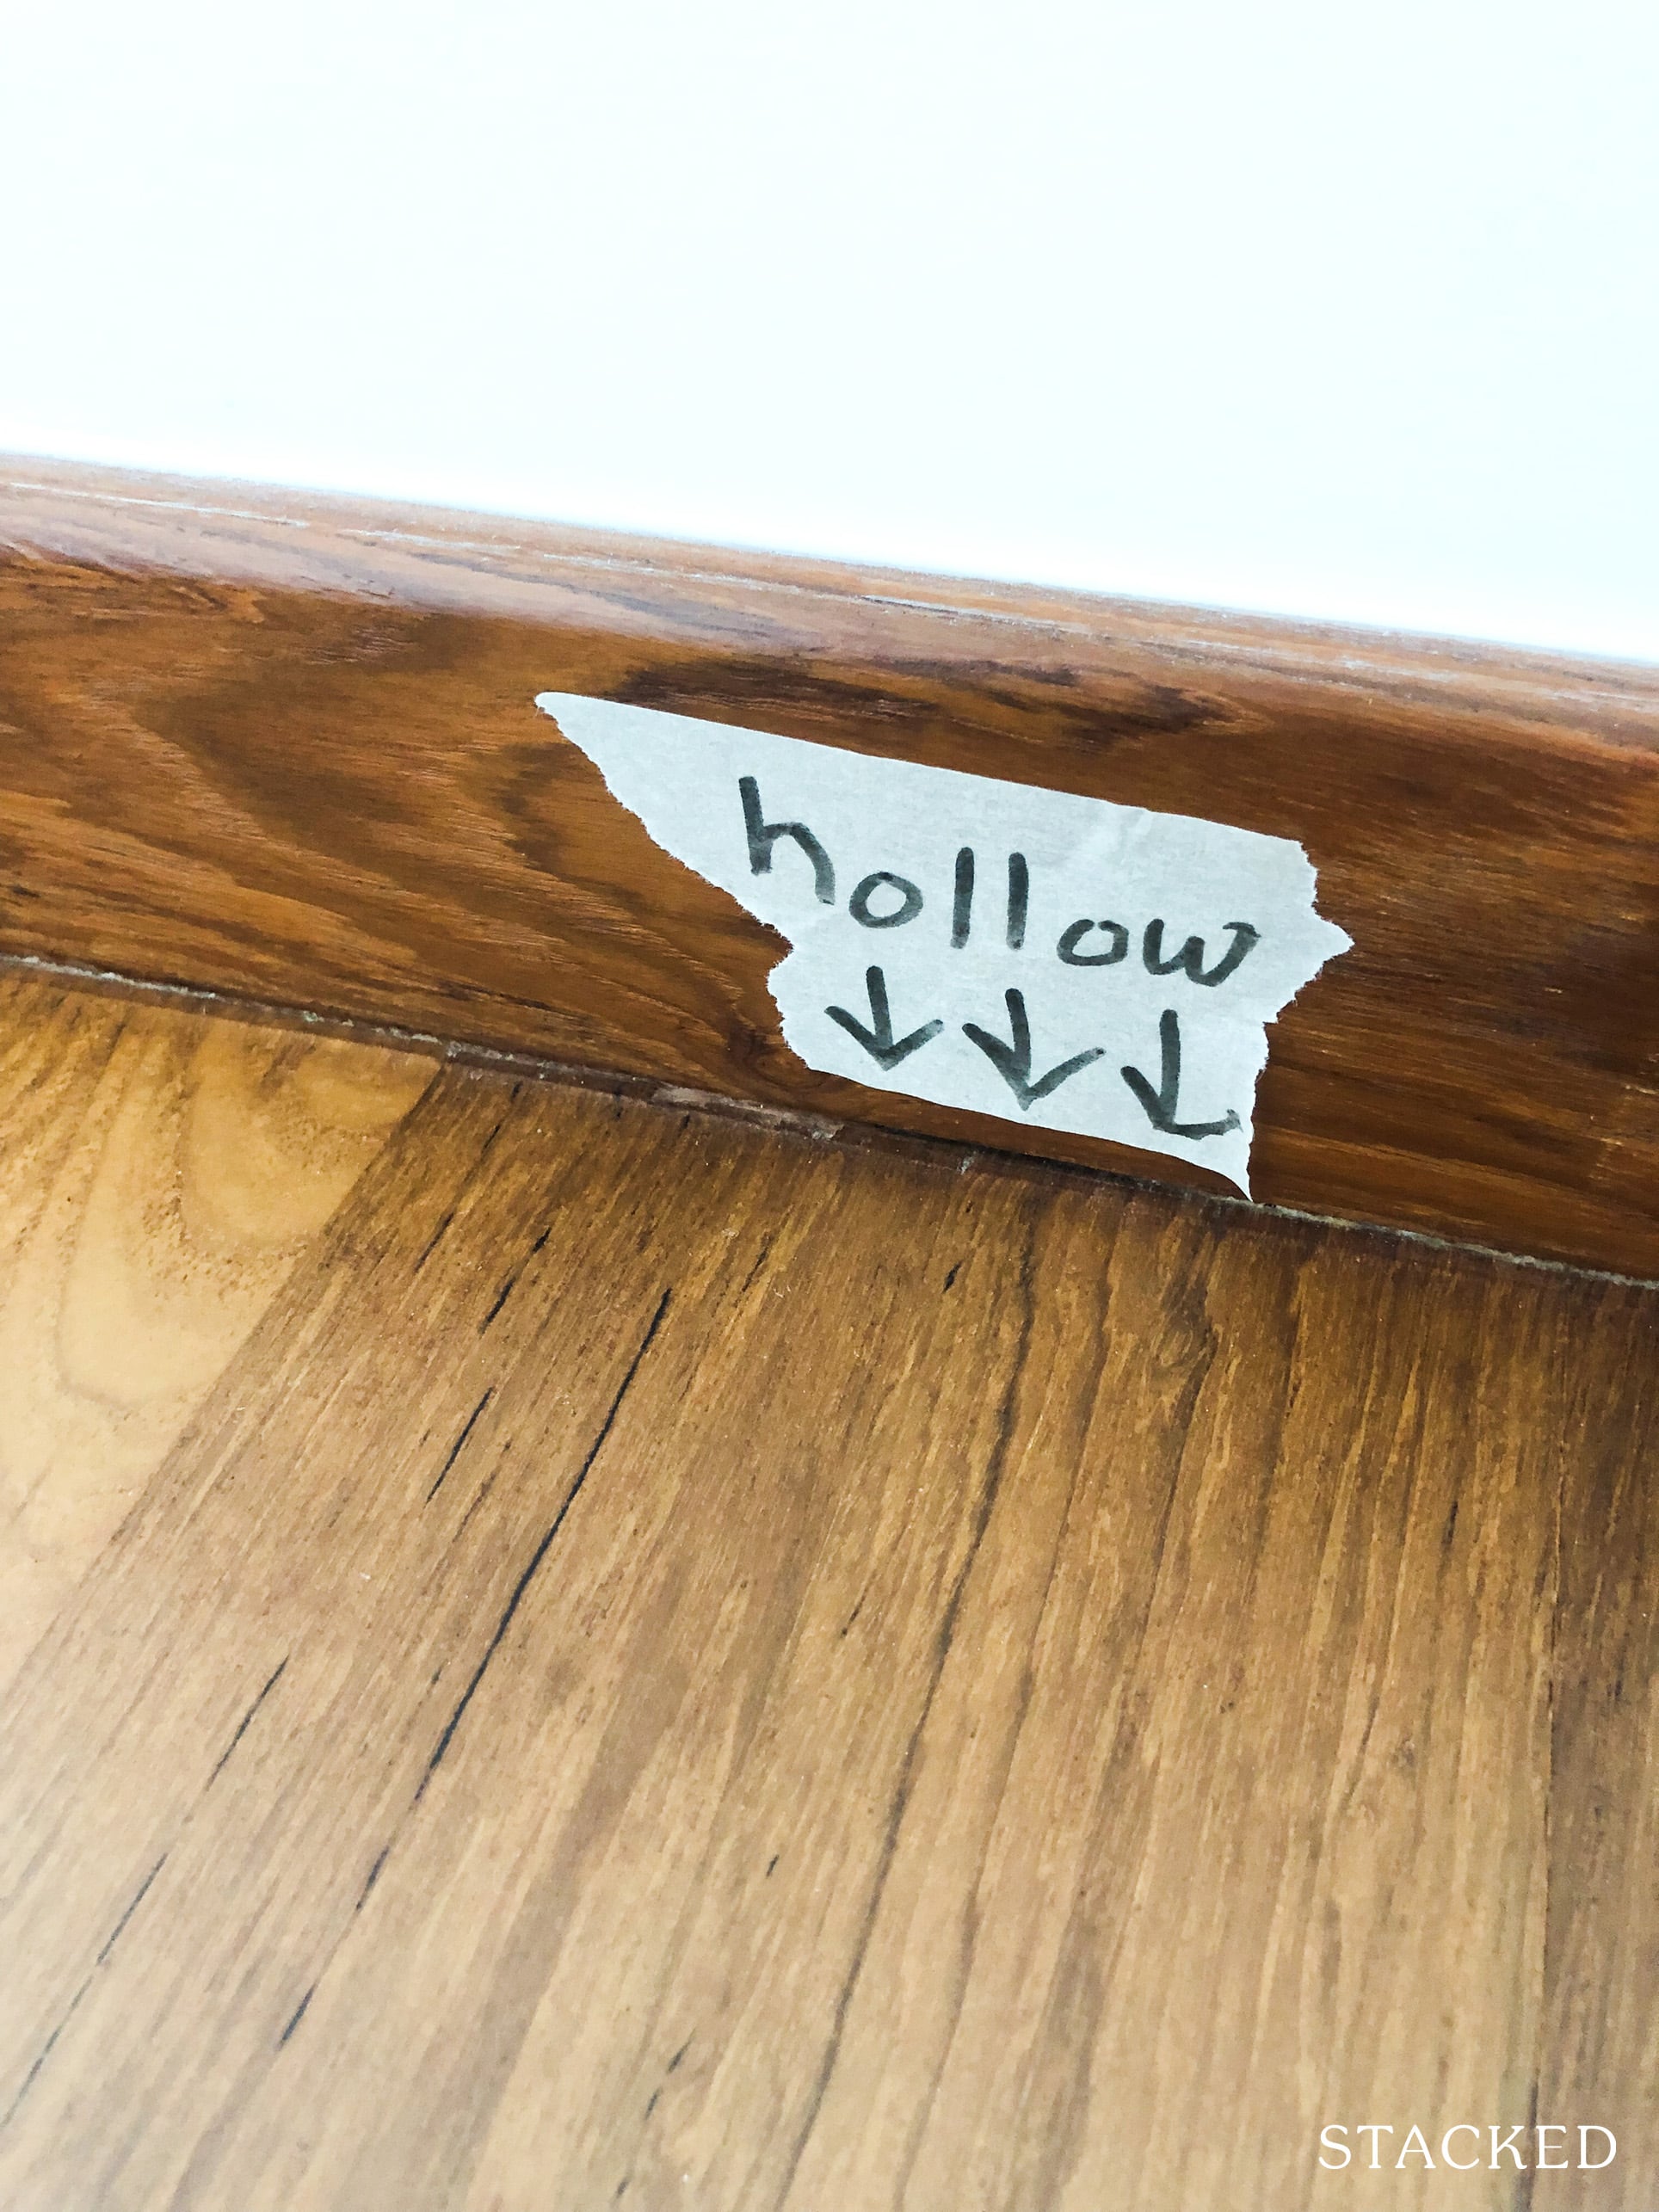
Now for the rest of the floors. For the kitchen, service yard, and toilets, you can pour water on the floor to see if the tiles are tilted correctly – the water should drain toward the floor trap, and should not form puddles anywhere else on the floor. In addition, the grouting (the space between the tiles) should not be discoloured.
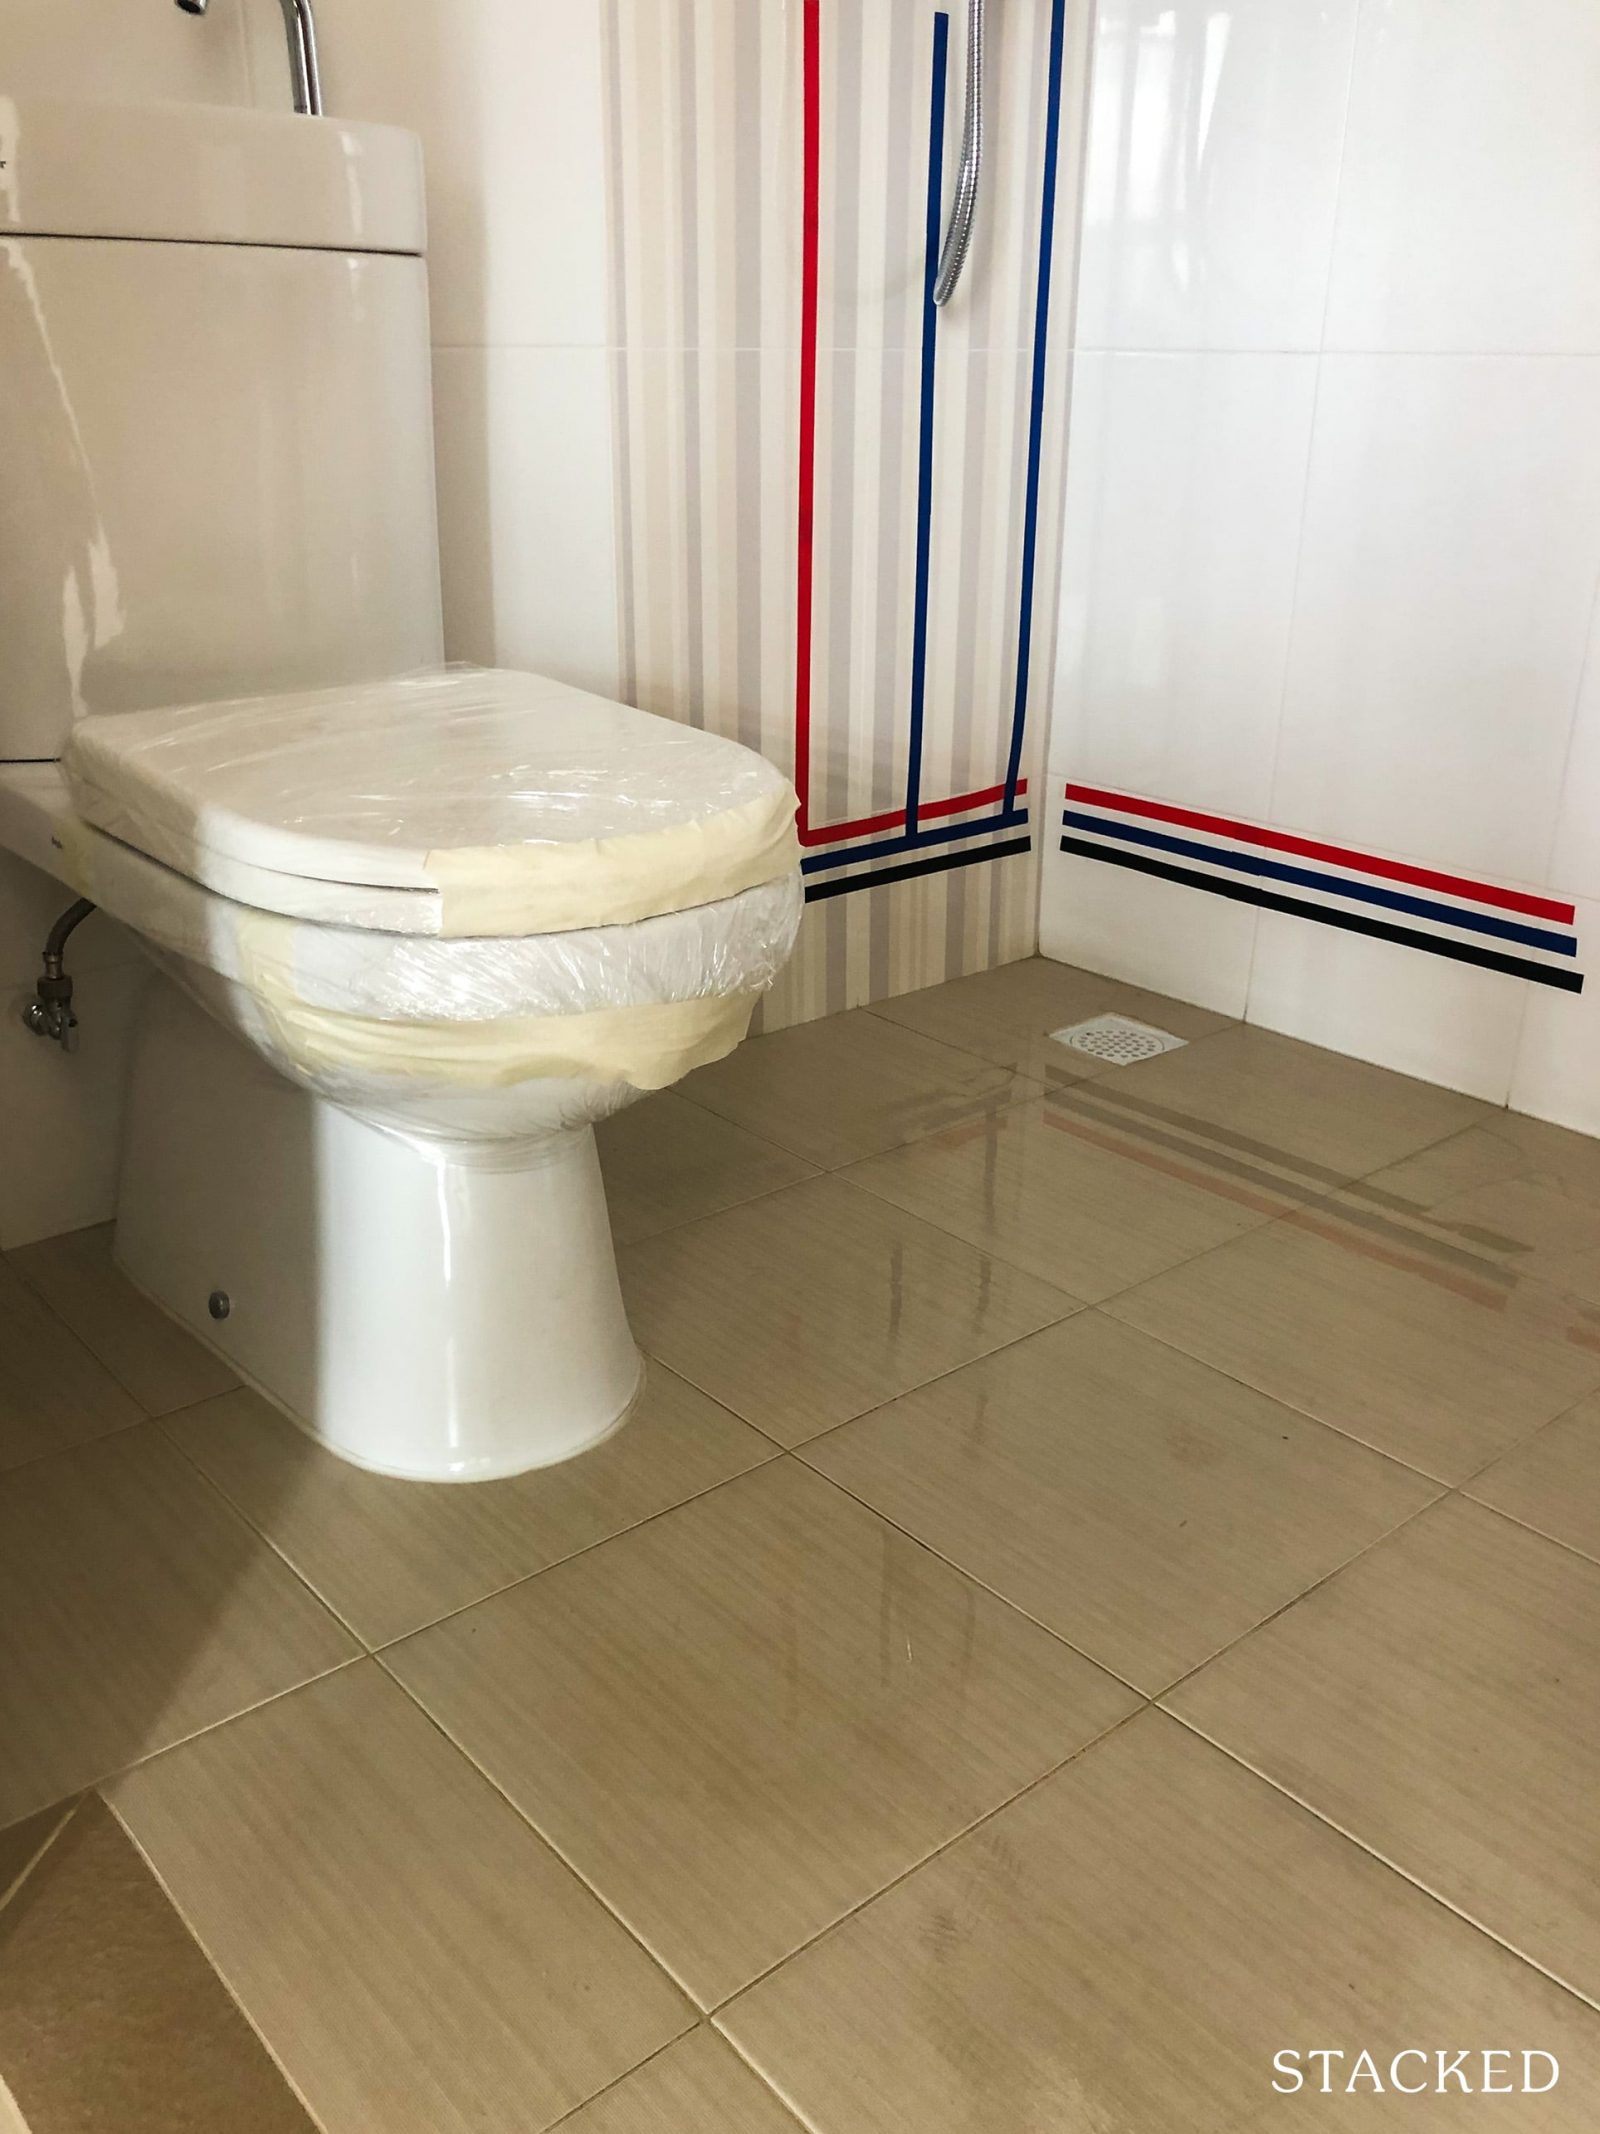
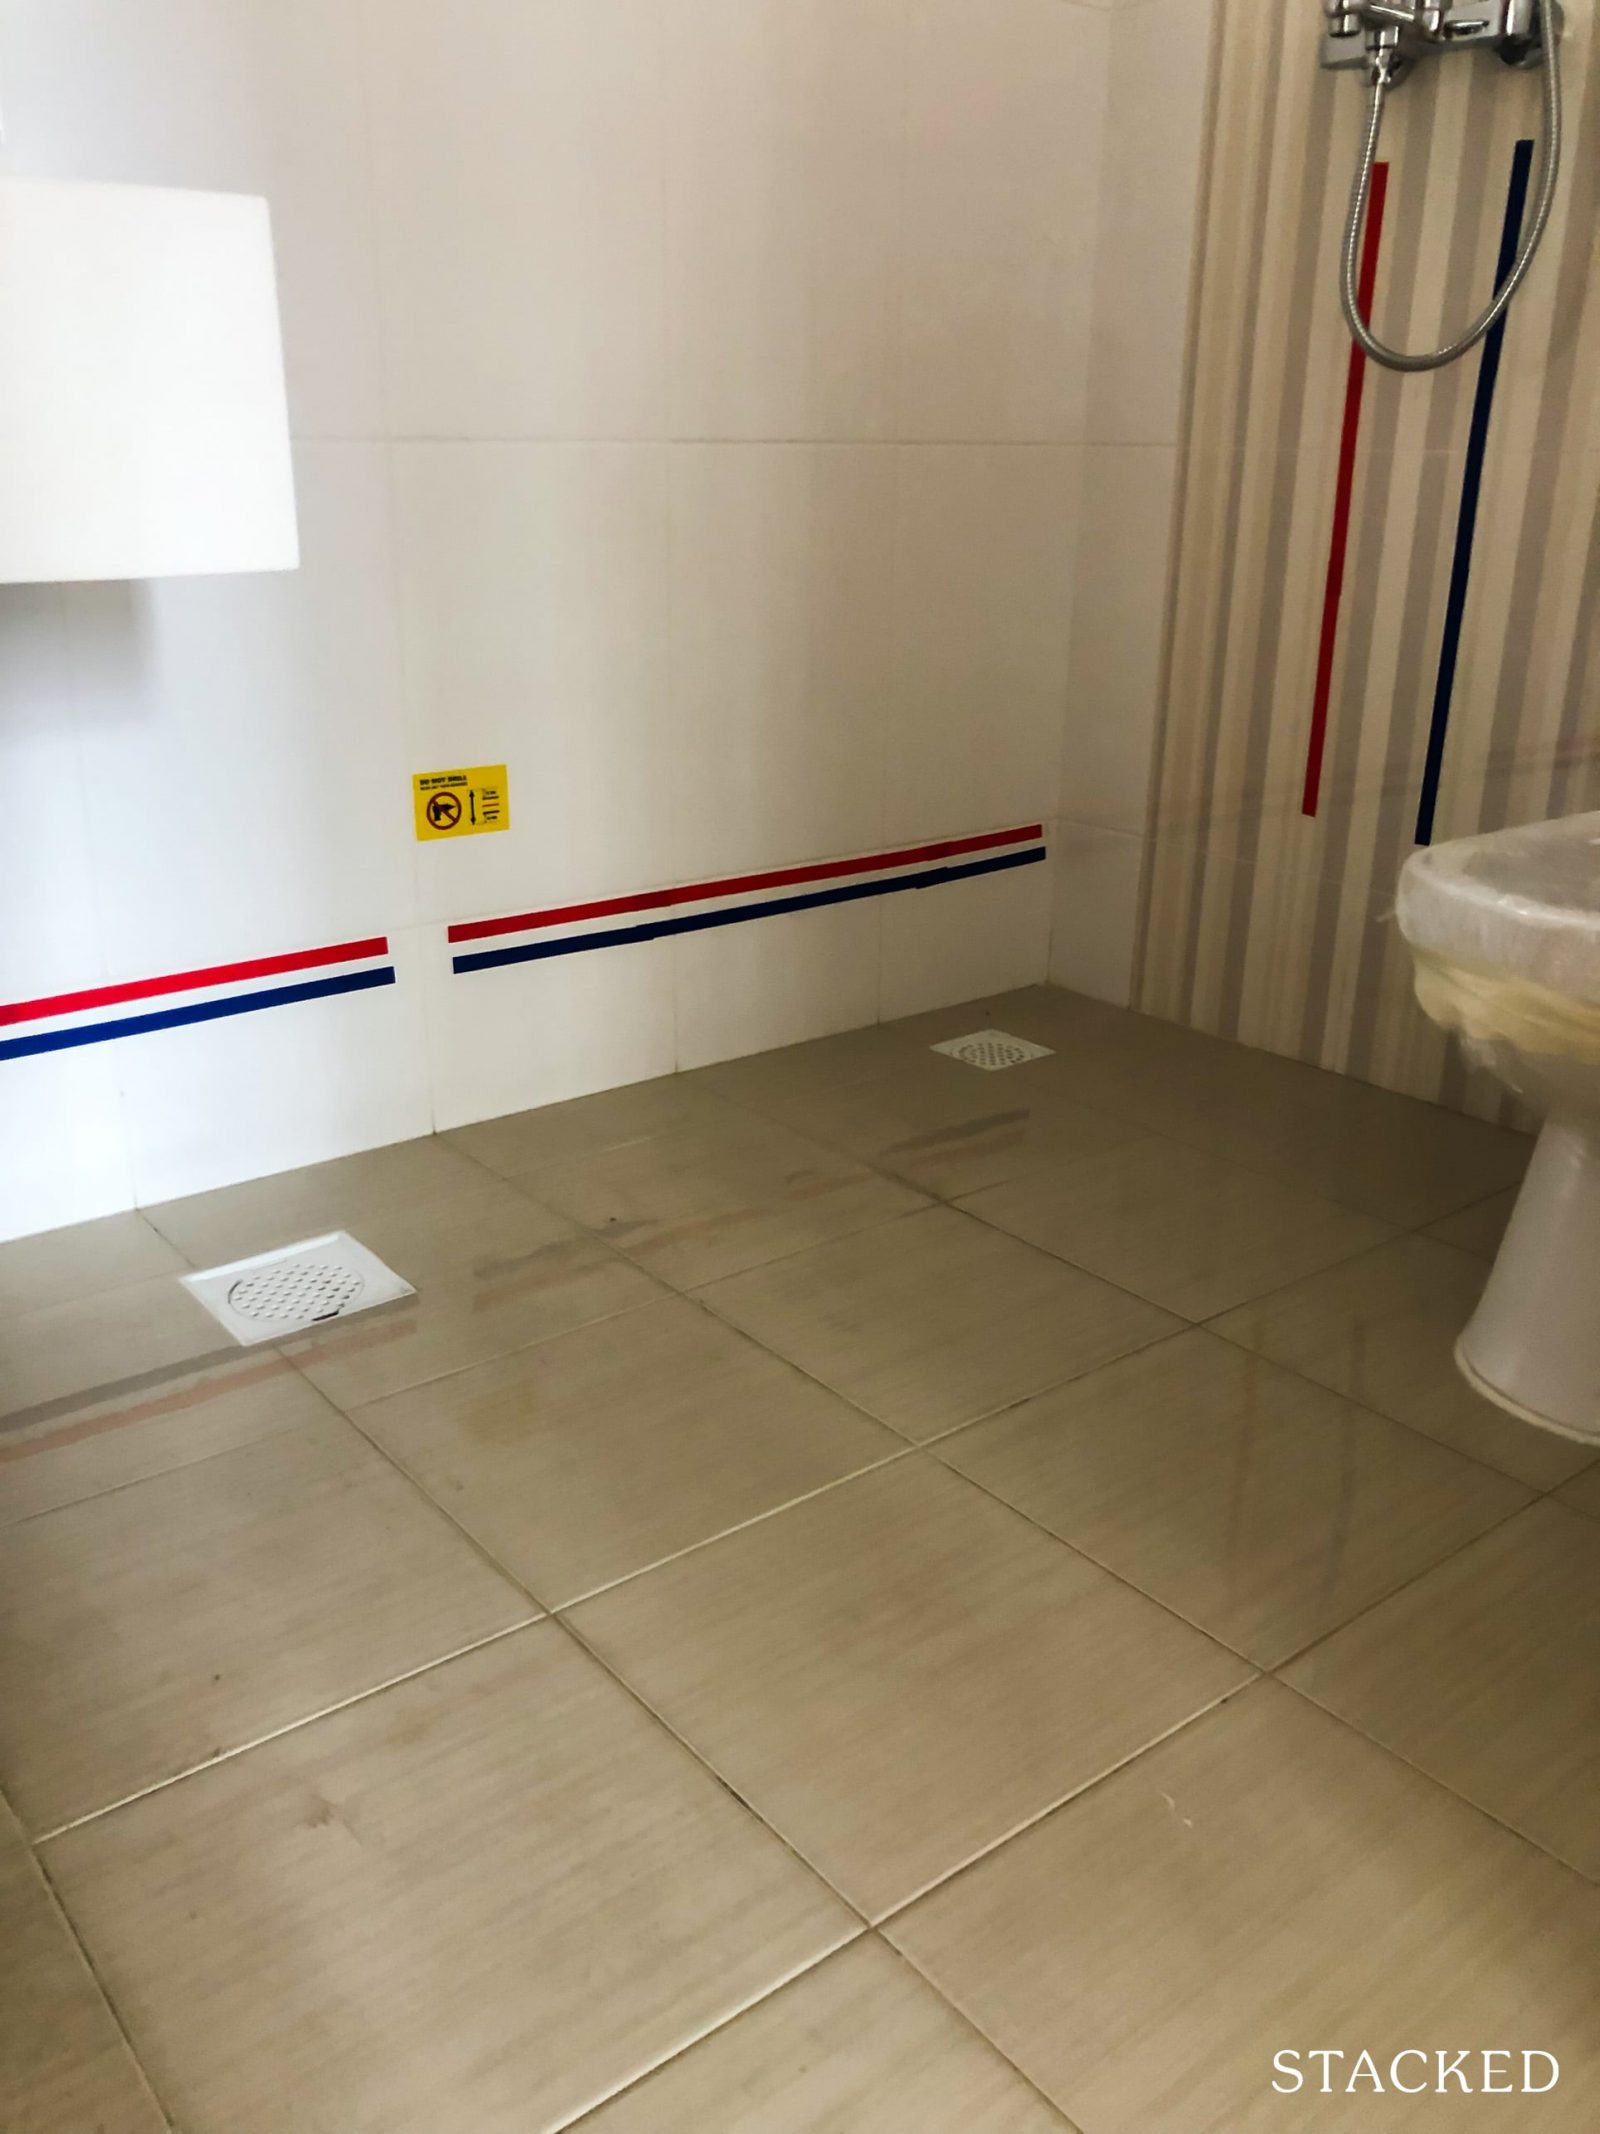
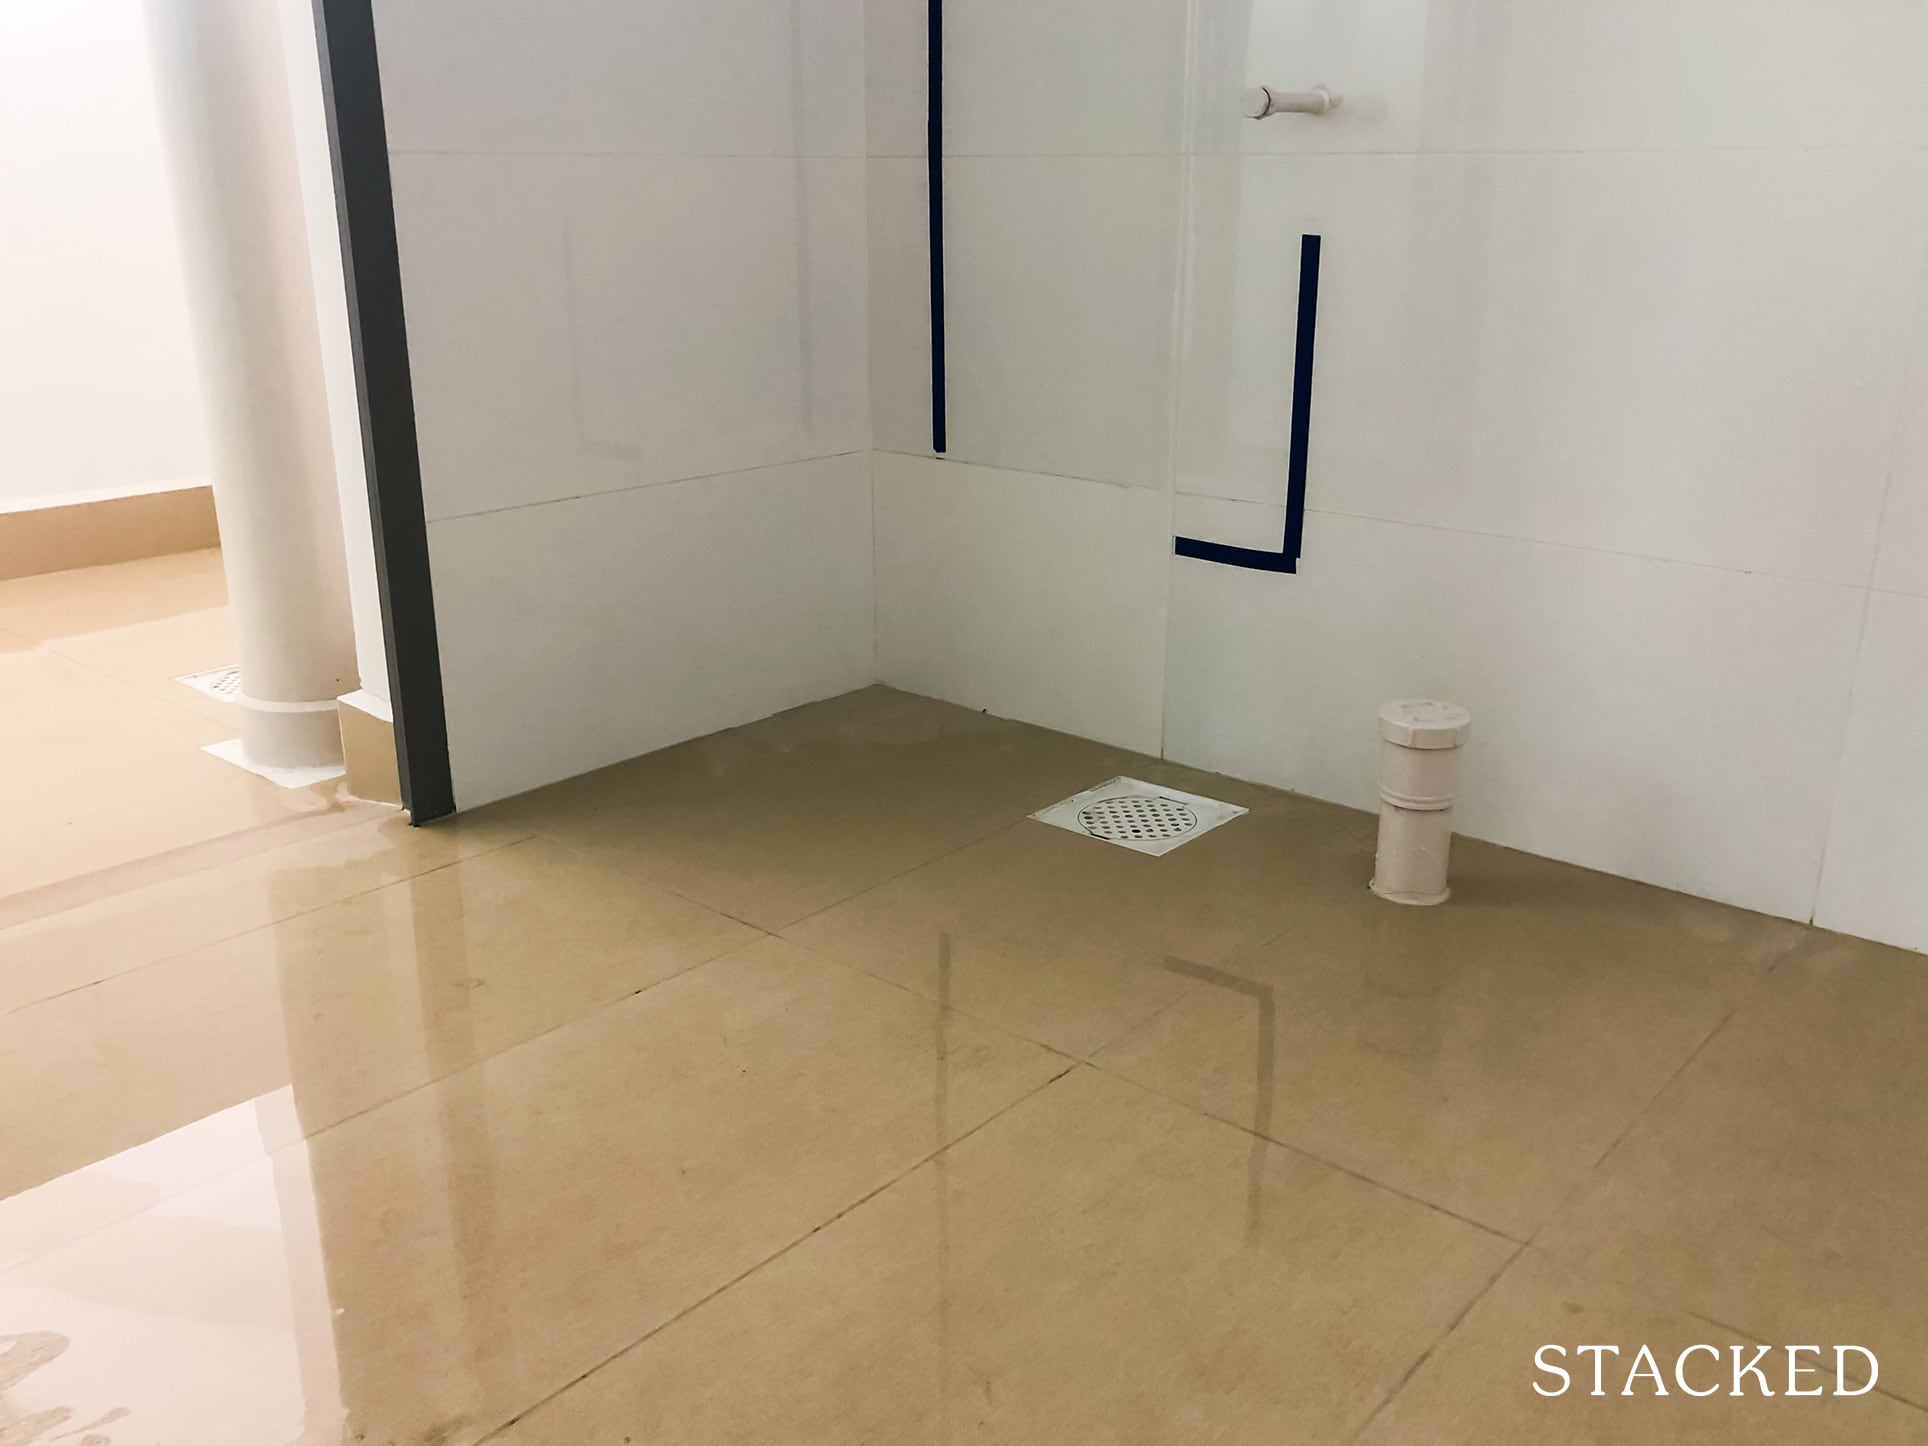
Do also check the floor skirting for any gaps. The skirting should be straight and even, with no gaps – especially in the joints where the walls connect.
Property AdviceBTO Defects Checklist: 6 Important Areas To Check During Inspection For Your New BTO
by Ryan J. OngFixtures and fittings
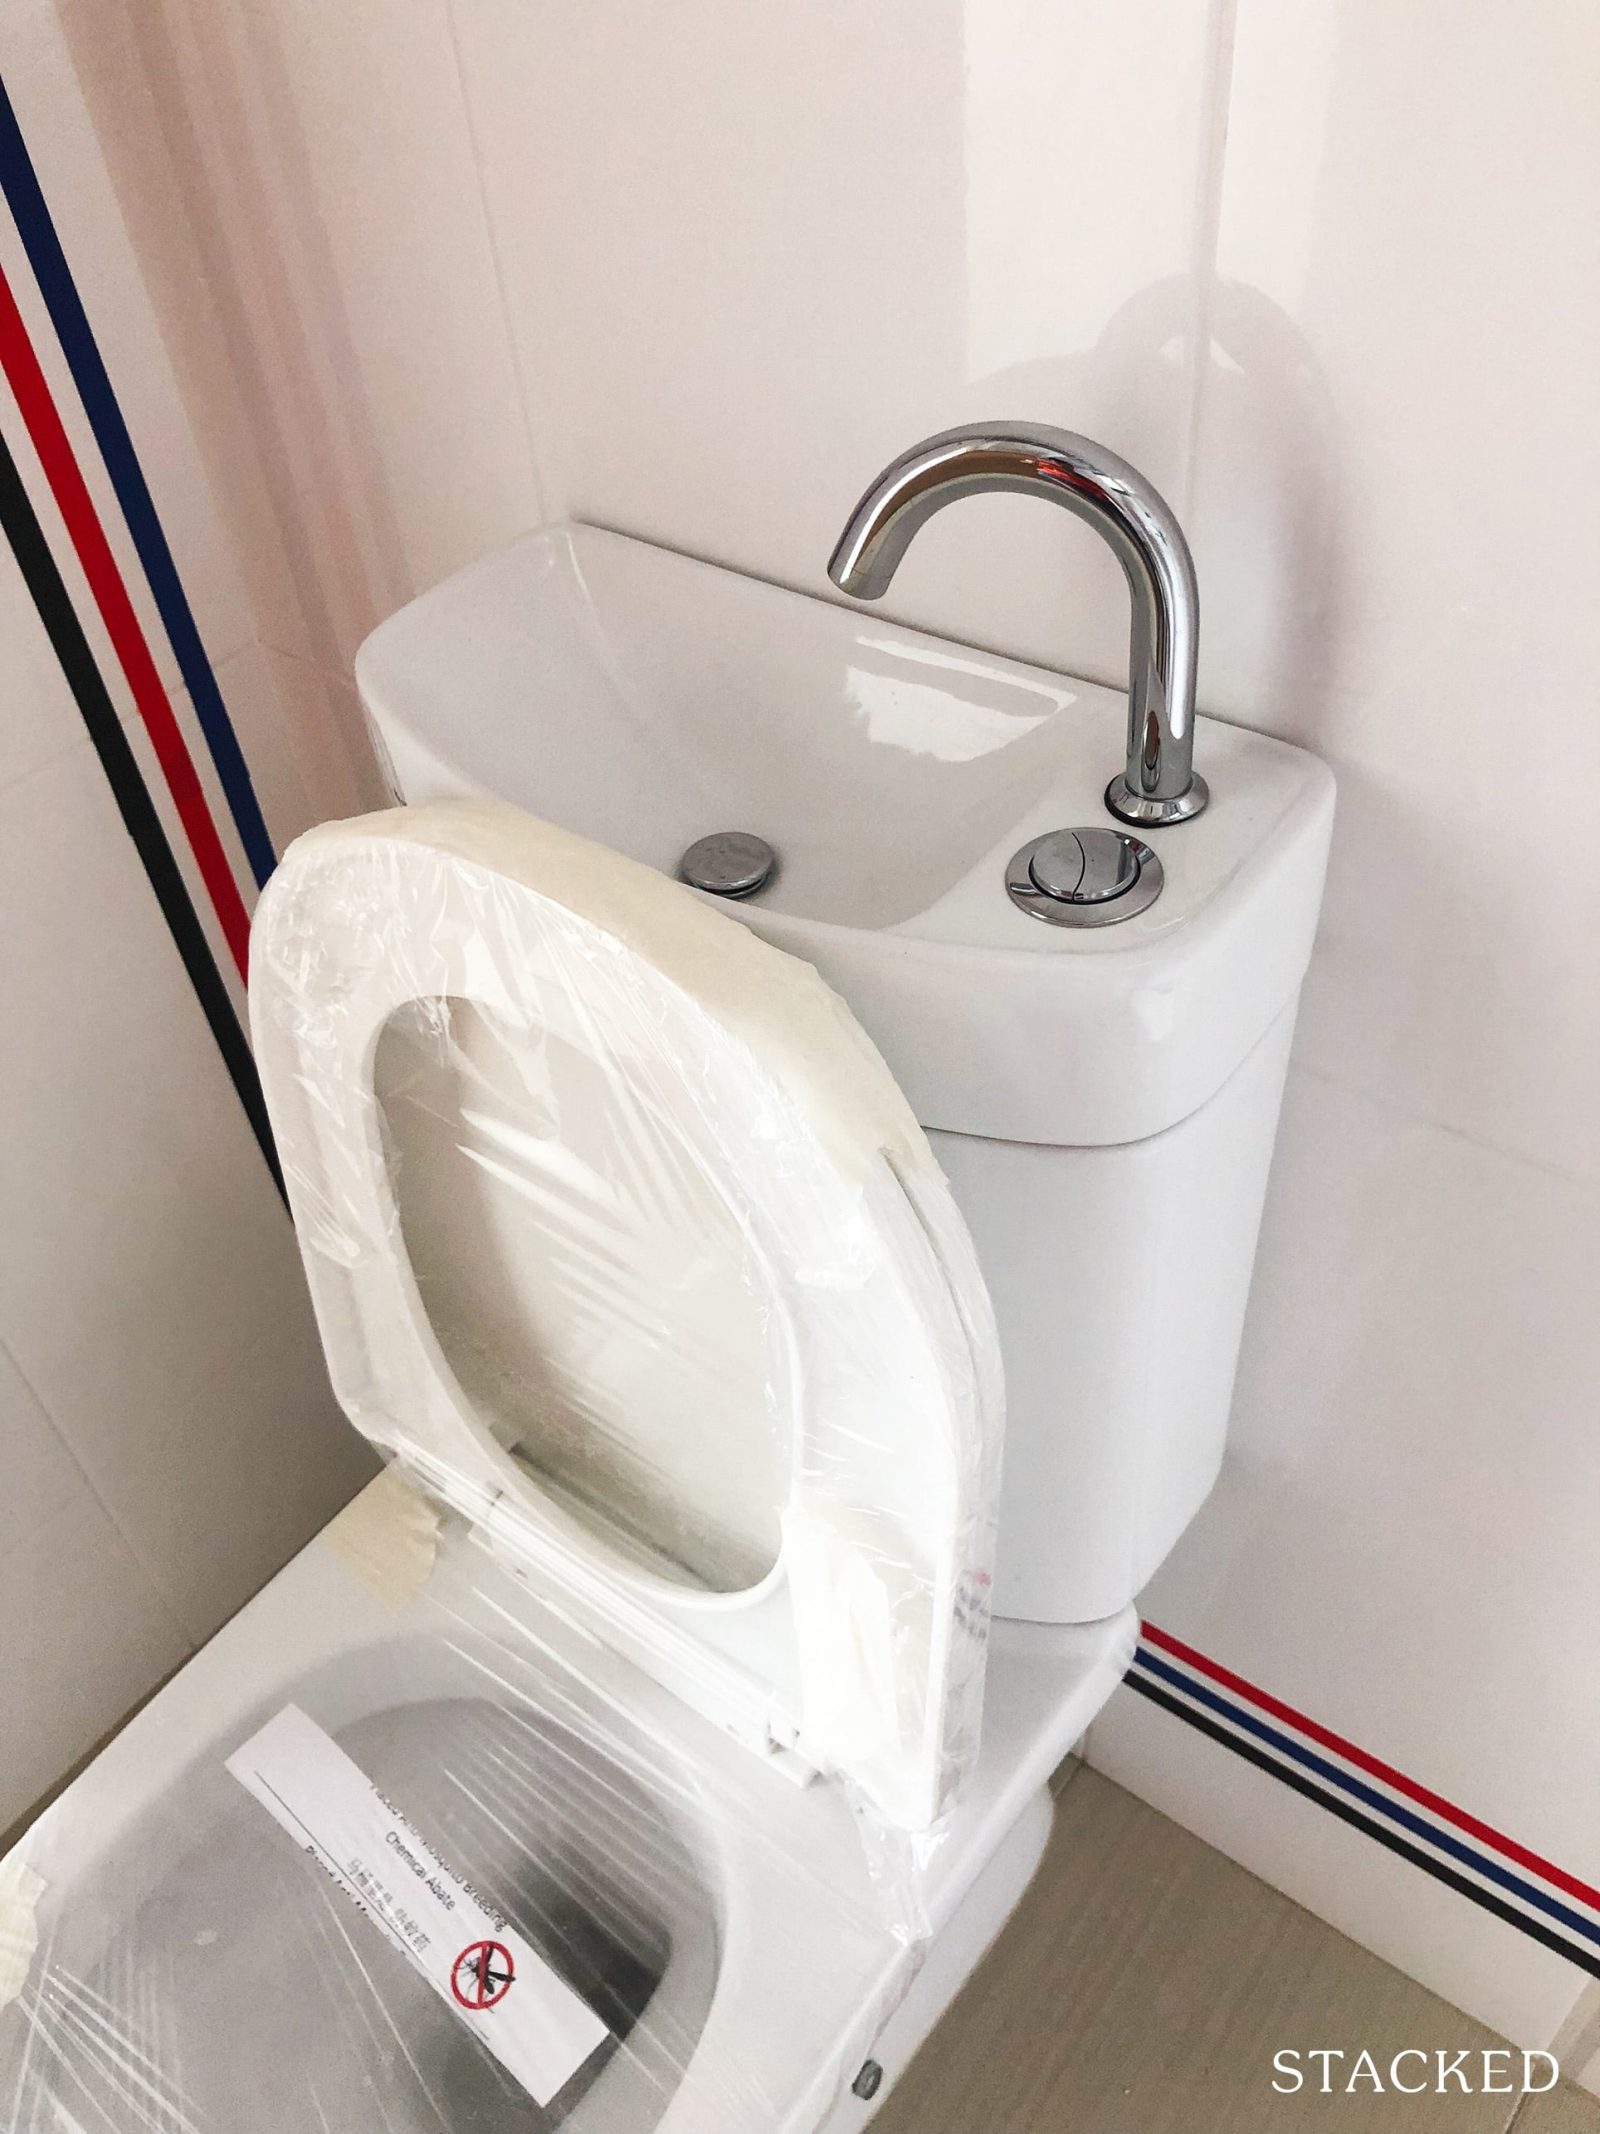
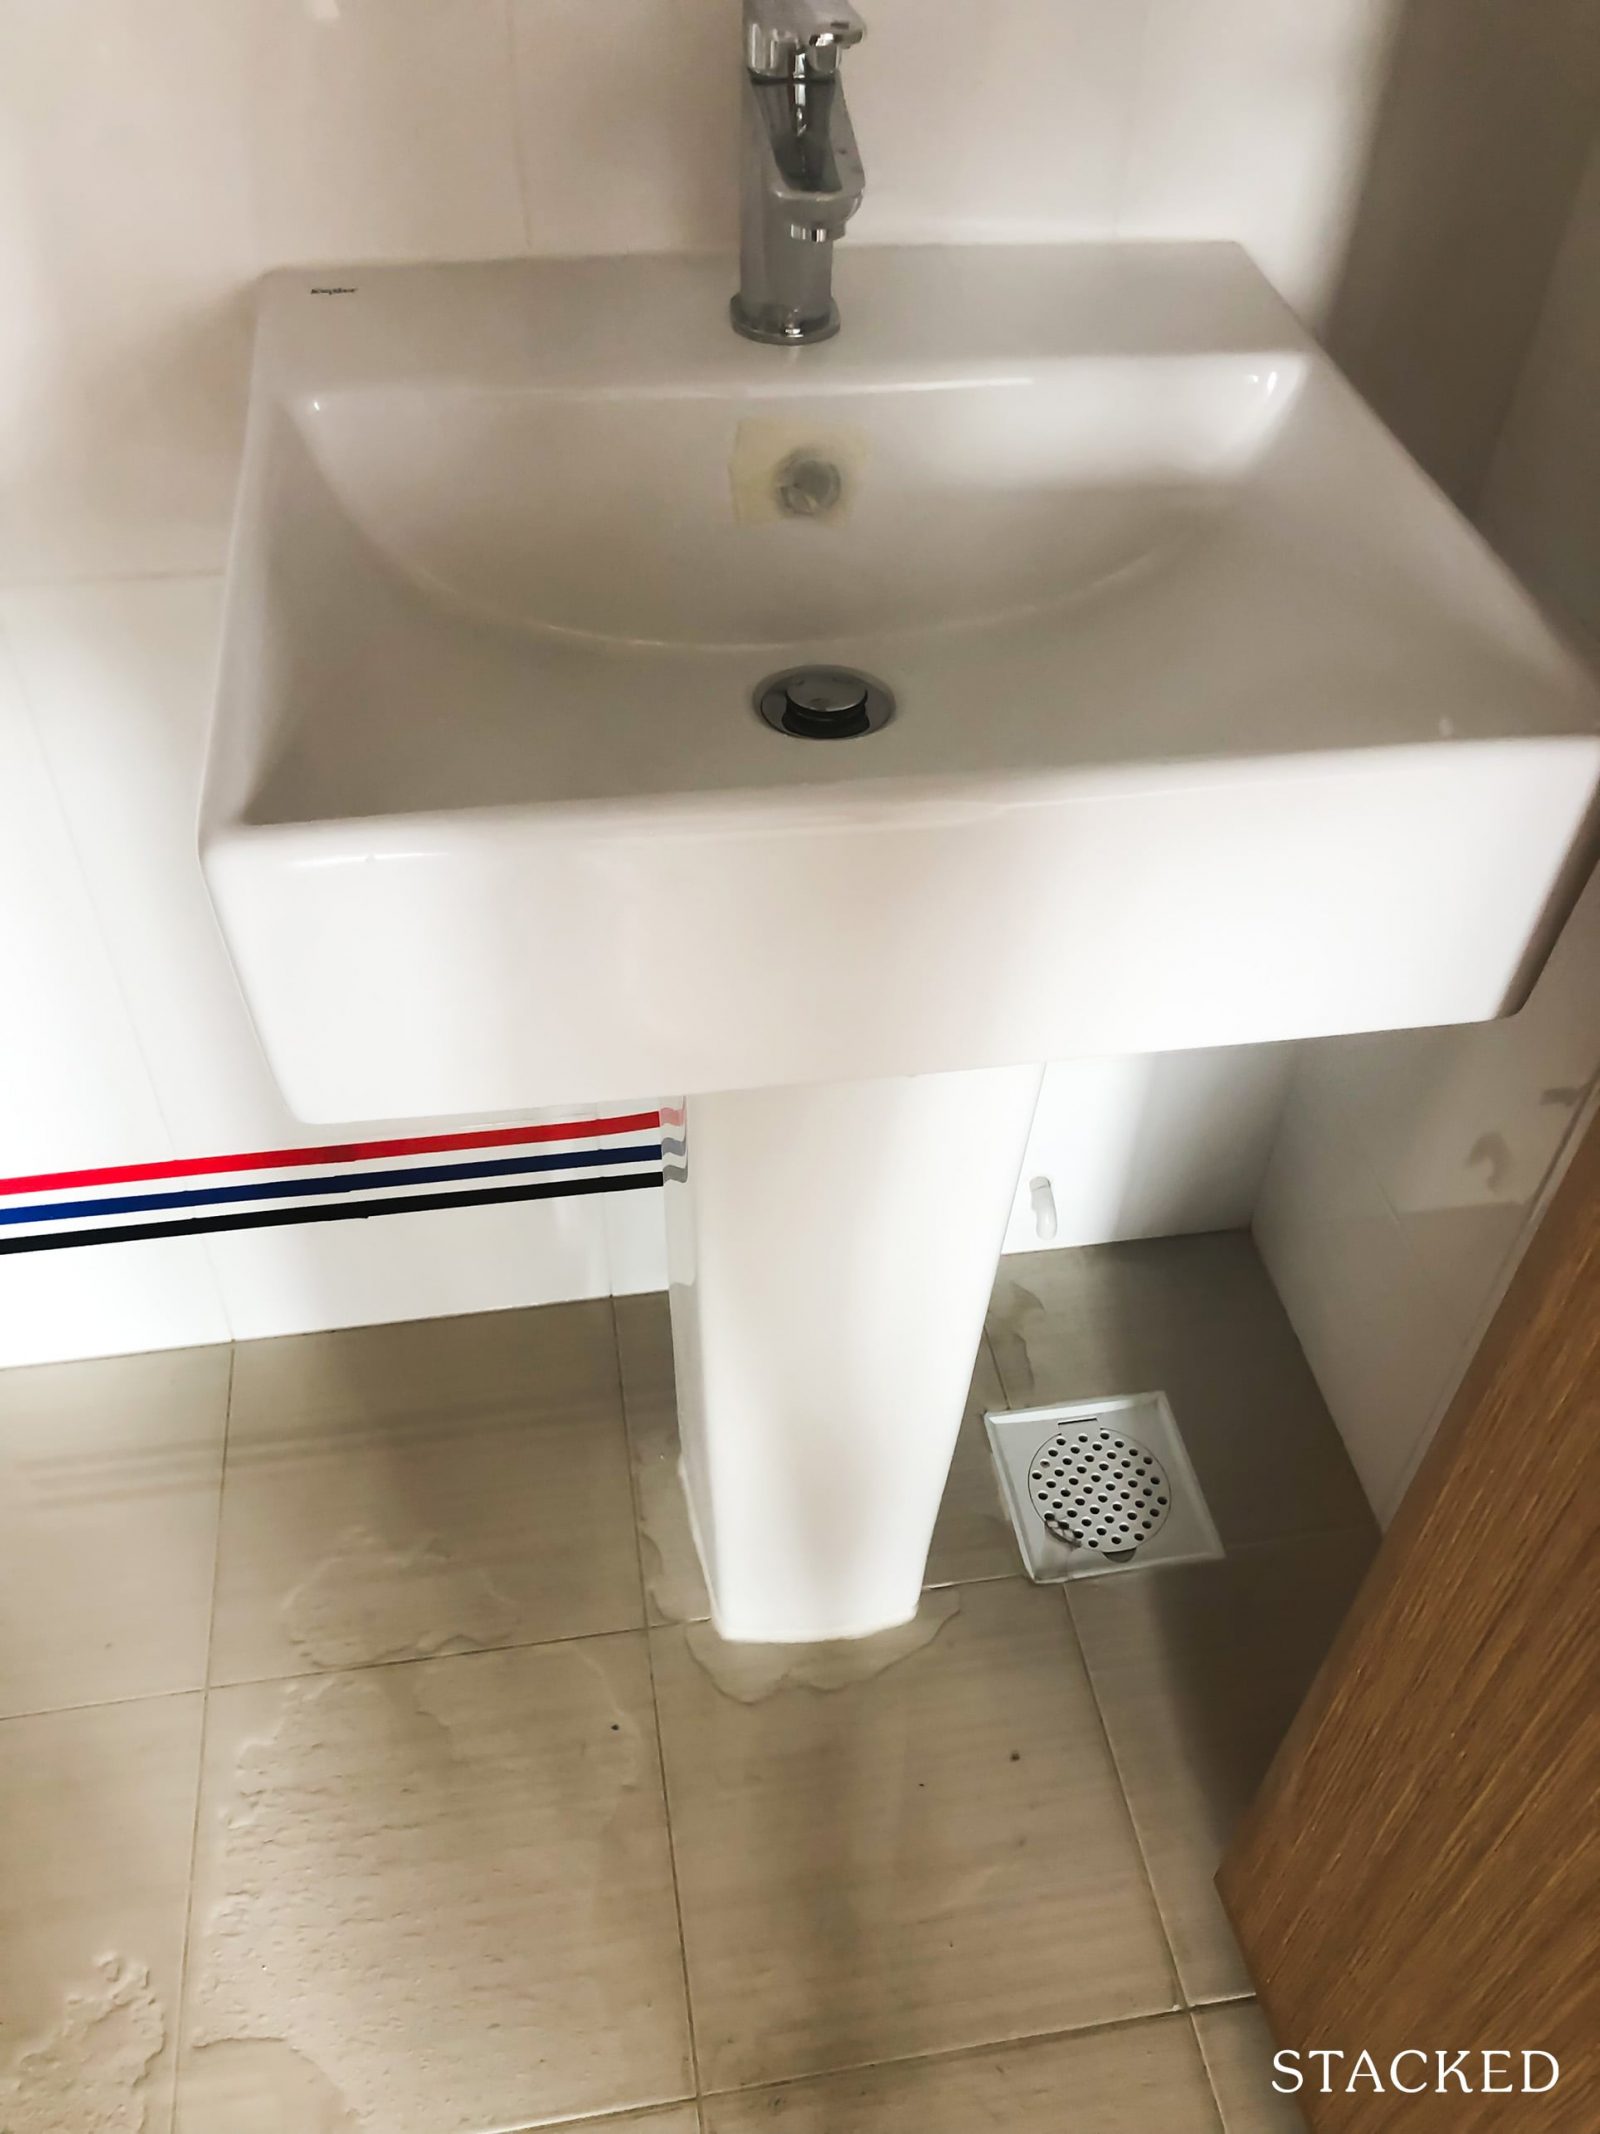
We’re almost there! Now for the fixtures and fittings. Check all sinks, toilet bowls and basins, and all the faucets (sinks and showerheads). Make sure that none of the faucets continues to drip after they’ve been turned off. For sinks and basins, do check that the water is draining out properly. Another area that people tend to overlook is the area under the sinks, so spend some time doing that thoroughly.
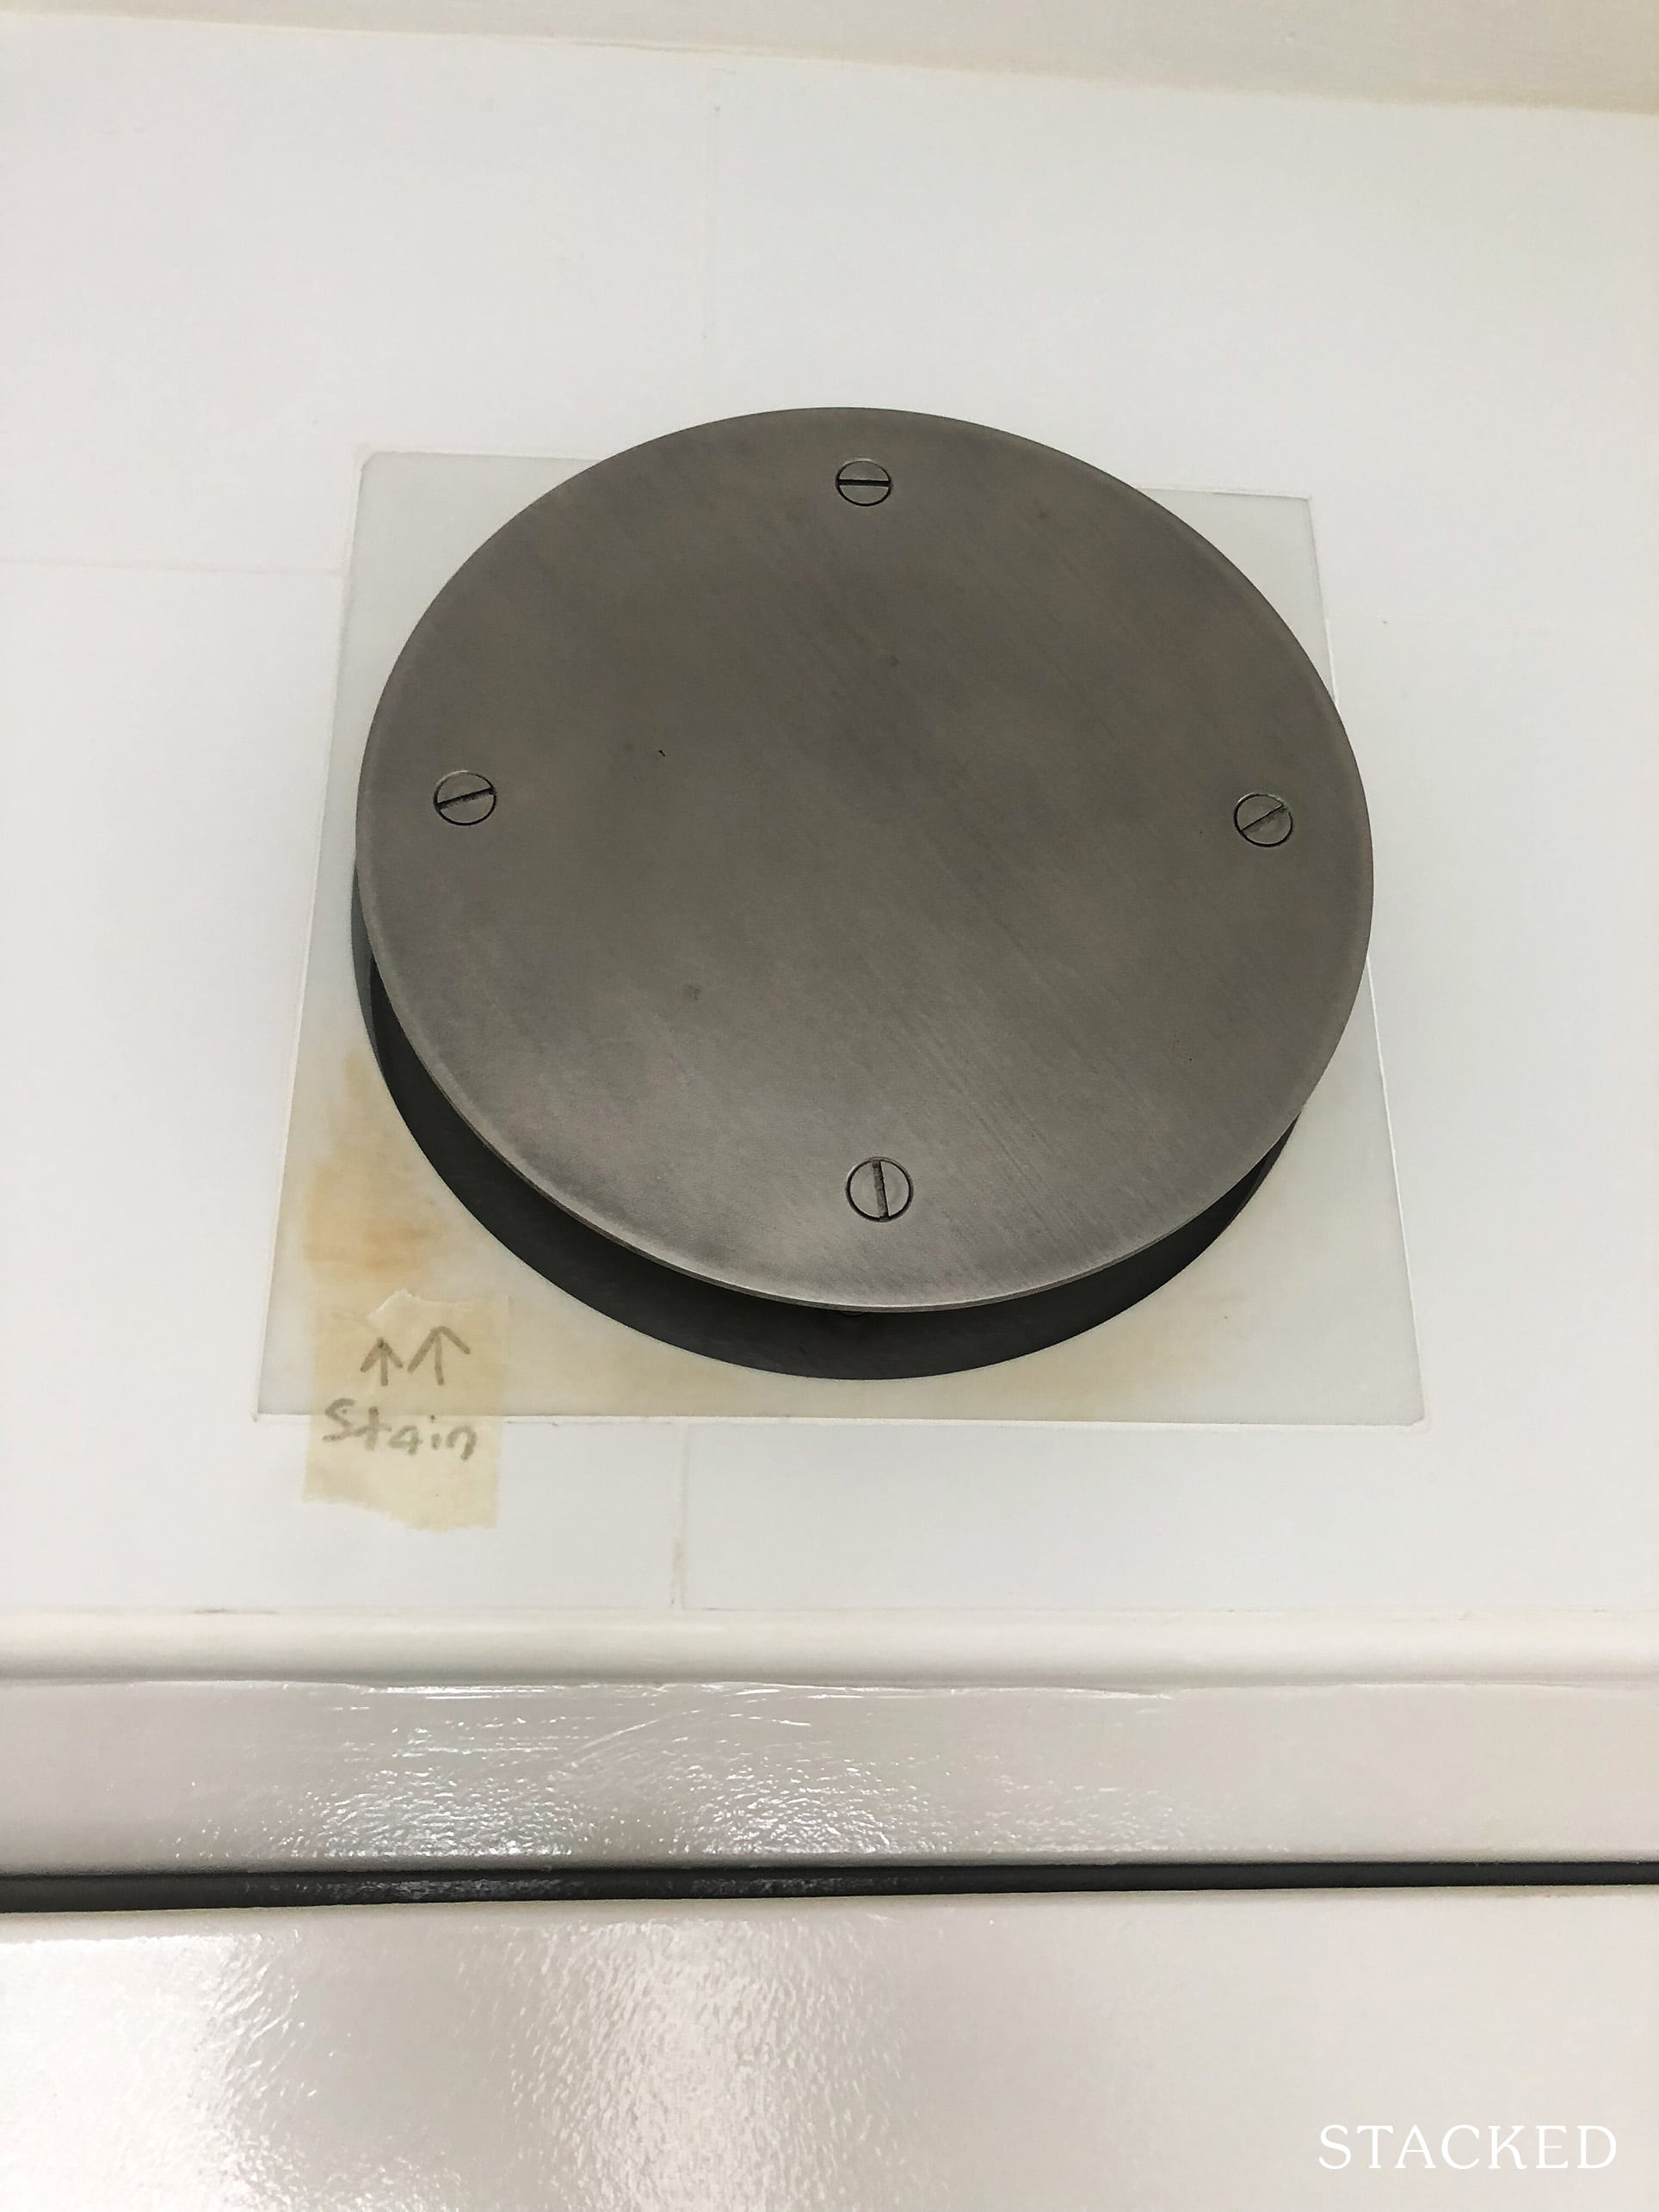
You should also inspect the drying rack and household shelter air vents. Ensure that the drying rack is in good working condition.
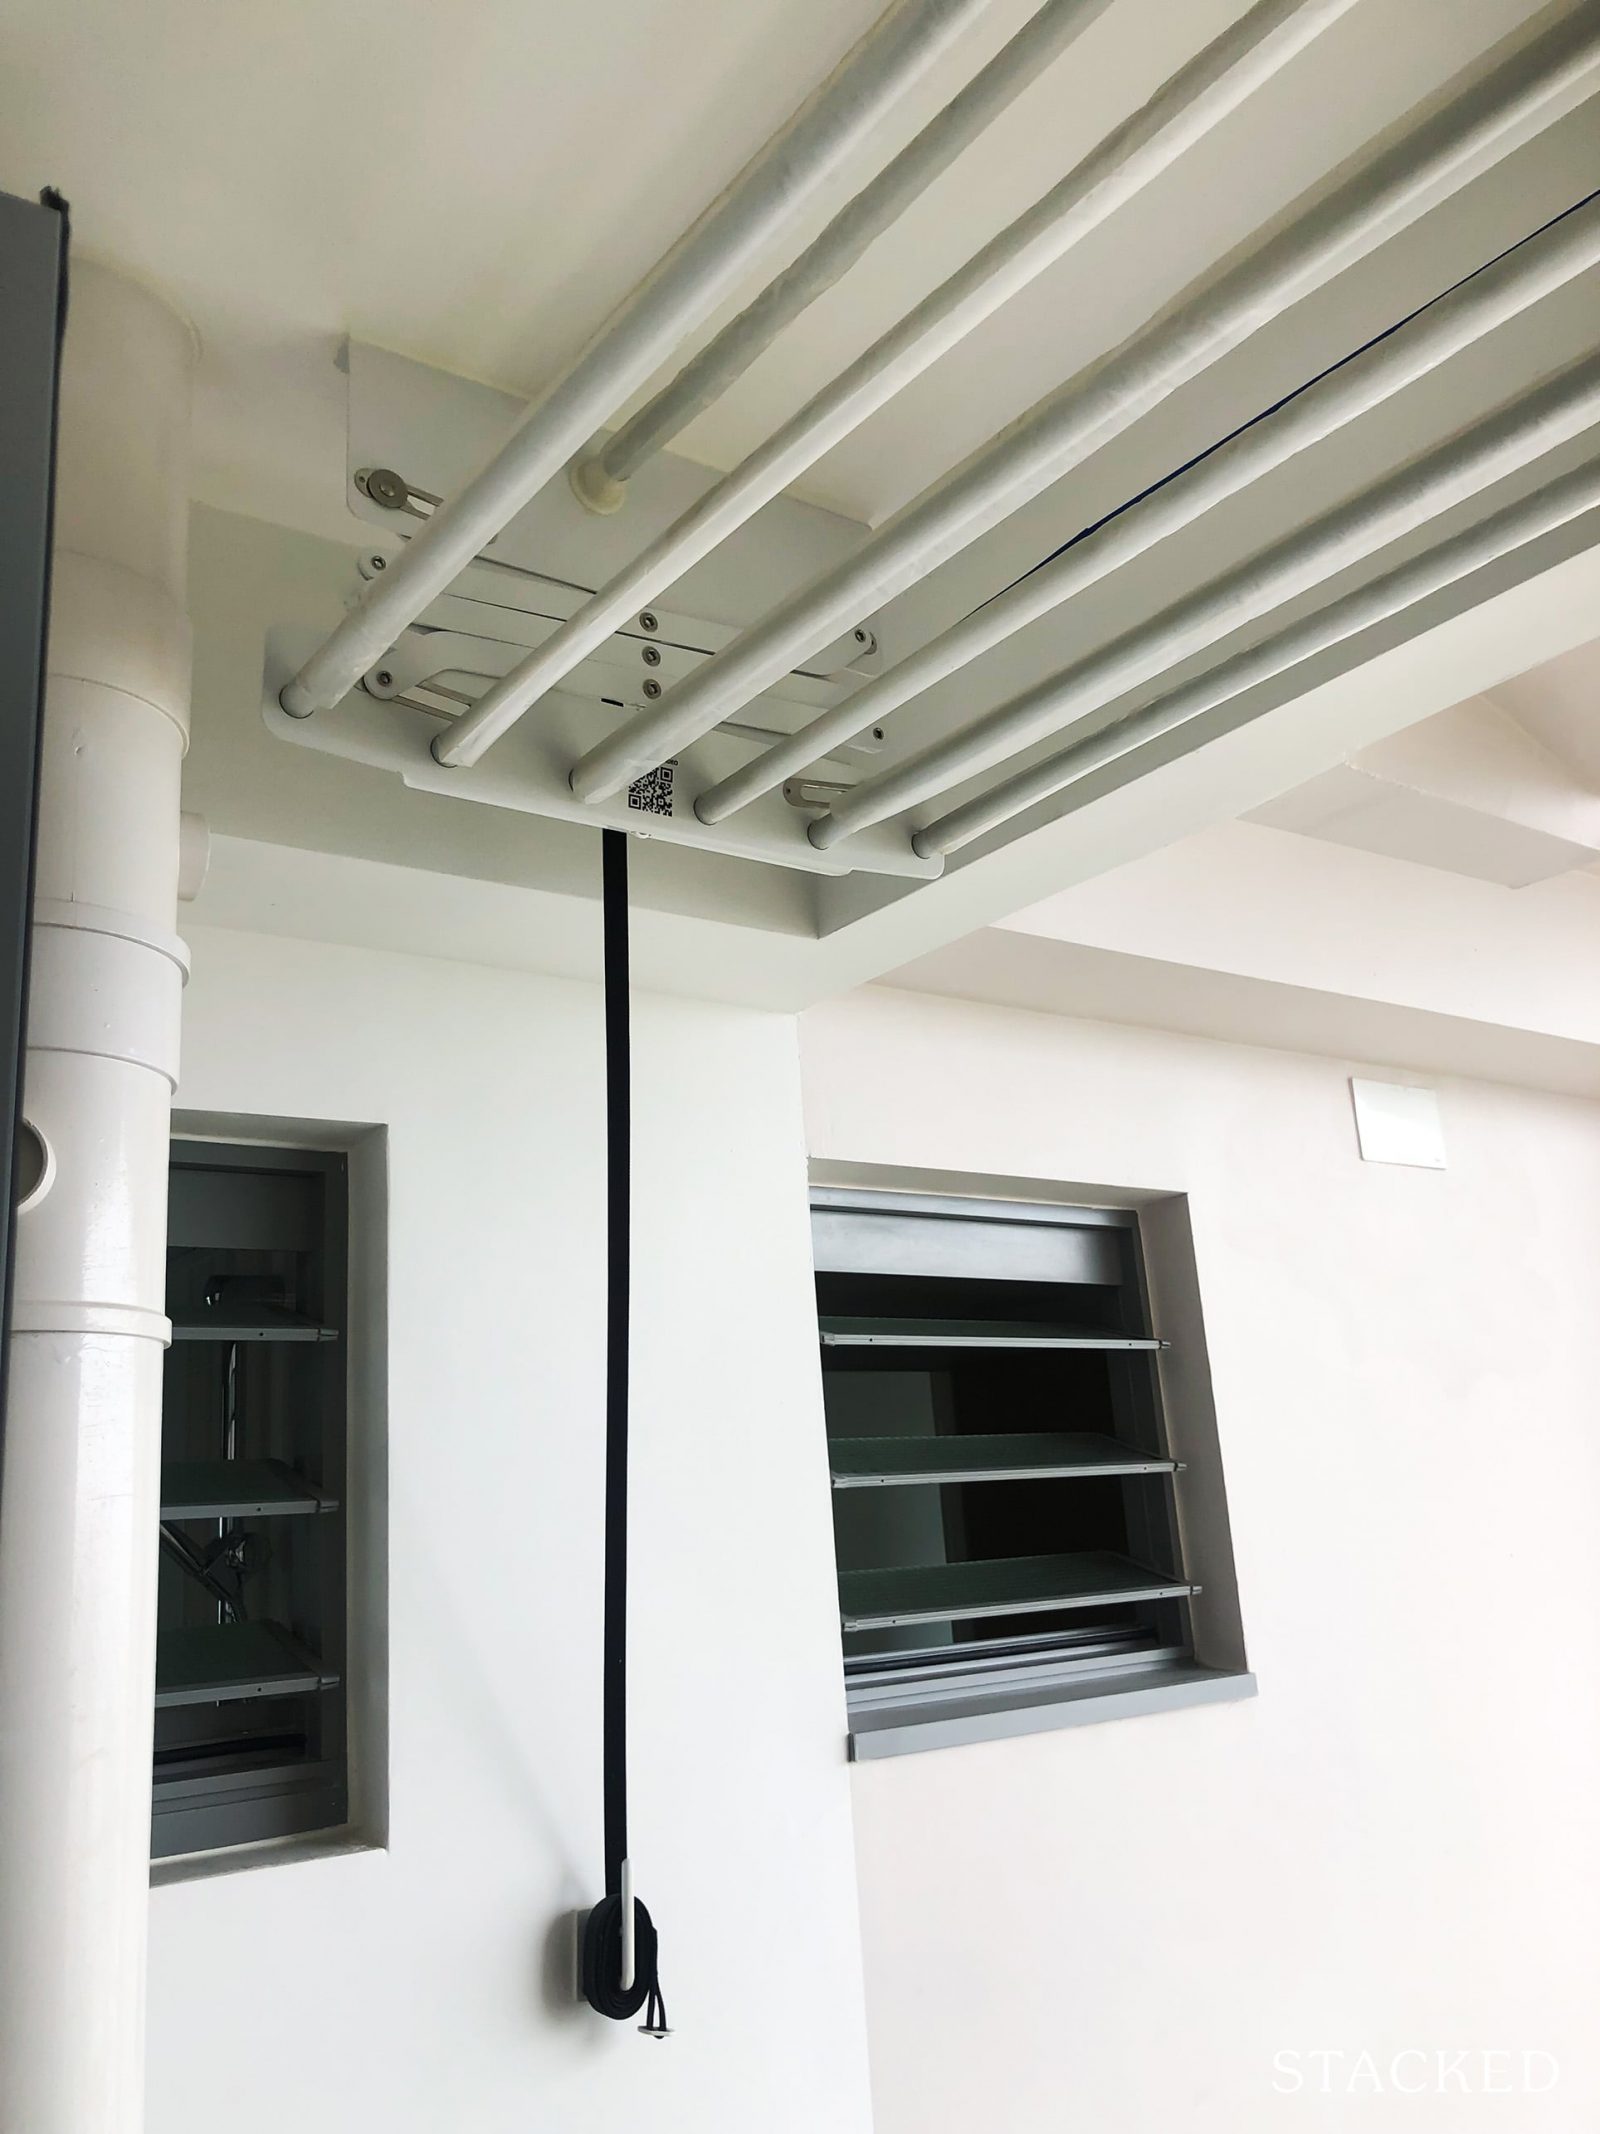
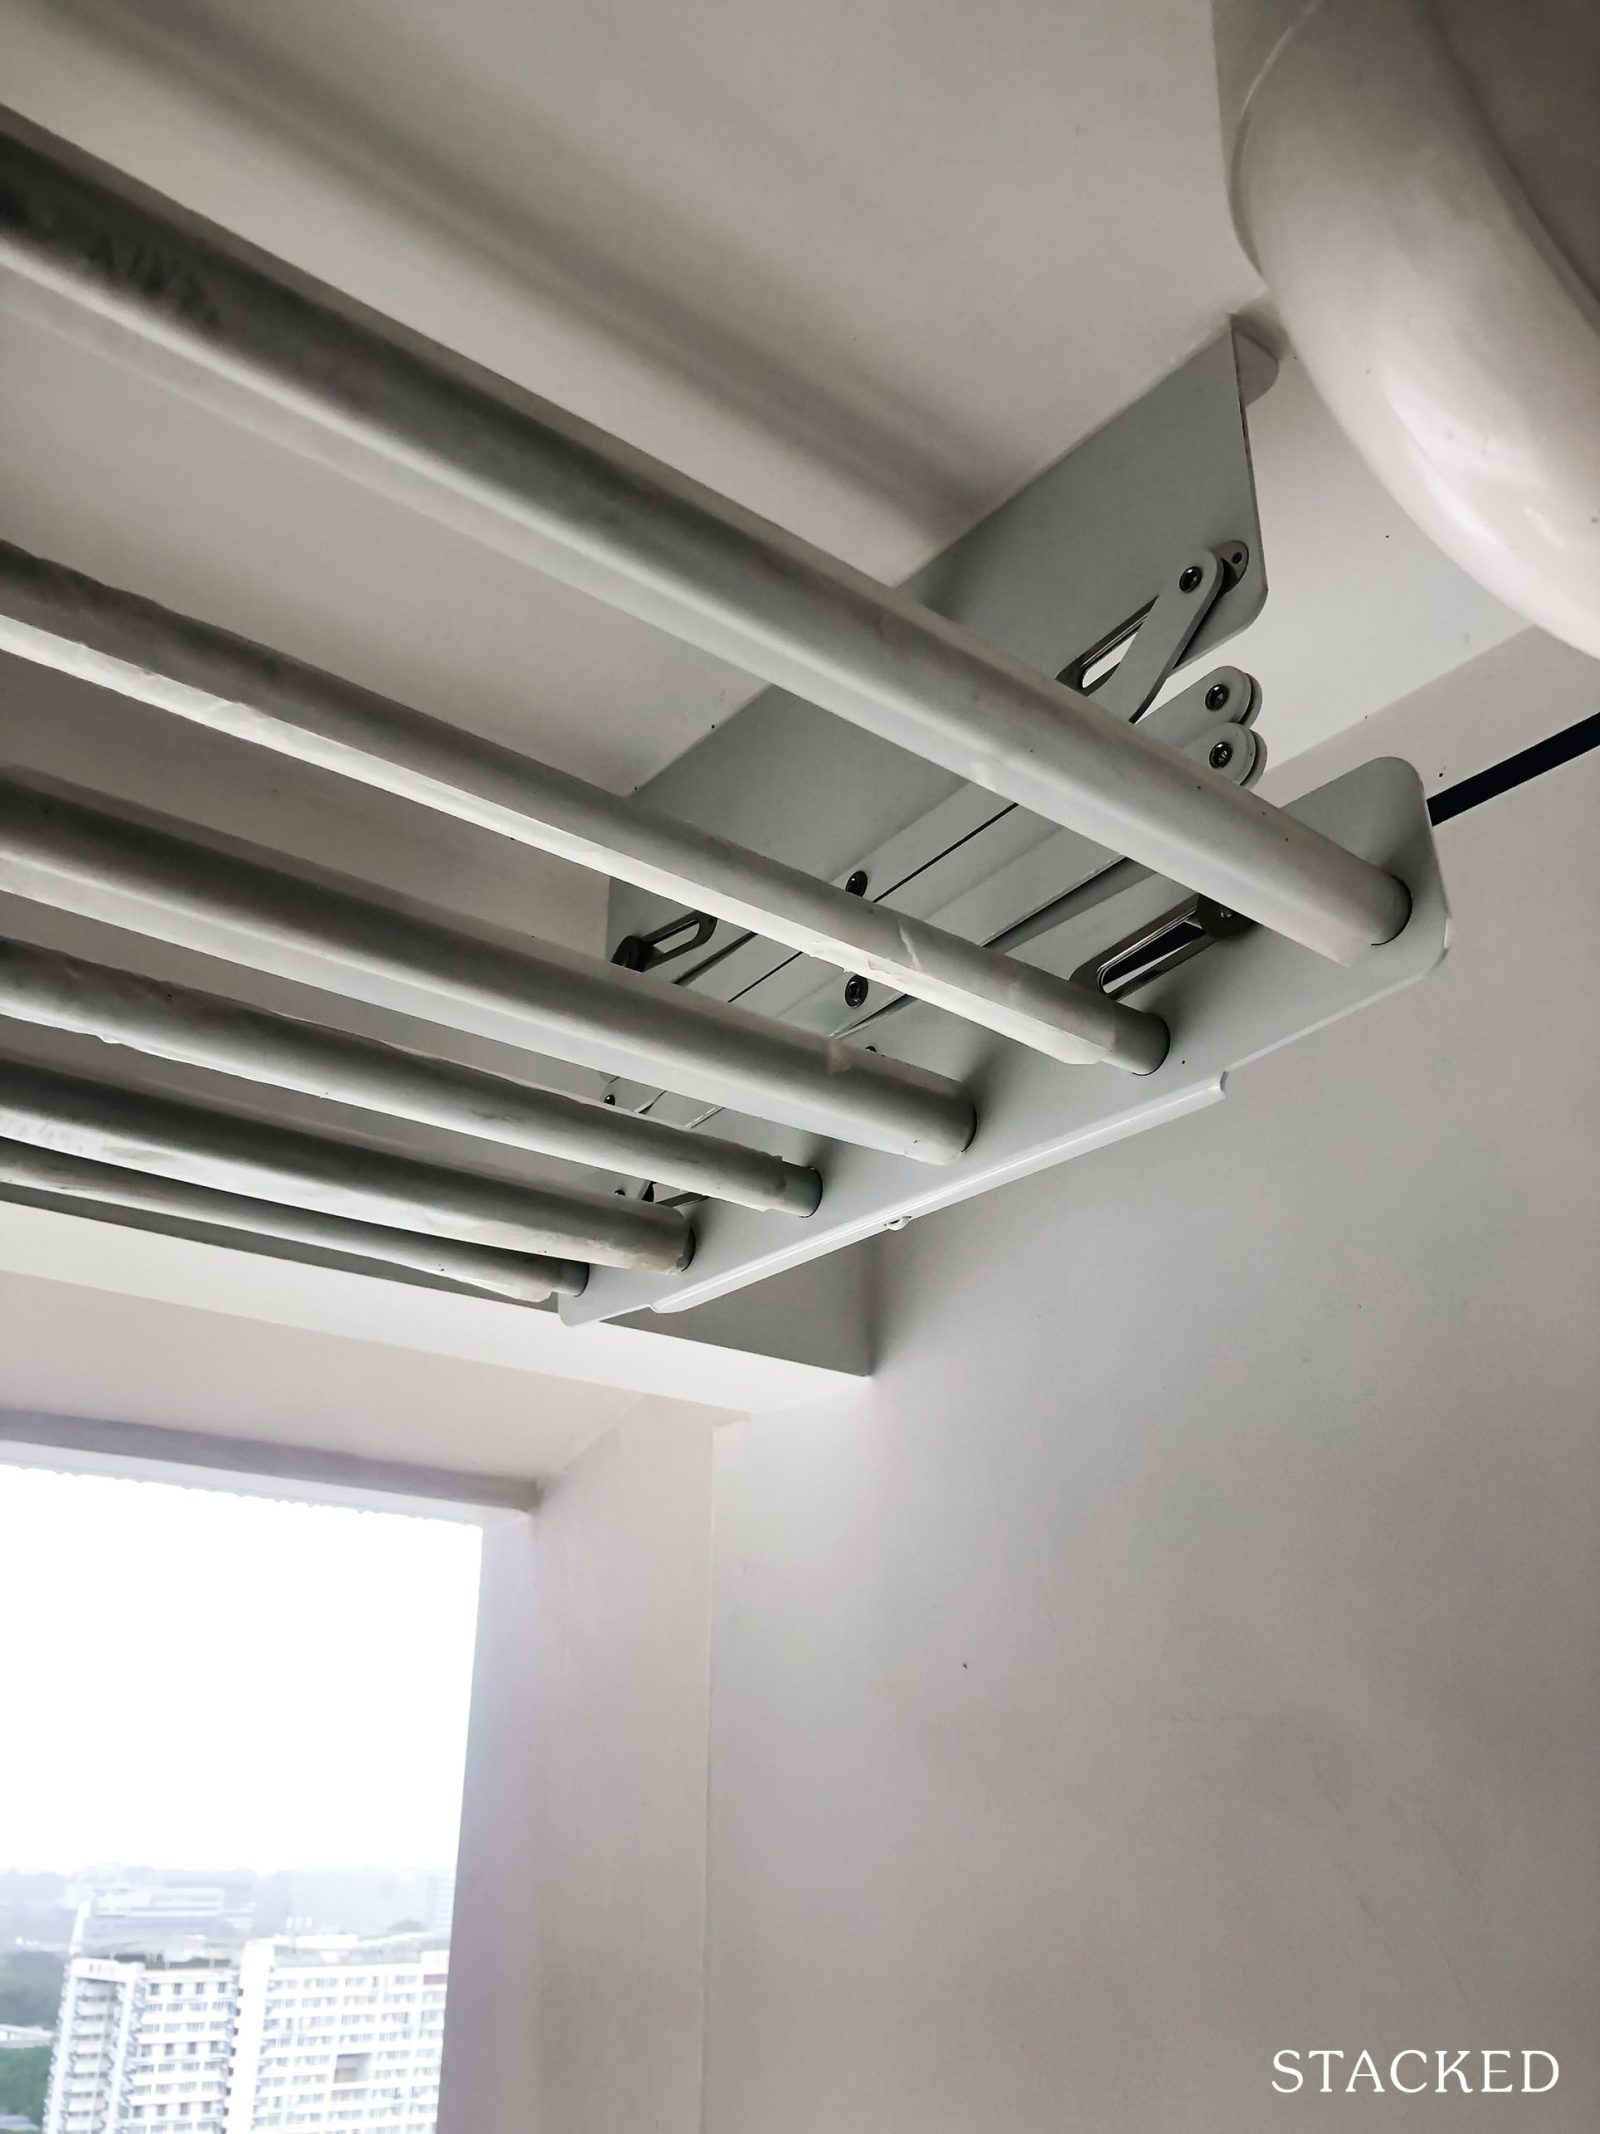
Take note of any rust, stains, bad hinges, sagging, or discolouration.
Electrical and plumbing
Before I forget, do apply for SP utilities before going down to do your defects check, as the electrical and plumbing is obviously an essential part of it.
So besides the obvious step of testing the lights, don’t forget to inspect each power outlet. Use a phone charger to test each one, and make sure they can be properly turned on and off.
Power sockets should always be flushed against the walls, with no gaps. Switches should be aligned (i.e., the off position is the same position for all of them), and shouldn’t feel loose or “wobbly”.
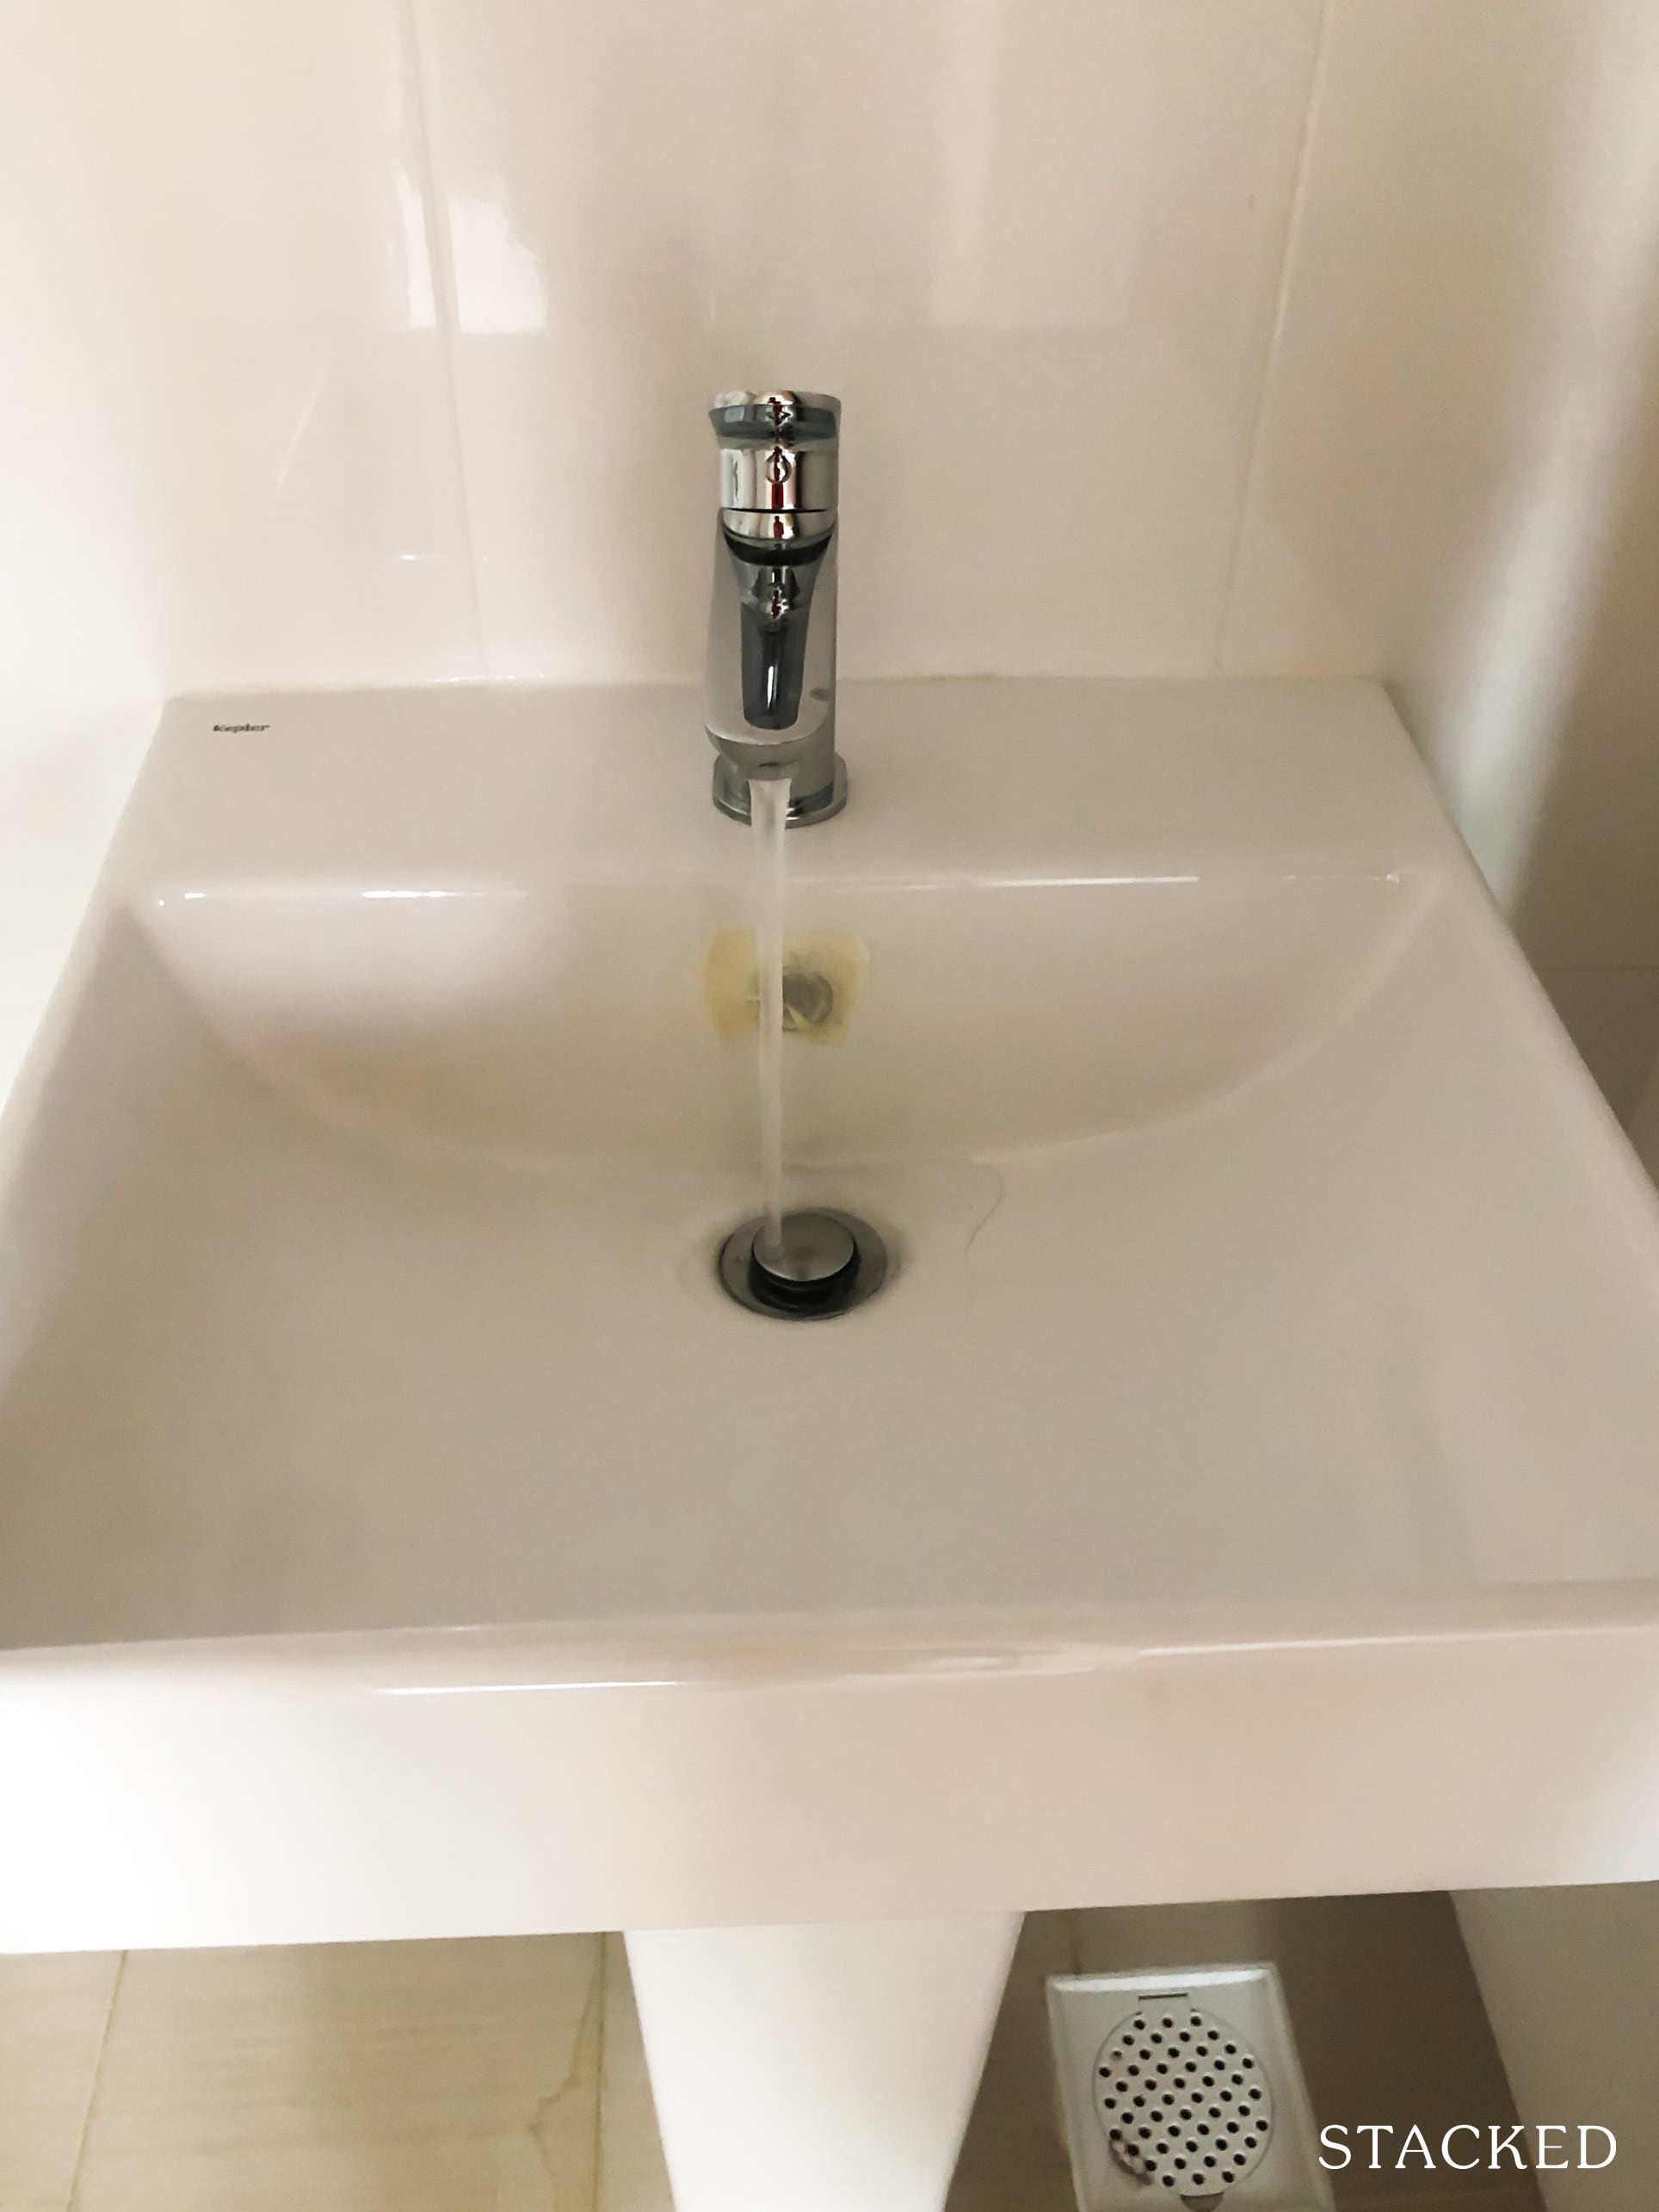
Do run a check on the sink and toilet pipes as well. Turn on the tap and let it run for a few minutes.
And that’s it, you’re done! Depending on the BTO project, the last step is to report and make an appointment with HDB’s contractor for rectifications.
If you need more help with this, contact us at Stacked. You can also follow us for the latest in-depth reviews of new and resale homes alike, in the Singapore private property market.
At Stacked, we like to look beyond the headlines and surface-level numbers, and focus on how things play out in the real world.
If you’d like to discuss how this applies to your own circumstances, you can reach out for a one-to-one consultation here.
And if you simply have a question or want to share a thought, feel free to write to us at stories@stackedhomes.com — we read every message.
Sean Goh
Sean has a writing experience of 3 years and is currently with Stacked Homes focused on general property research, helping to pen articles focused on condos. In his free time, he enjoys photography and coffee tasting.Need help with a property decision?
Speak to our team →Read next from Property Advice
Property Advice I’m 55, Have No Income, And Own A Fully Paid HDB Flat—Can I Still Buy Another One Before Selling?

Property Advice We’re Upgrading From A 5-Room HDB On A Single Income At 43 — Which Condo Is Safer?

Property Advice We’re In Our 50s And Own An Ageing Leasehold Condo And HDB Flat: Is Keeping Both A Mistake?

Property Advice Should We Buy An Old 99-Year Leasehold Condo To Live In: Will It’s Value Fall When The Lease Runs Out?
Latest Posts

Singapore Property News Why The Feb 2026 BTO Launch Saw Muted Demand — Except In One Town

Pro This Singapore Condo Skipped 1-Bedders And Focused On Space — Here’s What Happened 8 Years Later

Singapore Property News One Of The Last Riverfront Condos In River Valley Is Launching — From $2,877 PSF

















0 Comments